Toss Your $20 Flare Tool
Story and photos by Dean Larson
We’ve all done countless flares on one of those cheap parts-store-brand flaring tools. I say countless, because every time you run new brake lines, you’ll undoubtedly have to pull everything back off and redo a couple flares when they leak. You put the little tool in a vise, swap dies around and turn the hex-head bolt about a million times.
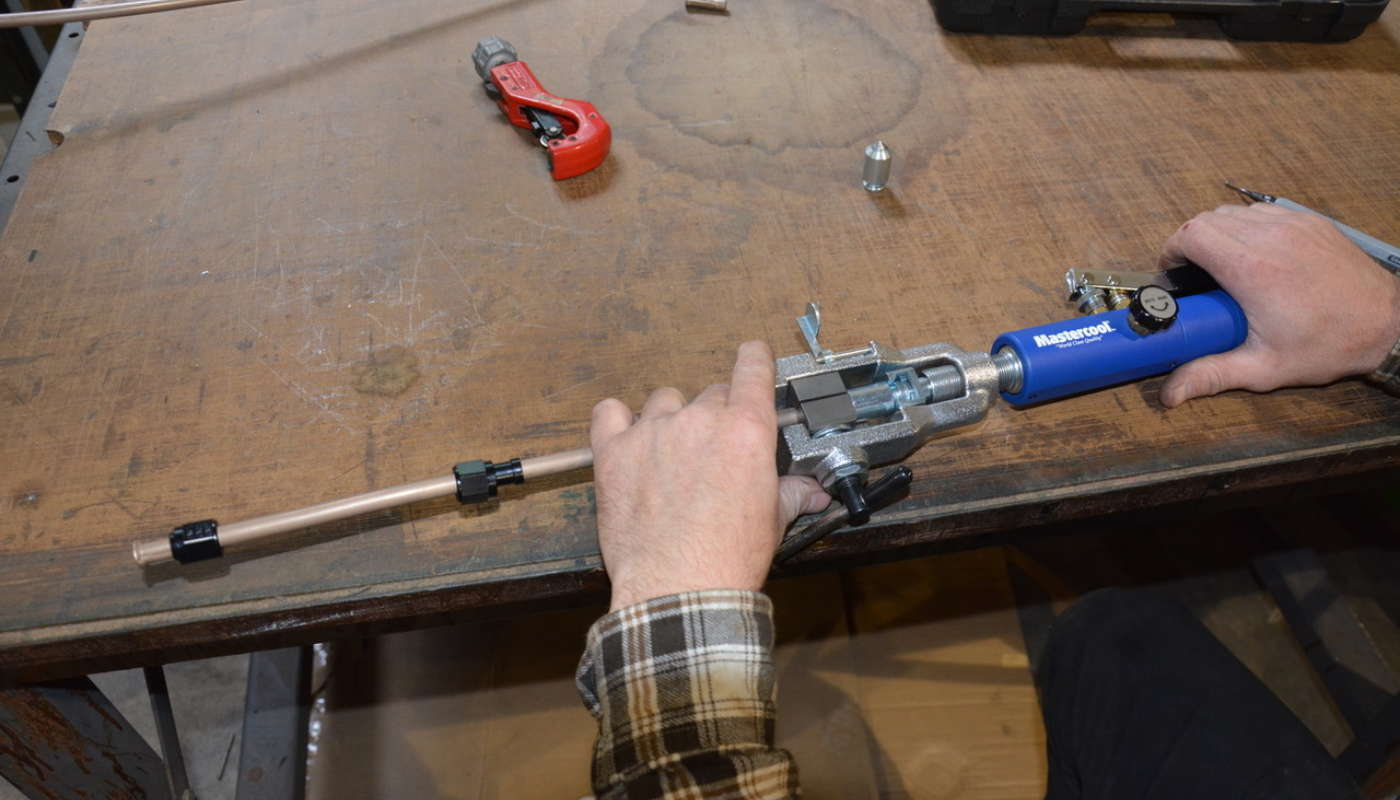
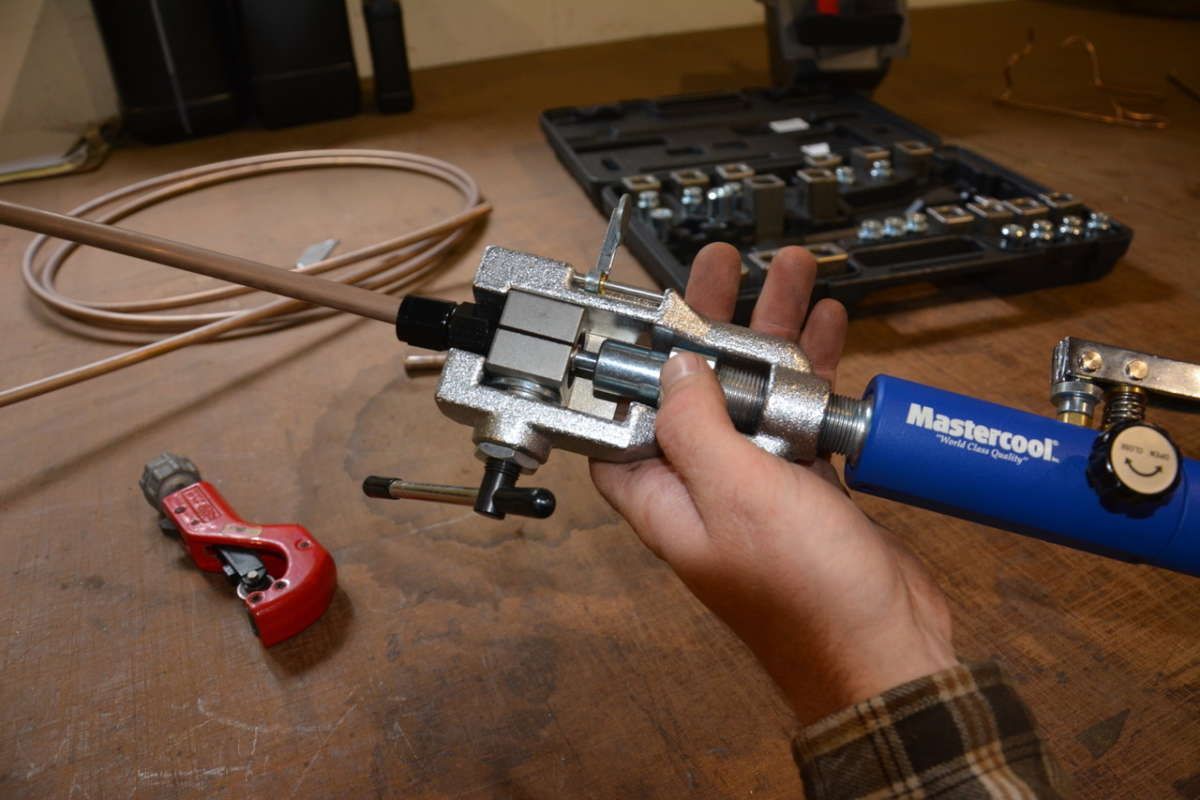
We’ve recently been experimenting with a new flaring tool from Mastercool that we think you’ll really dig if you flare lines more than once every five years. The tool incorporates a nice self-contained hydraulic pump, along with its own system for clamping the line in place — freeing you from the vice! Here’s a basic rundown on how the tool works, along with a video demonstration.
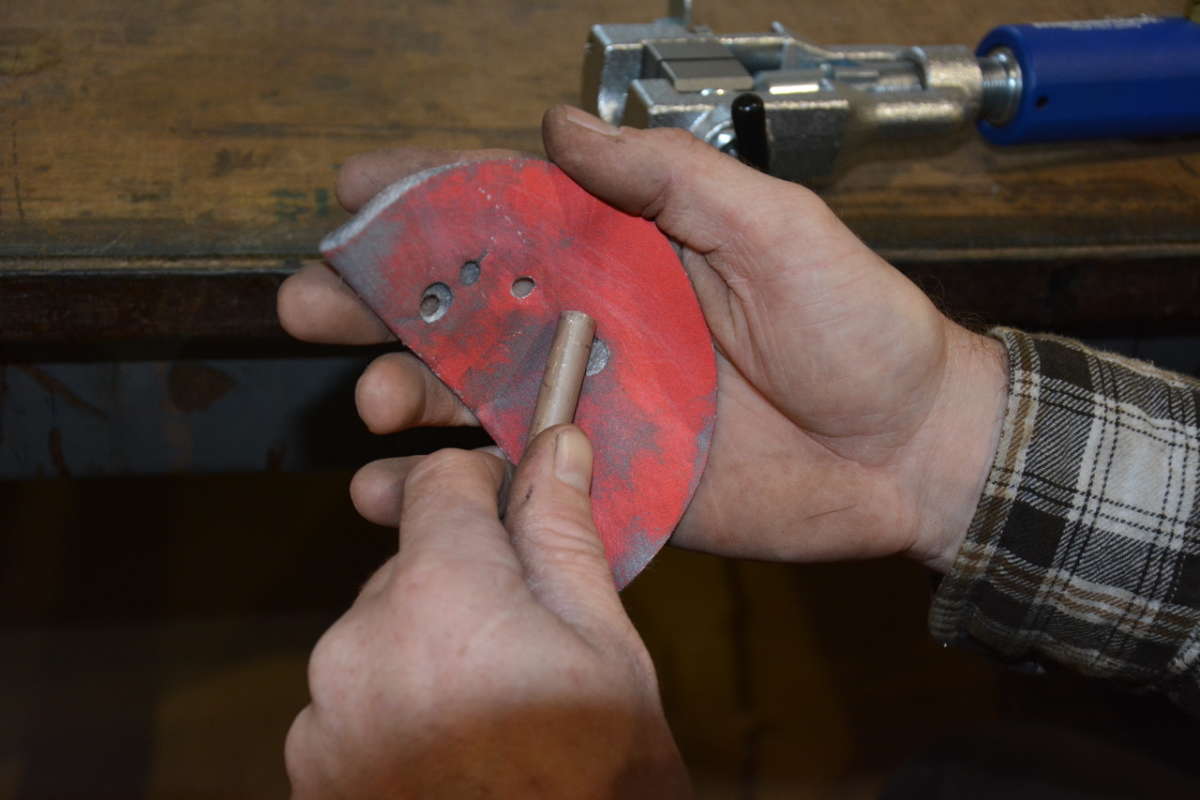
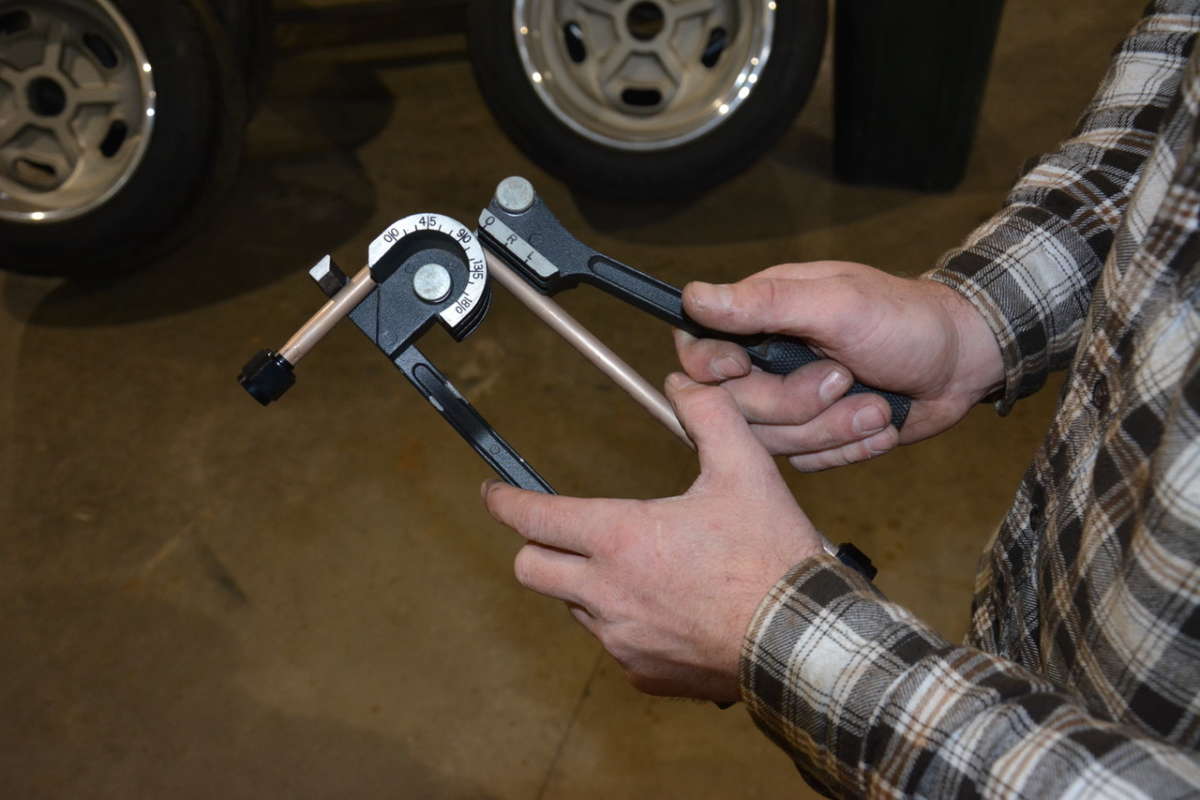
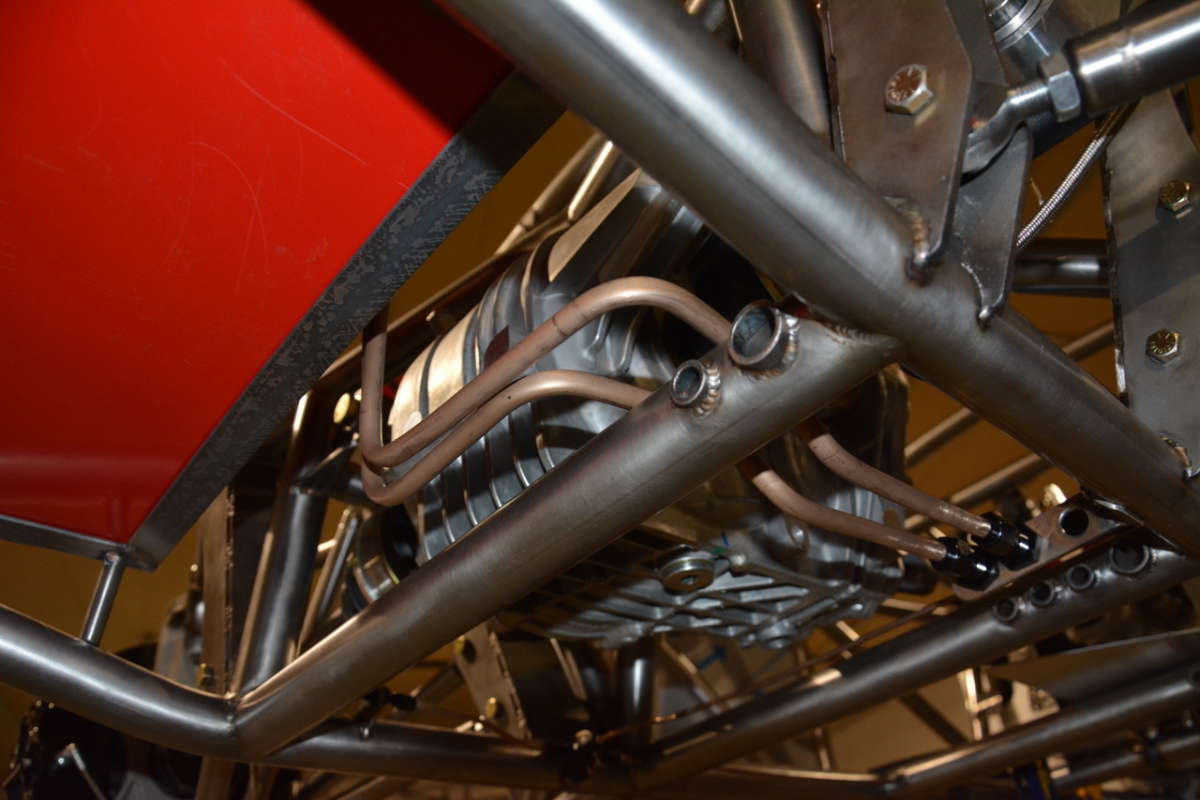
We’re working with 3/8-inch tubing with 45 degree double flares and AN fittings, but dies are available for just about anything you need. Our first step was to do all of our measuring and planning for the line before cutting it to length. Then, to ensure everything goes smoothly, we sand the edge of the tubing with some sand paper and clean out the inside with a deburring tool.

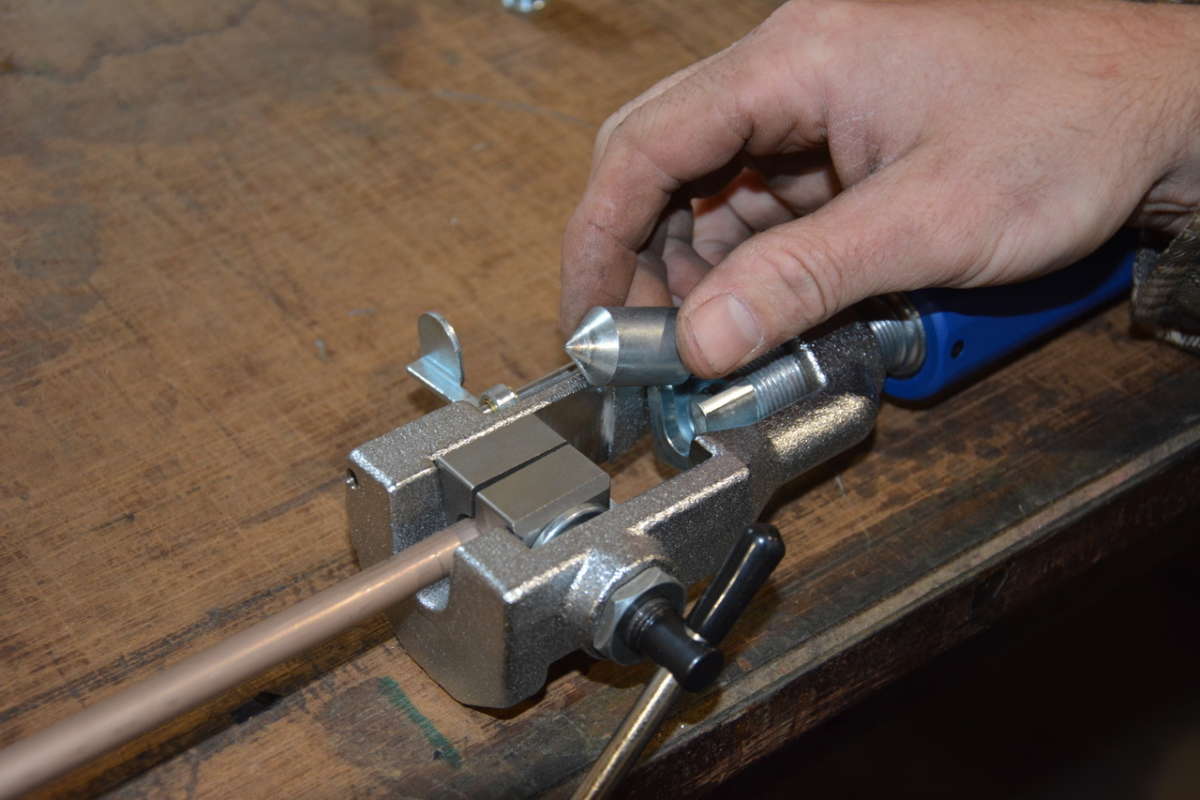
Next, place the corresponding clamping dies for your tube size and flare in the camping area and you can slide the tubing in. A convenient stopper folds out to ensure the correct amount of tubing sticks out from the die, and then you can and clamp the dies into place using a moderate amount of pressure. Then, the stopper folds out of the way and you can install your first flaring die in the magnetized receiver.
Now, you can rotate the turn dial to the closed position, allowing the hydraulic ram to work. With the hand pump, the die is pushed into the tubing, but you can also turn the threaded portion of the tool to get the die closer. The critical part of this step is making sure the die goes into the the center of the tubing without binding. Moderate pressure is used to bottom the die out, and you’ll feel when it’s there.
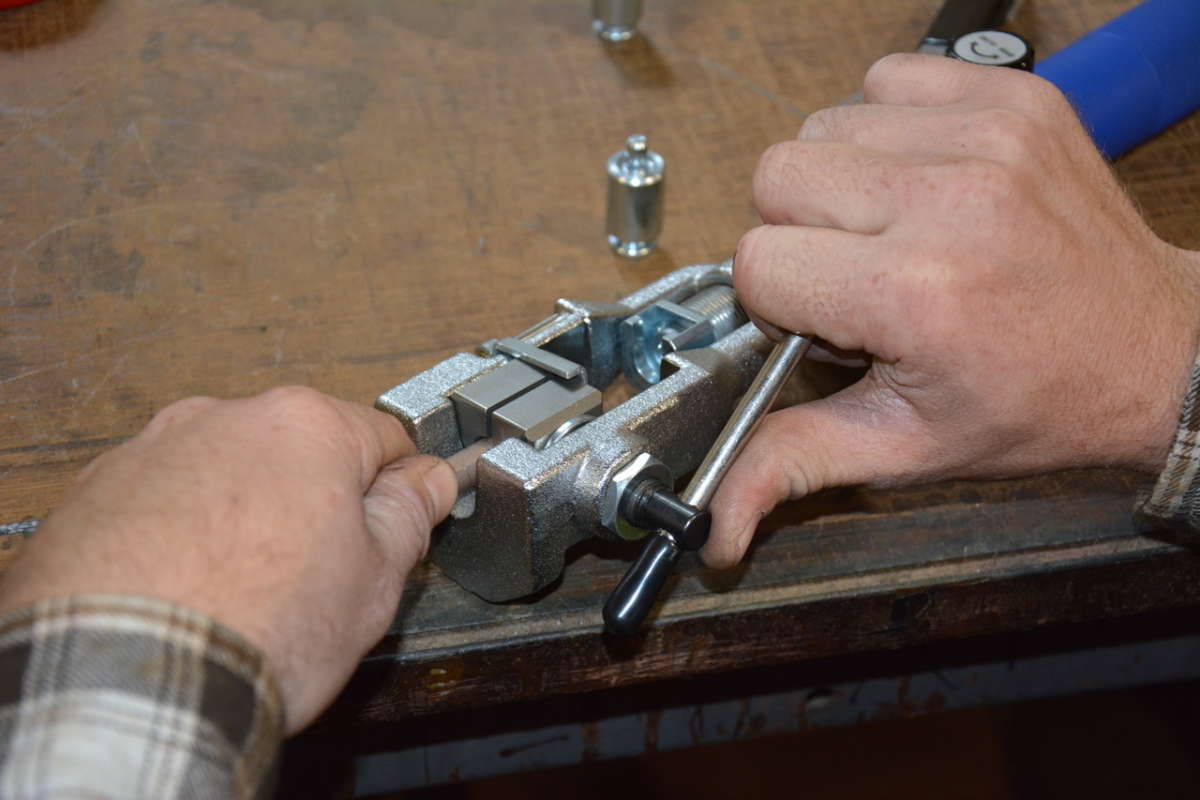
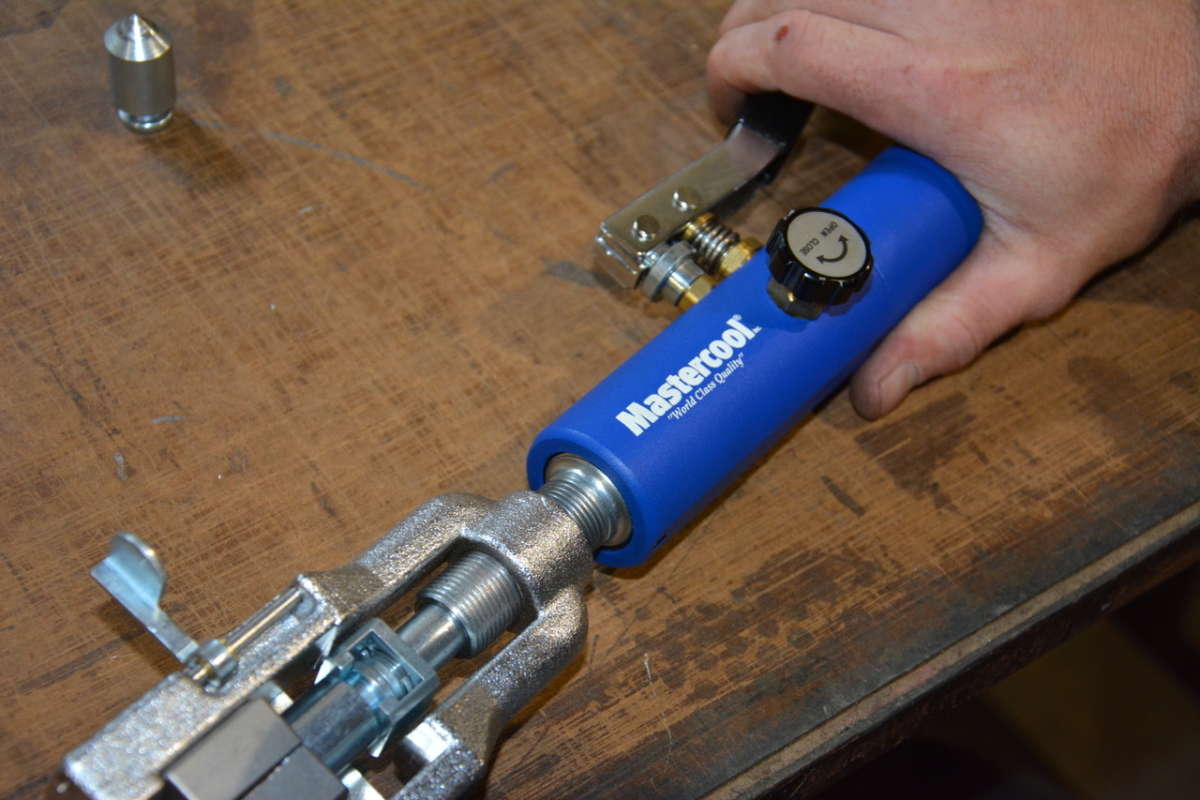

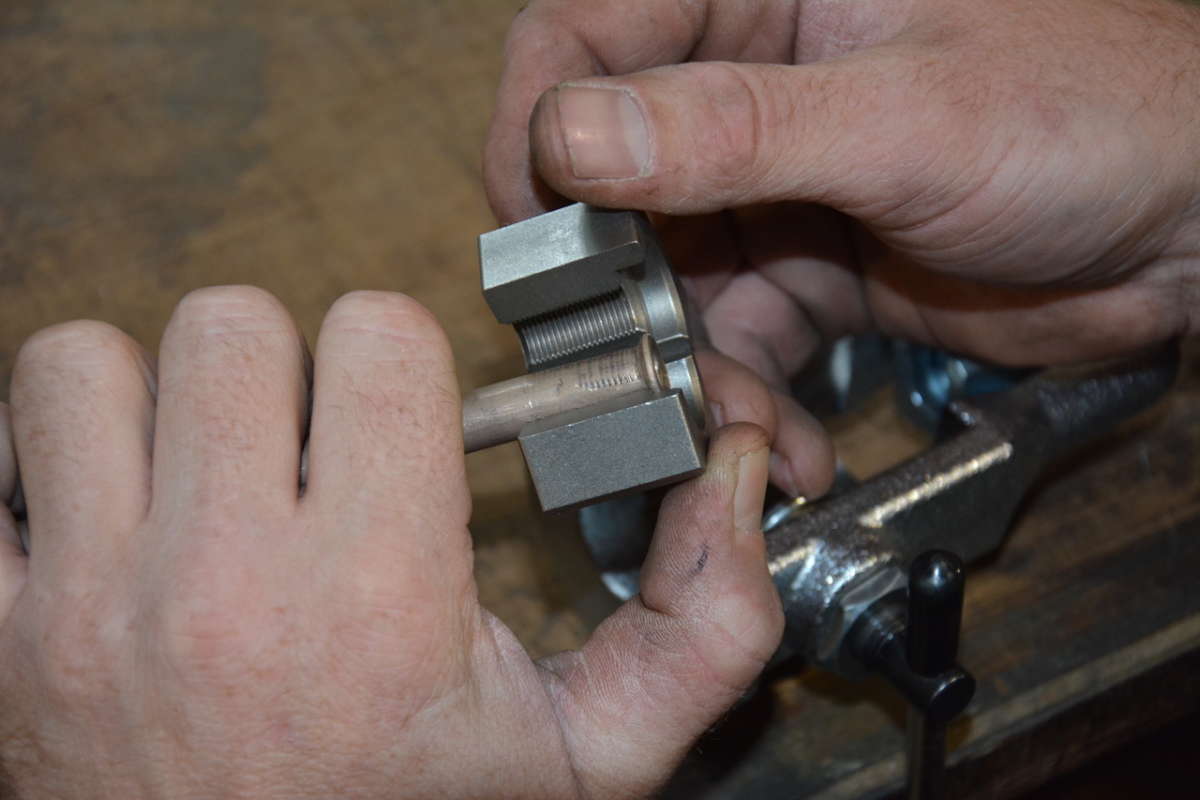
Now, you can rotate the dial to open, allowing the hydraulic ram to retract. We then swapped to our second die to finish the flare. Engage the hydraulic ram exactly as in the first step to bottom the die out in the material, again using moderate pressure. Next, you can open the hydraulic valve and remove your dies and tubing.
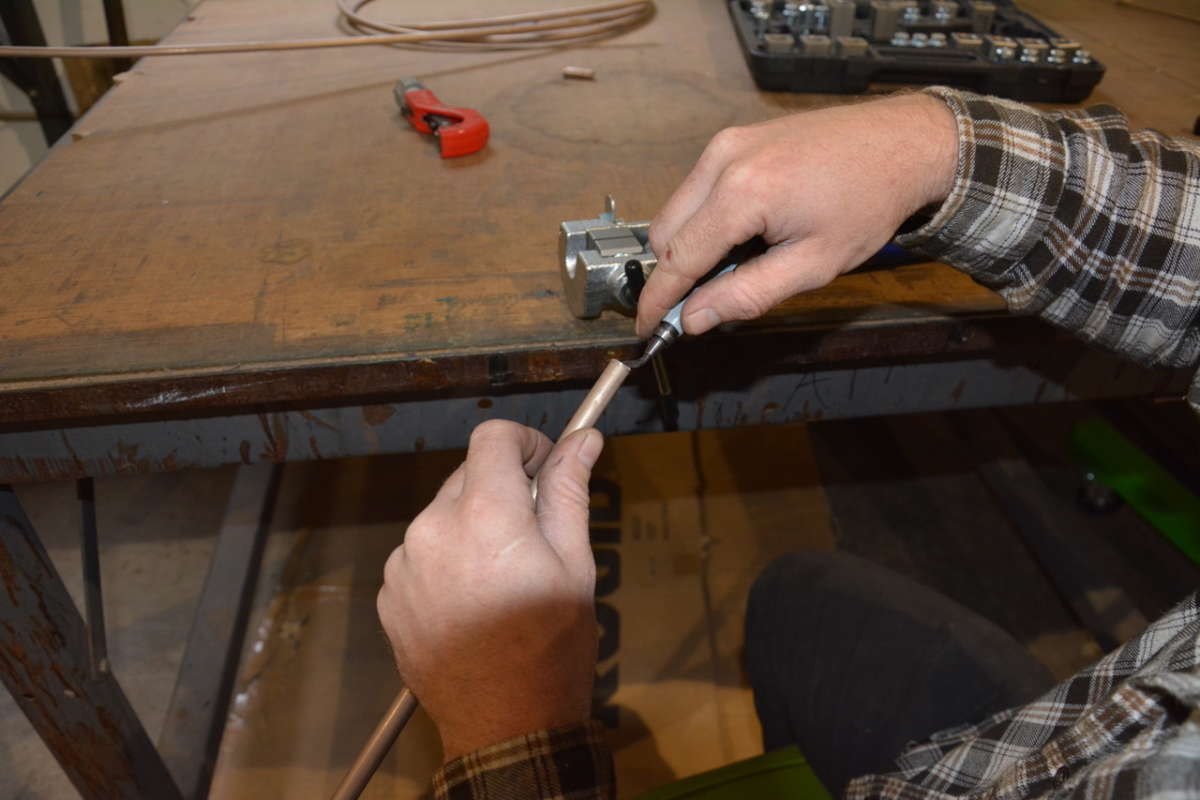
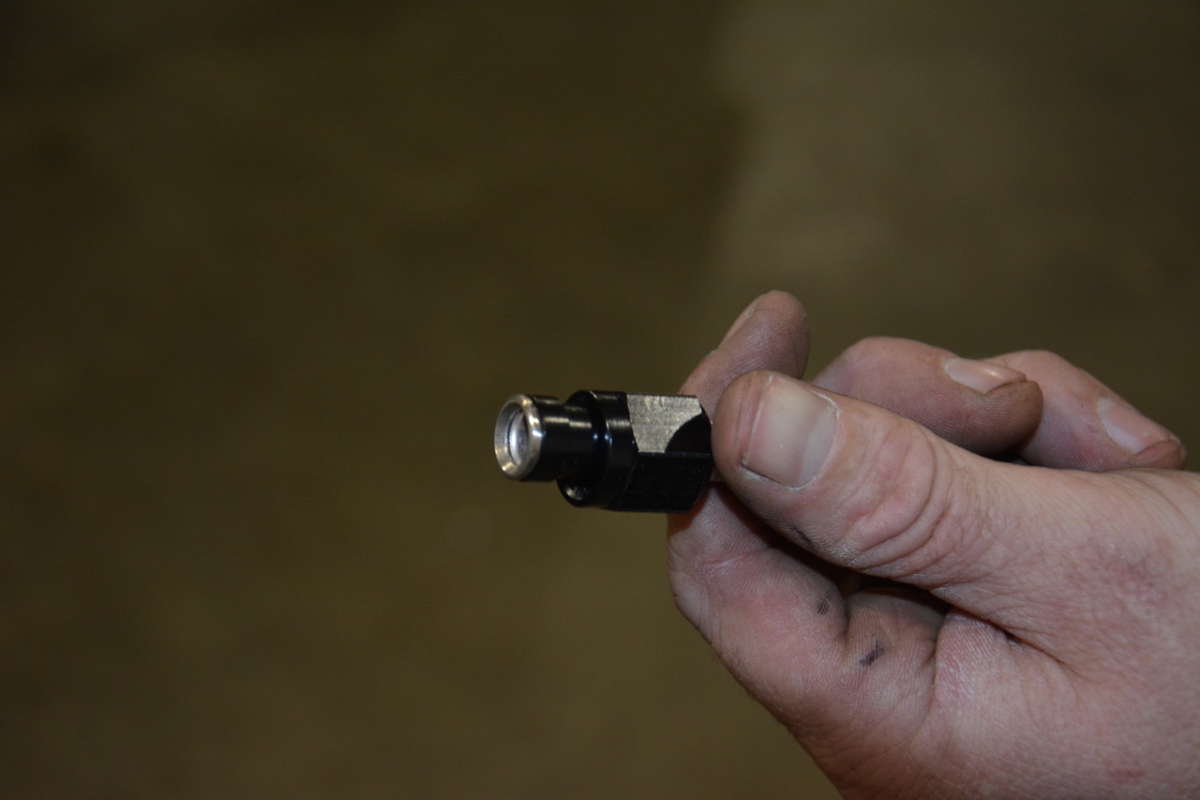
With our AN fittings, we gave the exterior of the tubing a quick hit with the sand paper to knock off the high spots left by the clamping die, and slid our fittings into place. Remember, with AN fittings, it’s critical to get both parts of the fitting installed on the tubing before bending or starting the flare.
For more info, check out www.mastercool.com.


Comments for: Toss Your $20 Flare Tool
comments powered by Disqus