Body Prepping on a Factory Five Cobra
Text and Photos By Steve Temple
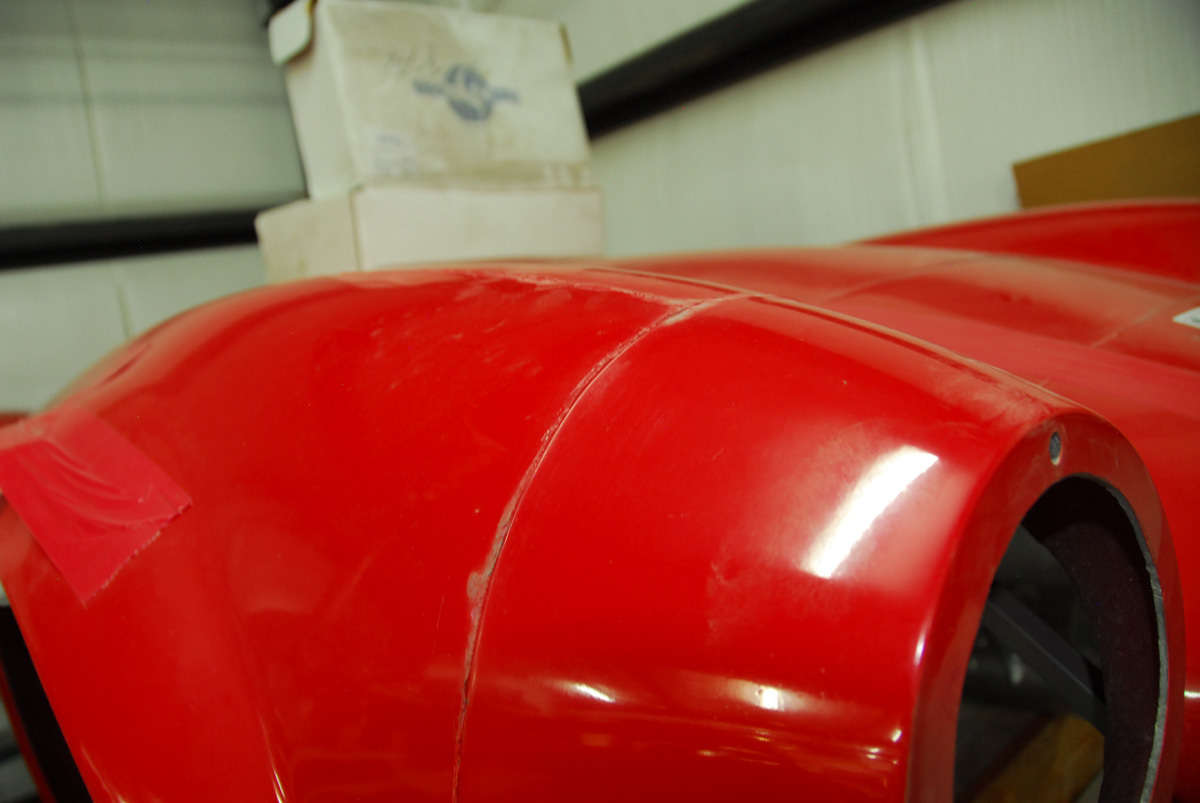
With the chassis and drivetrain portions of Summit’s Cobra buildup completed, the next step is preparing the fiberglass body for paint. Keep in mind that there are some fundamental differences between fiberglass and sheet metal in both the techniques and materials used. For instance, you’ll first need sand off the “parting lines” (ridges of excess gelcoat left over from the fiberglass molding process). Also, while Bondo is a common product used to smooth out imperfections on metal, other types of fillers adhere better to a fiberglass laminate.
Body shops and car builders vary in their approaches, and have individual preferences as to products and techniques, but they all agree on one basic point: when it comes to painting, it’s all about the prep work. Skimp on the foundation and initial coatings, and no amount of paint will correct any imperfections. So be extra thorough and take your time sanding and blocking and filling—and even repeating that same process, too
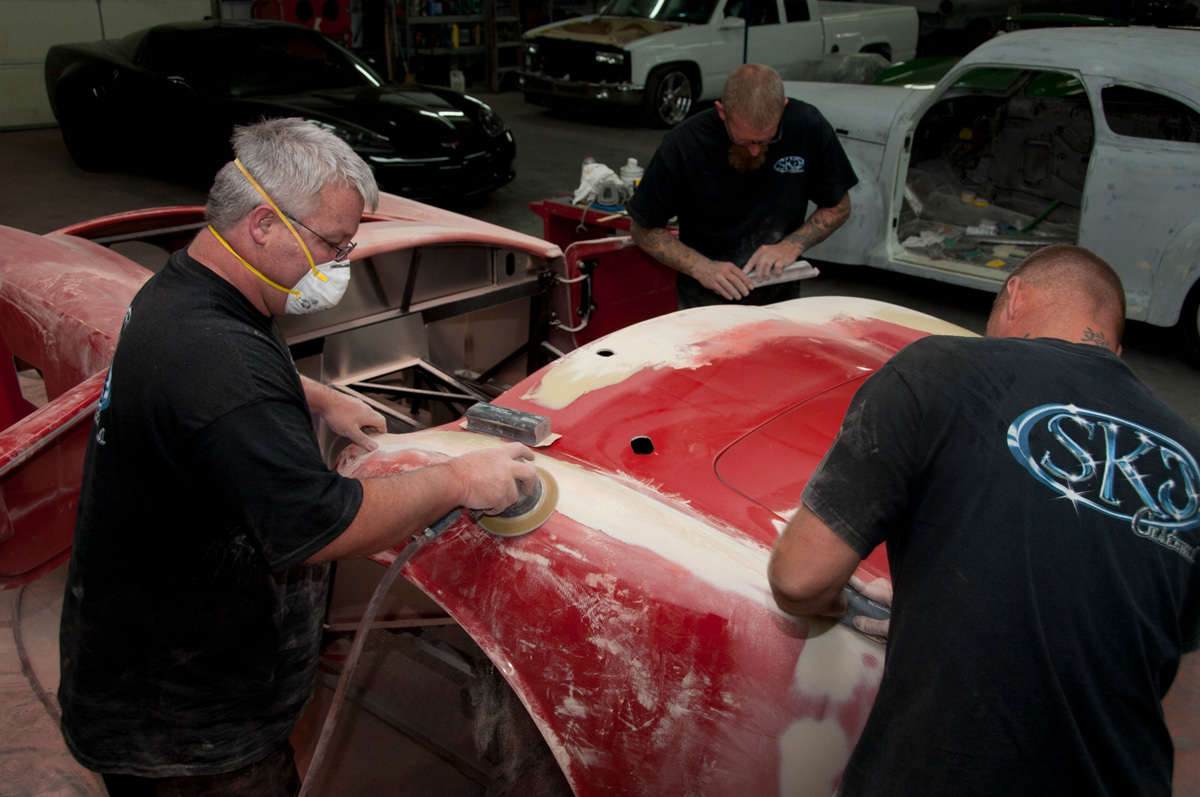
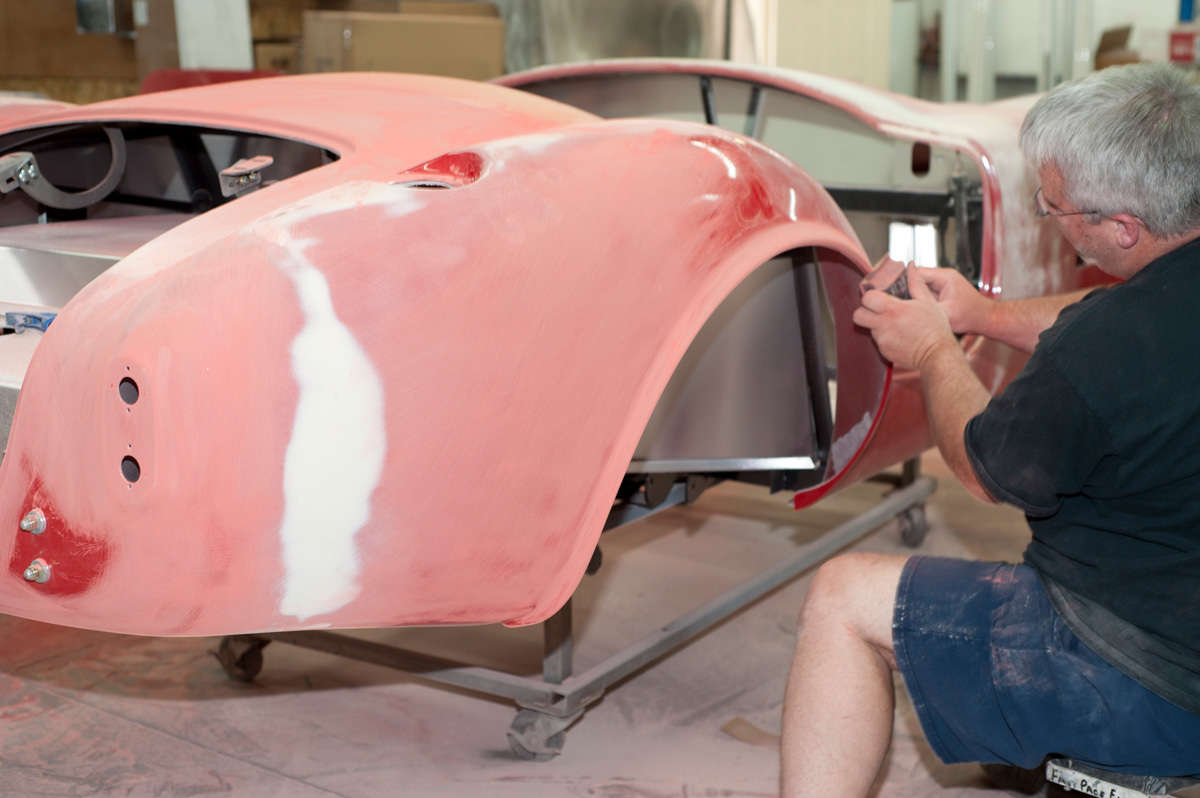
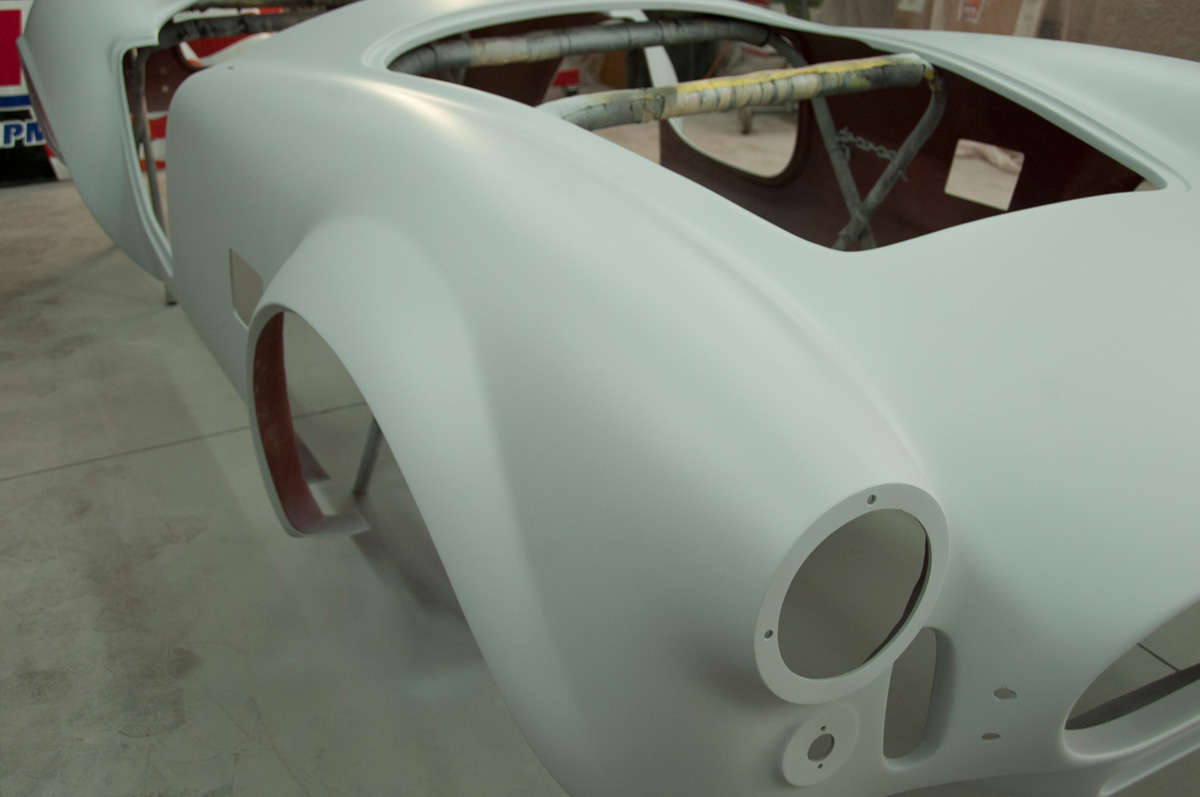
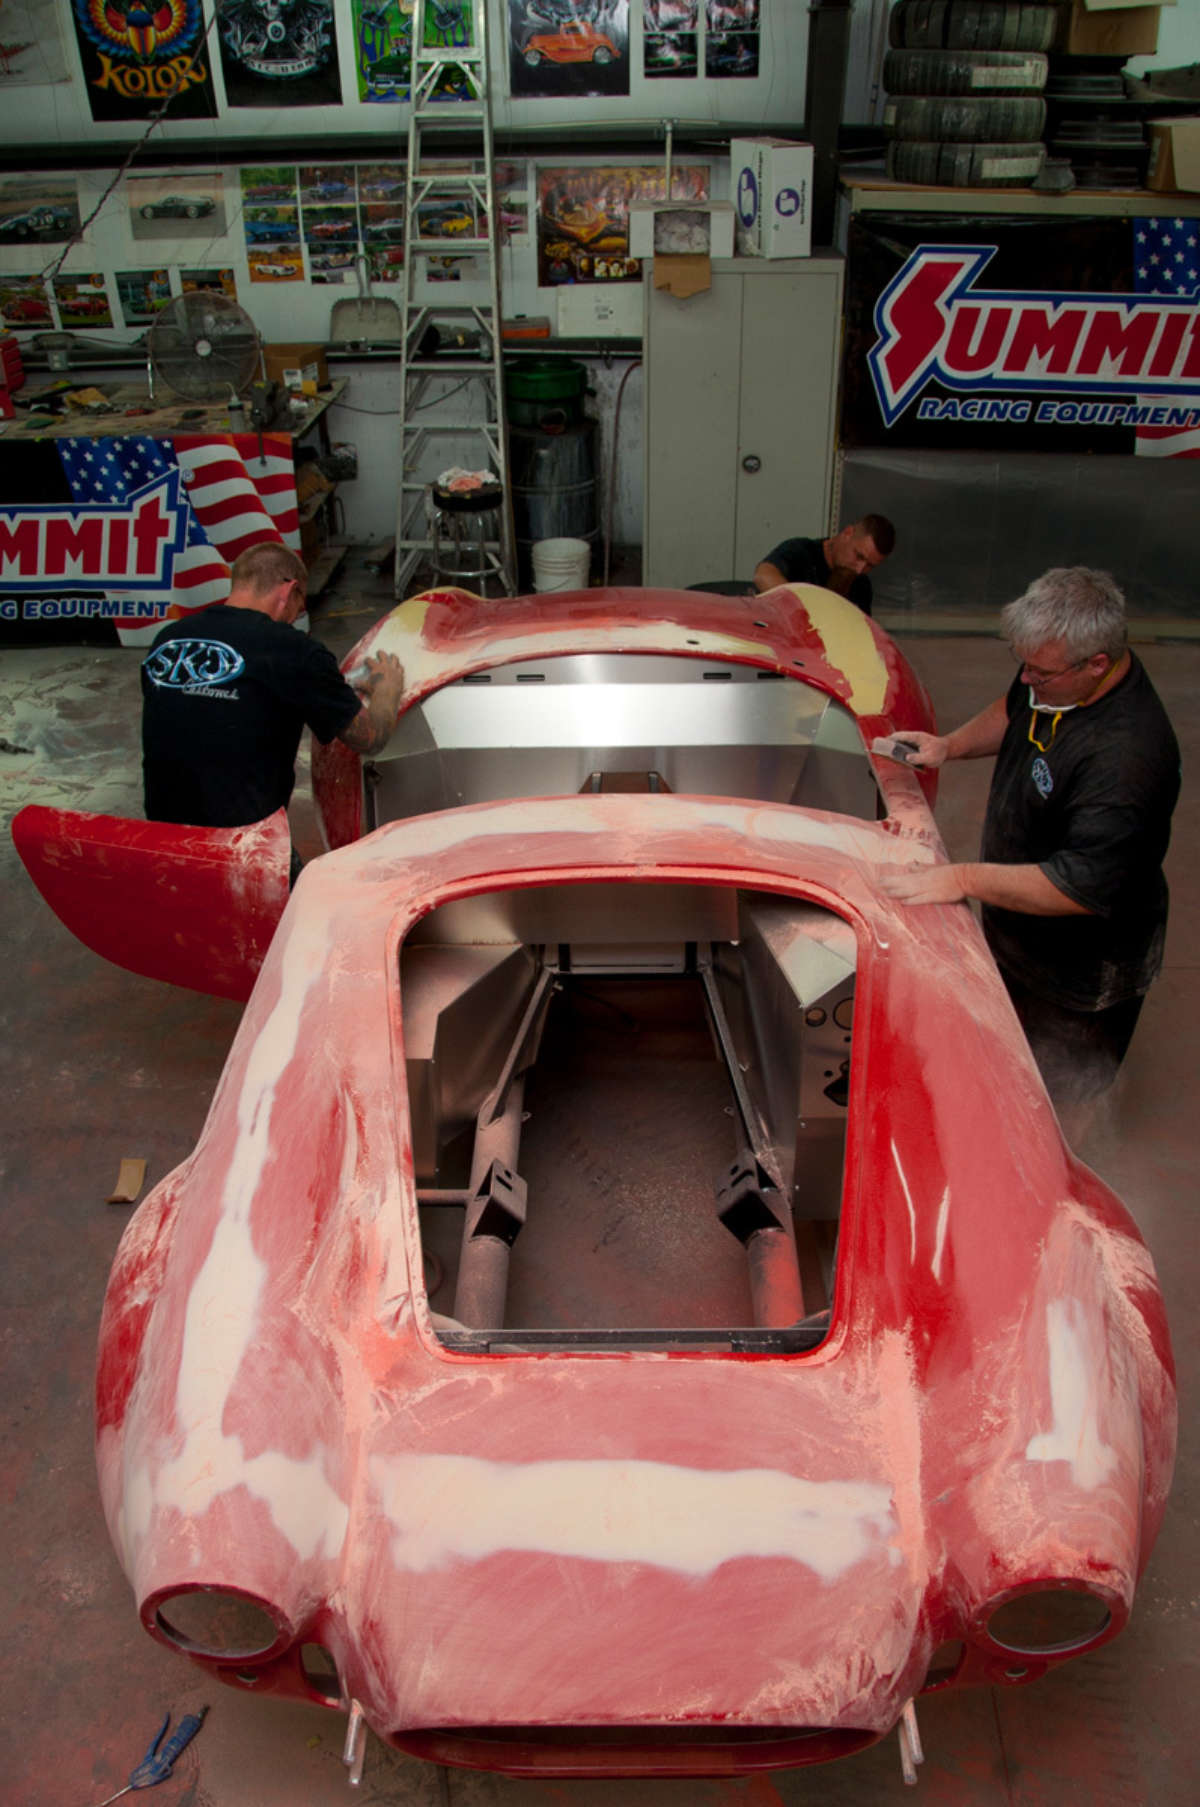
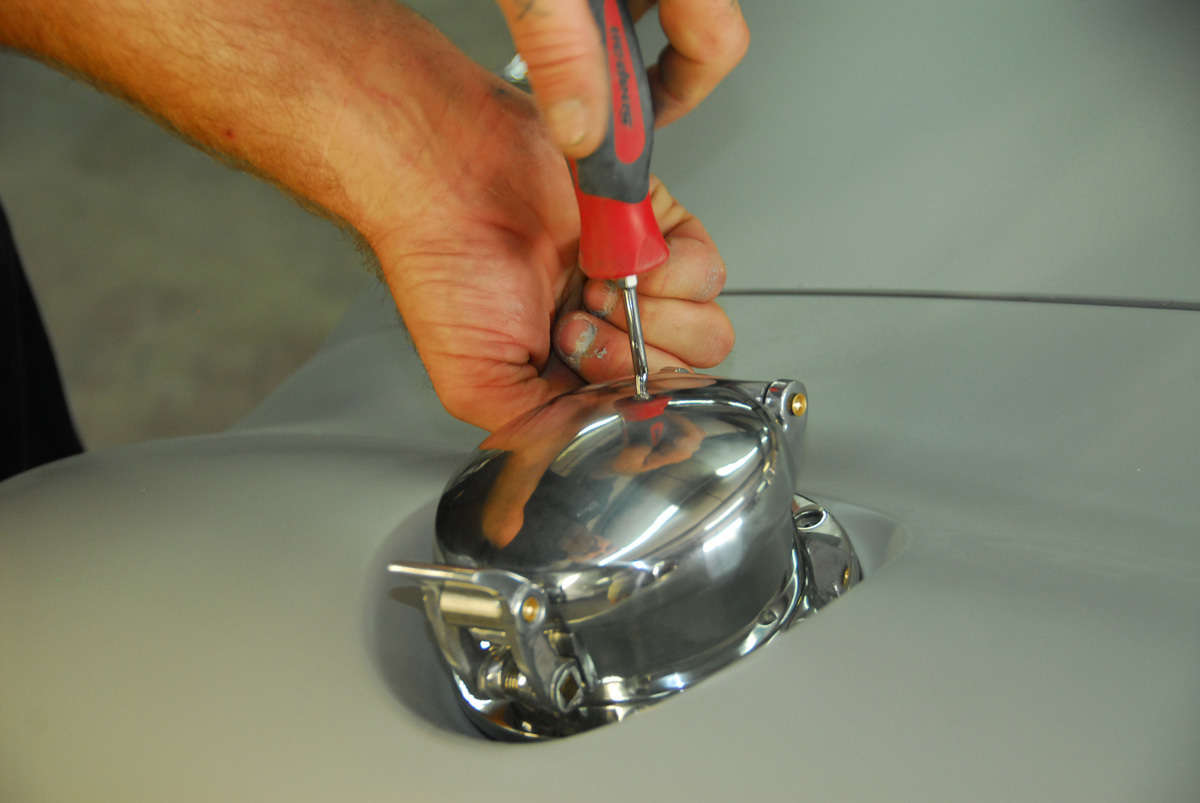
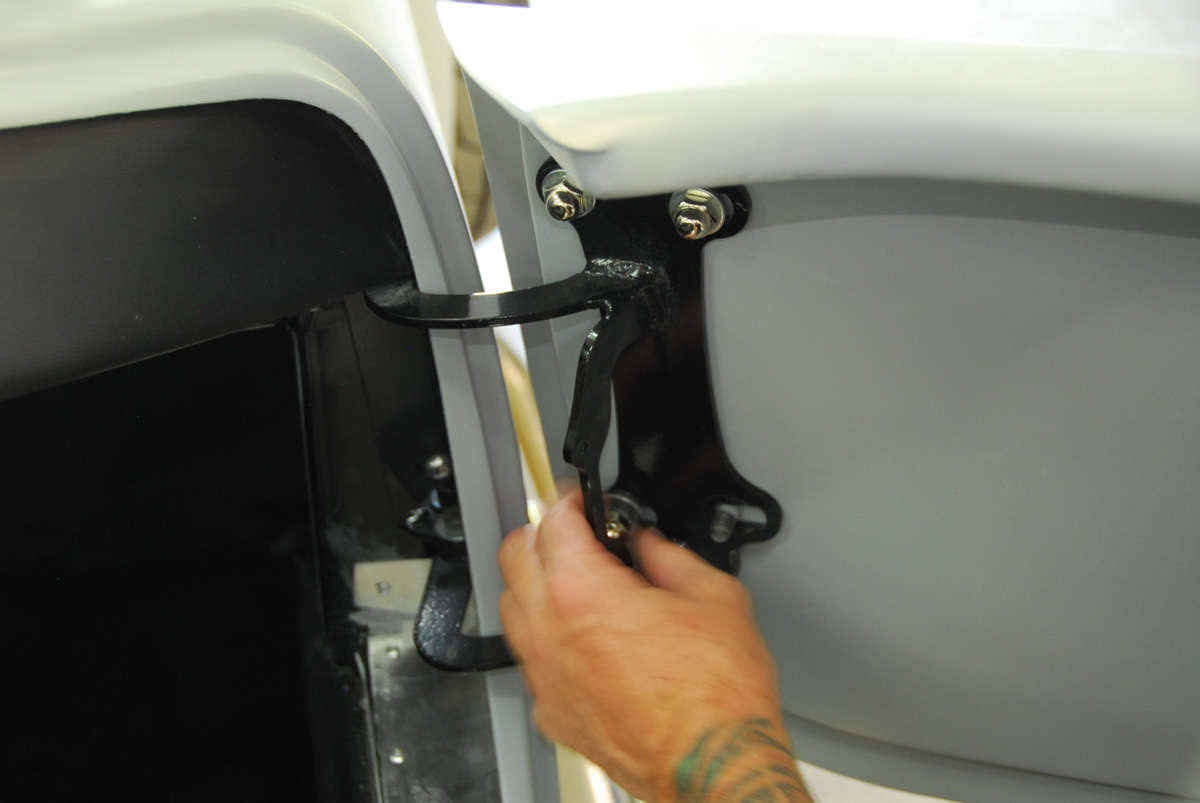
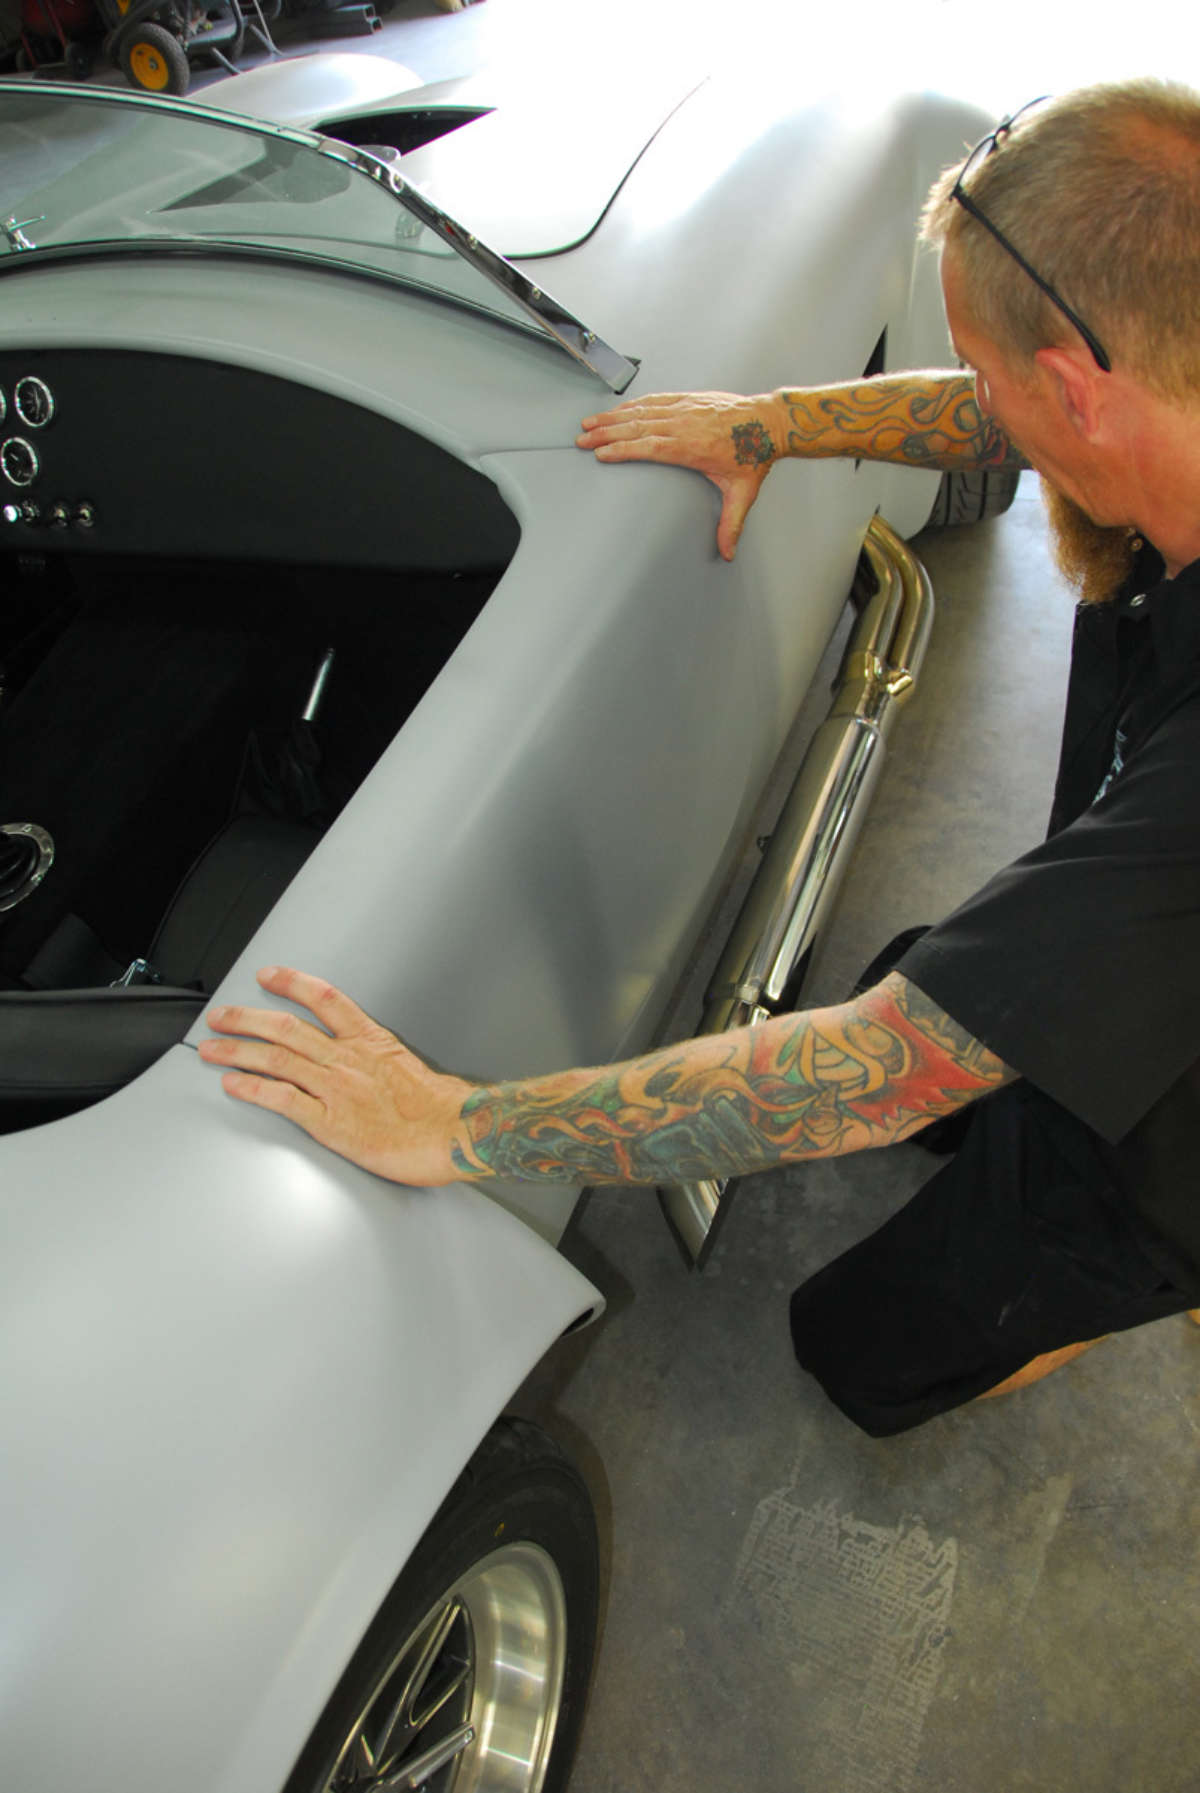
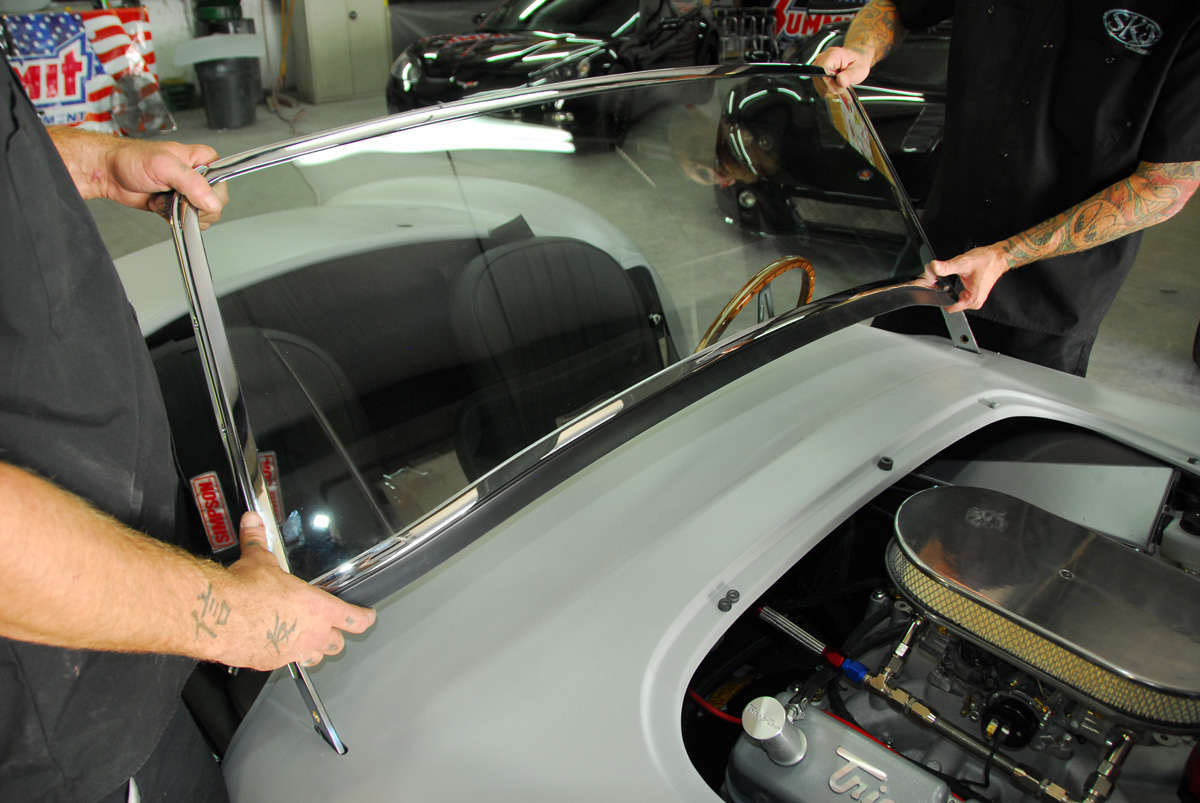
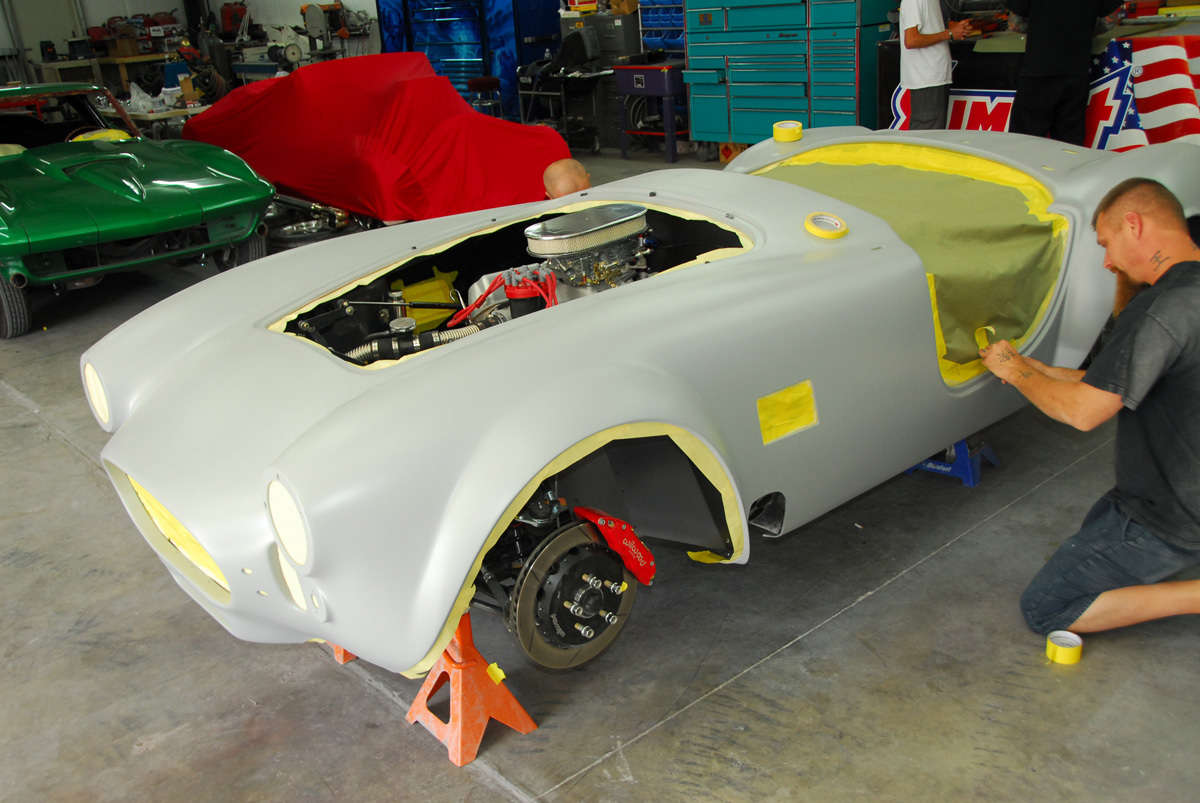
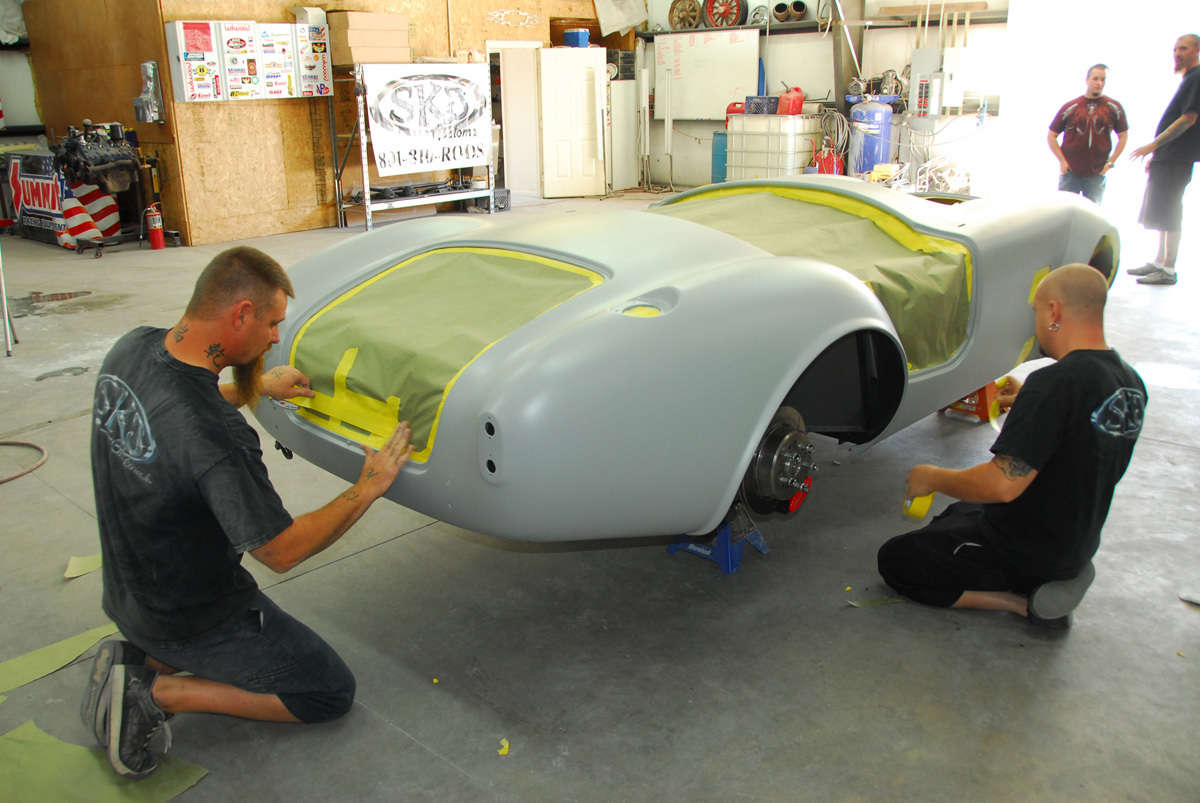
Even though today’s filler/primers make the job go faster, how much time are we talking about for a quality job? That depends on your expectations and budget, but on this particular project, SKJ Customs sanded the body several times, and used three different types of fillers and coatings, all supplied by Summit Racing, plus three coats of primer, to get premium-grade results. During that filler process, SKJ installed and aligned the hood, doors and trunk lid, and then test-fitted all of the exterior trim and hardware.
Why not fit the trim before painting is done? “There’s nothing worse than taking a file or drill to a brand-new paint job,” says Factory Five’s Nate Smith. “It’s a nightmare if you mess it up.” He speaks from experience, having attempted this shortcut once, but never again.
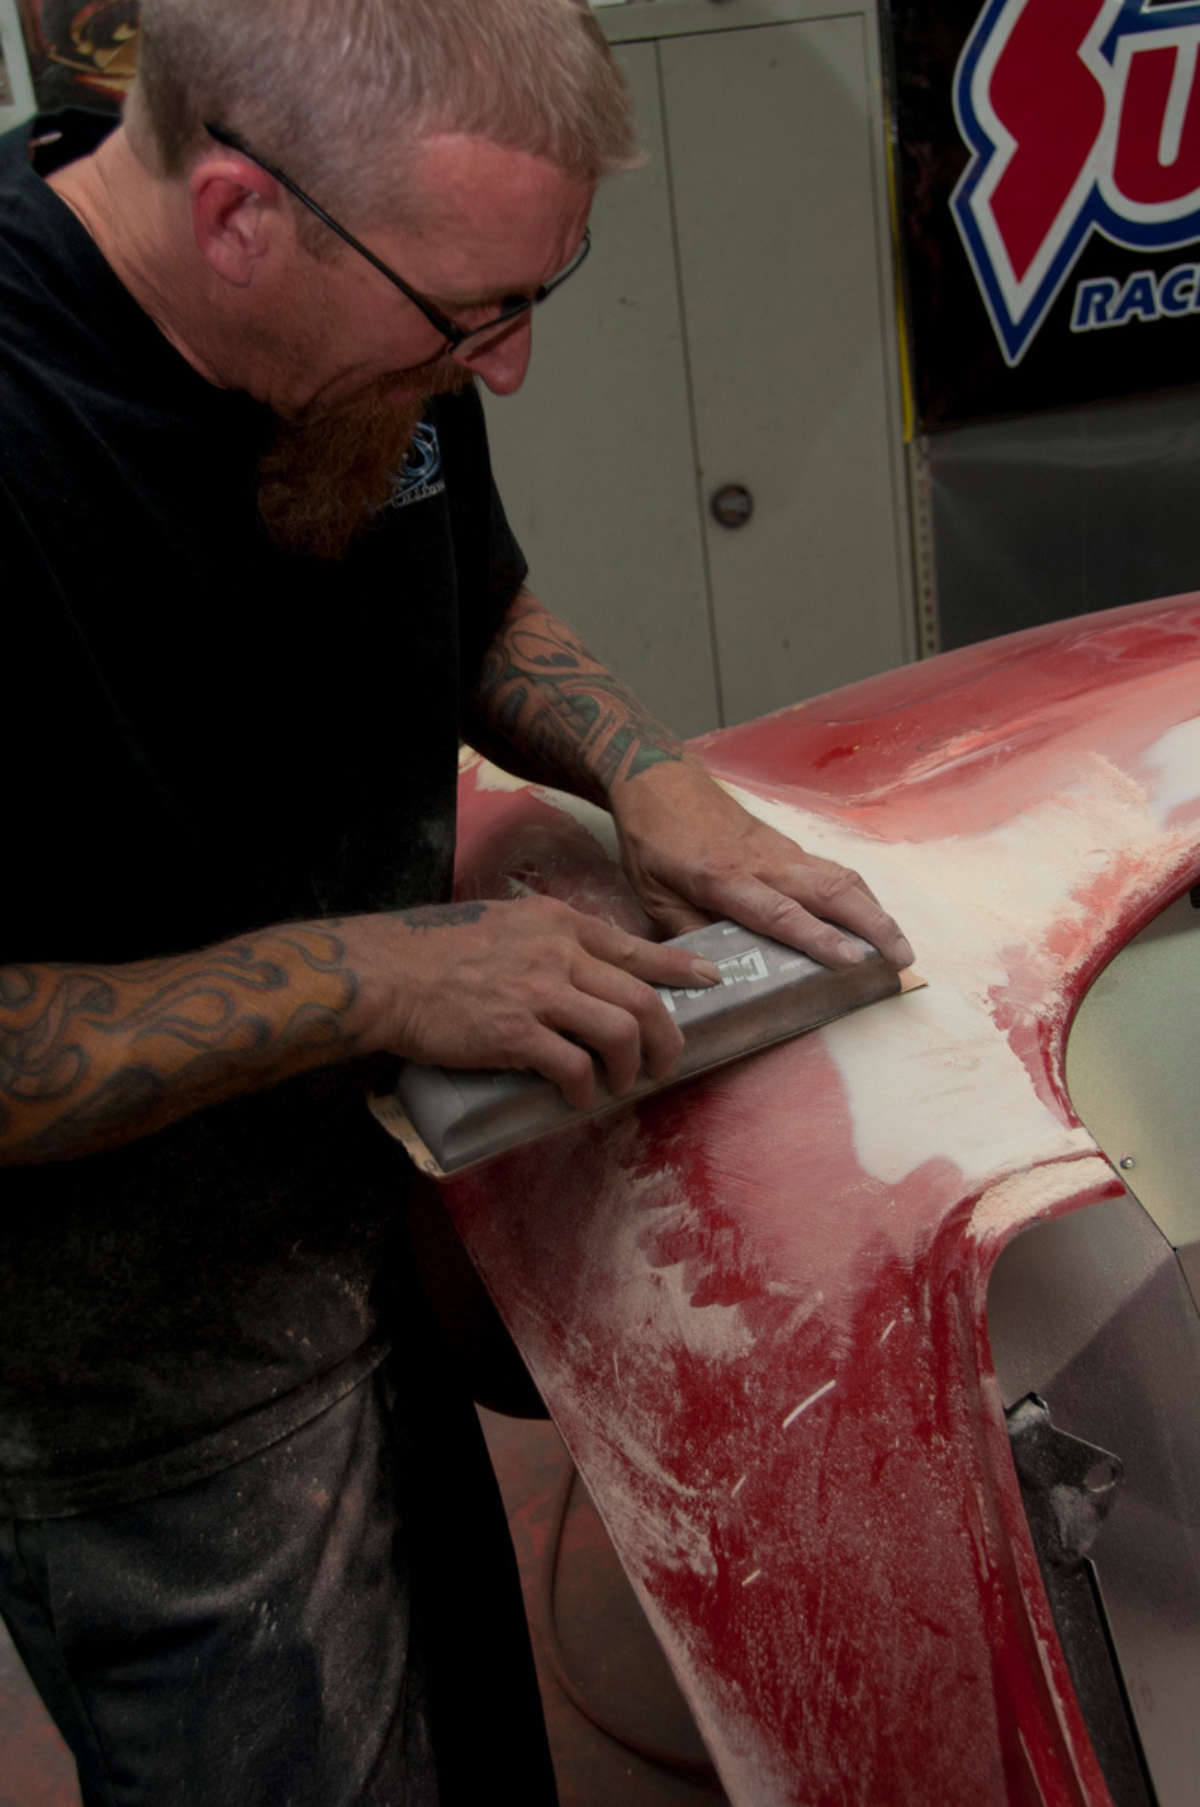
SKJ wholeheartedly agrees, and fits on all parts during the putty stage, so any adjustments can be made right then. The first stage, however, starts with a 80-grit sandpaper on a DA sander (not orbital, as that can grind through the gelcoat) to remove the parting lines. Then the body workers apply Plyo Grip, an epoxy-based filler.
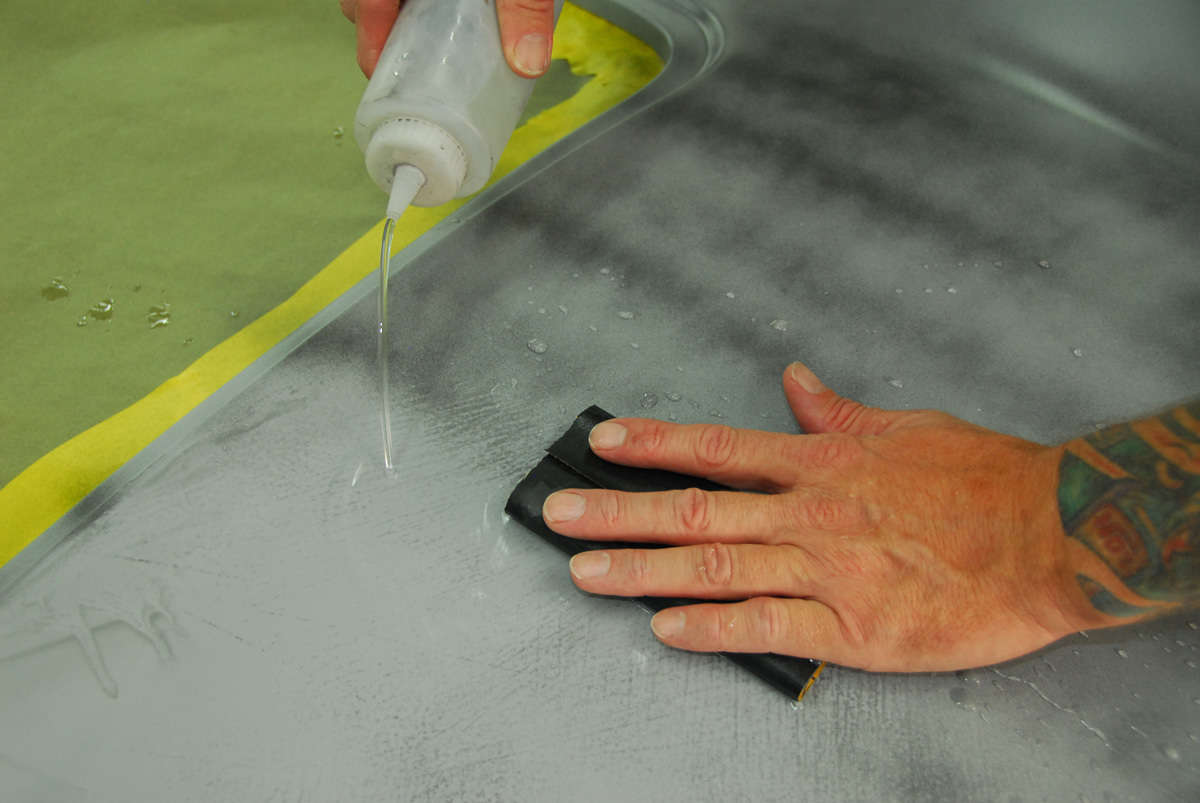
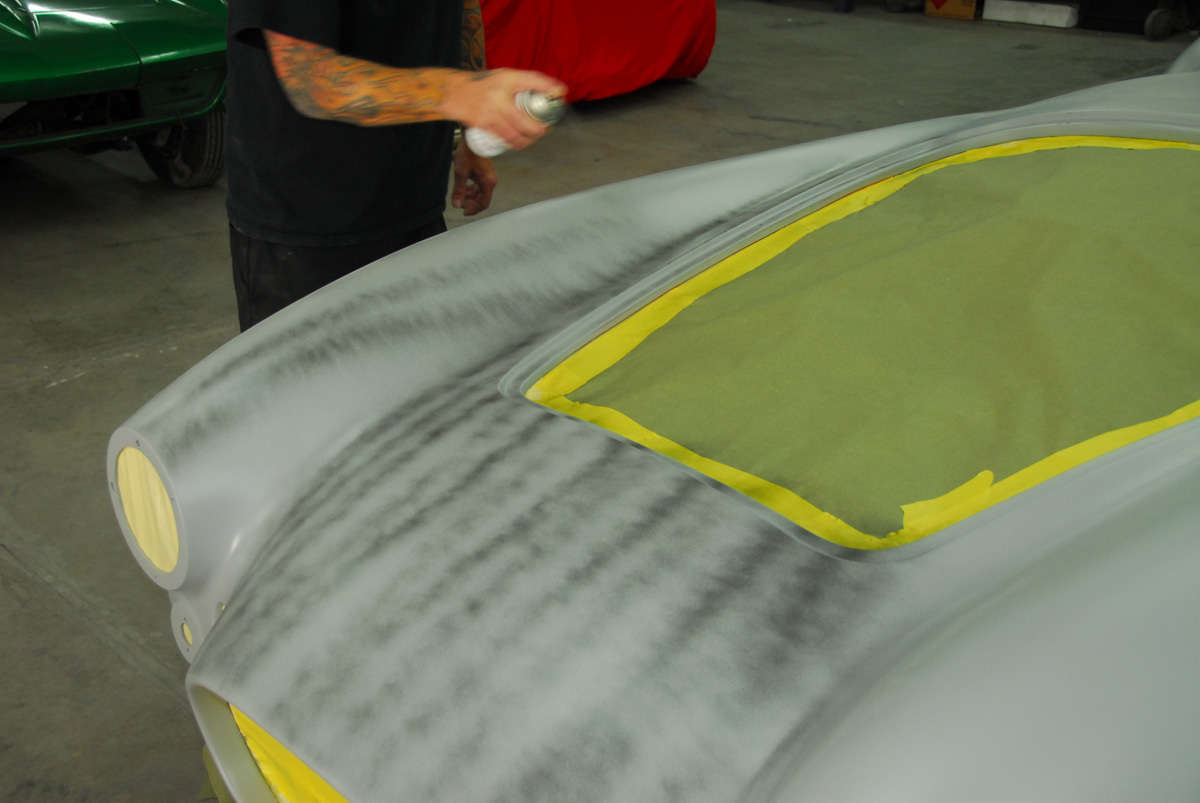
Along with using increasingly higher grades of sandpaper to smooth the surface (as fine as 800 grit or more), they follow that filler with U-POL 0714 Dolphin Glaze to fill pinholes, followed by even more sanding, and lastly an epoxy sealer. While the sealer is still drying, SKJ uses a wet-on-wet application of primer, three coats in all. A final spray of a dark “guide coat” reveals any dips or imperfections, removed by wet sanding the primer. Only then is paint applied, and finished with multiple clear coats.


Comments for: Summit Meeting Continues
comments powered by Disqus