Tips from a first-timer’s experience prepping and painting
By Jim Youngs
Photos by Jim Youngs, Carolyn Youngs and Monica Benger
Ask just about any specialty car builder how much of the work he did himself and you’re likely to hear, “Well, I did everything but the paint.” Even fearless, burly guys who can make precision components out of chunks of steel on milling machines will cower at the thought of handling a spray gun.


But truth be told, today’s paints and painting materials are rather easy to work with and are very forgiving, even for newbies. So consider this piece as an encouragement to pick up some wet-or-dry sandpaper, body filler and a high volume, low pressure (HVLP) gun. We’ll walk you through a fairly typical painting project done by a rank amateur, that’s me, who’d never picked up a pro spray gun in all the years he’s been building cars.
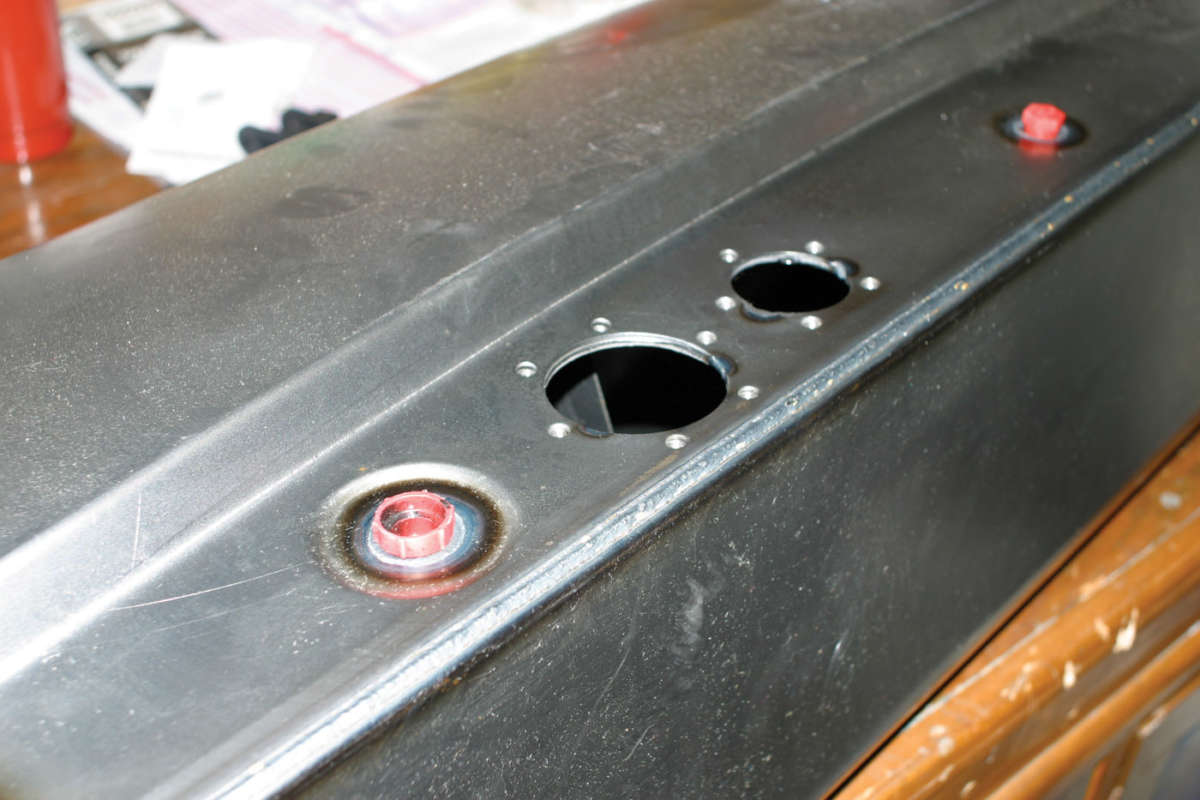
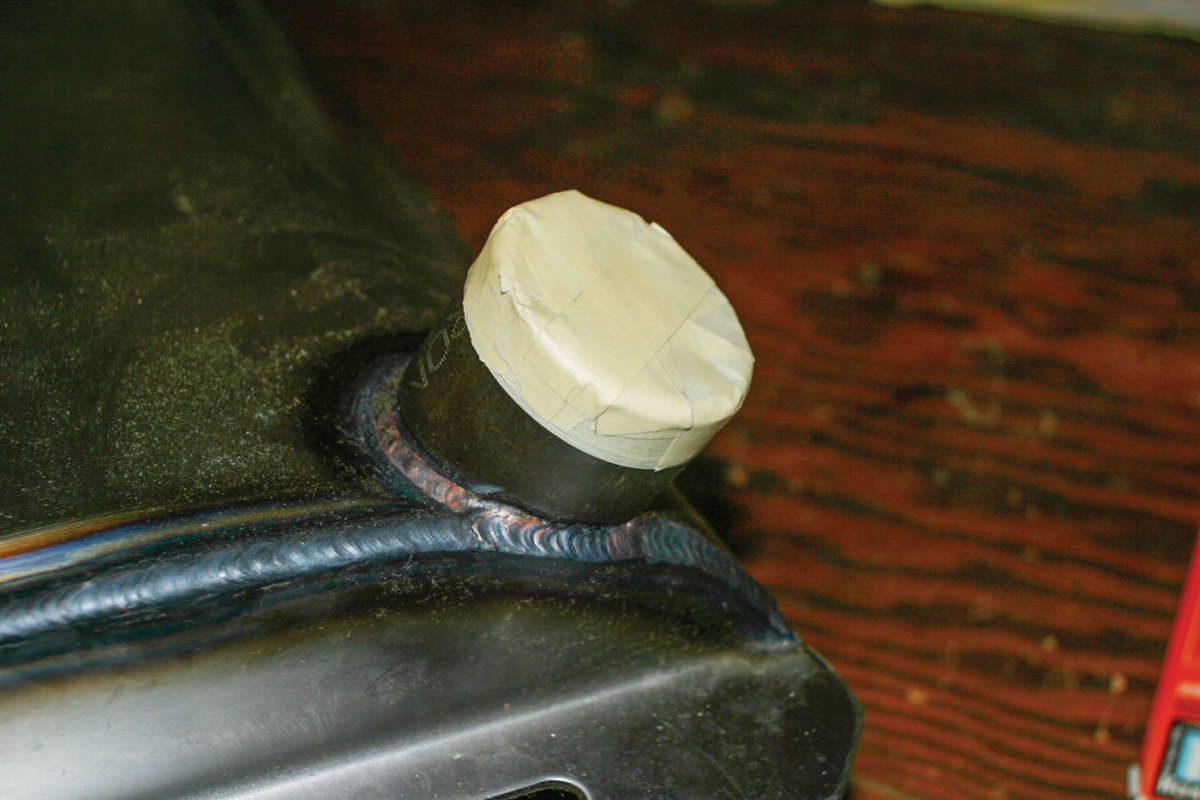

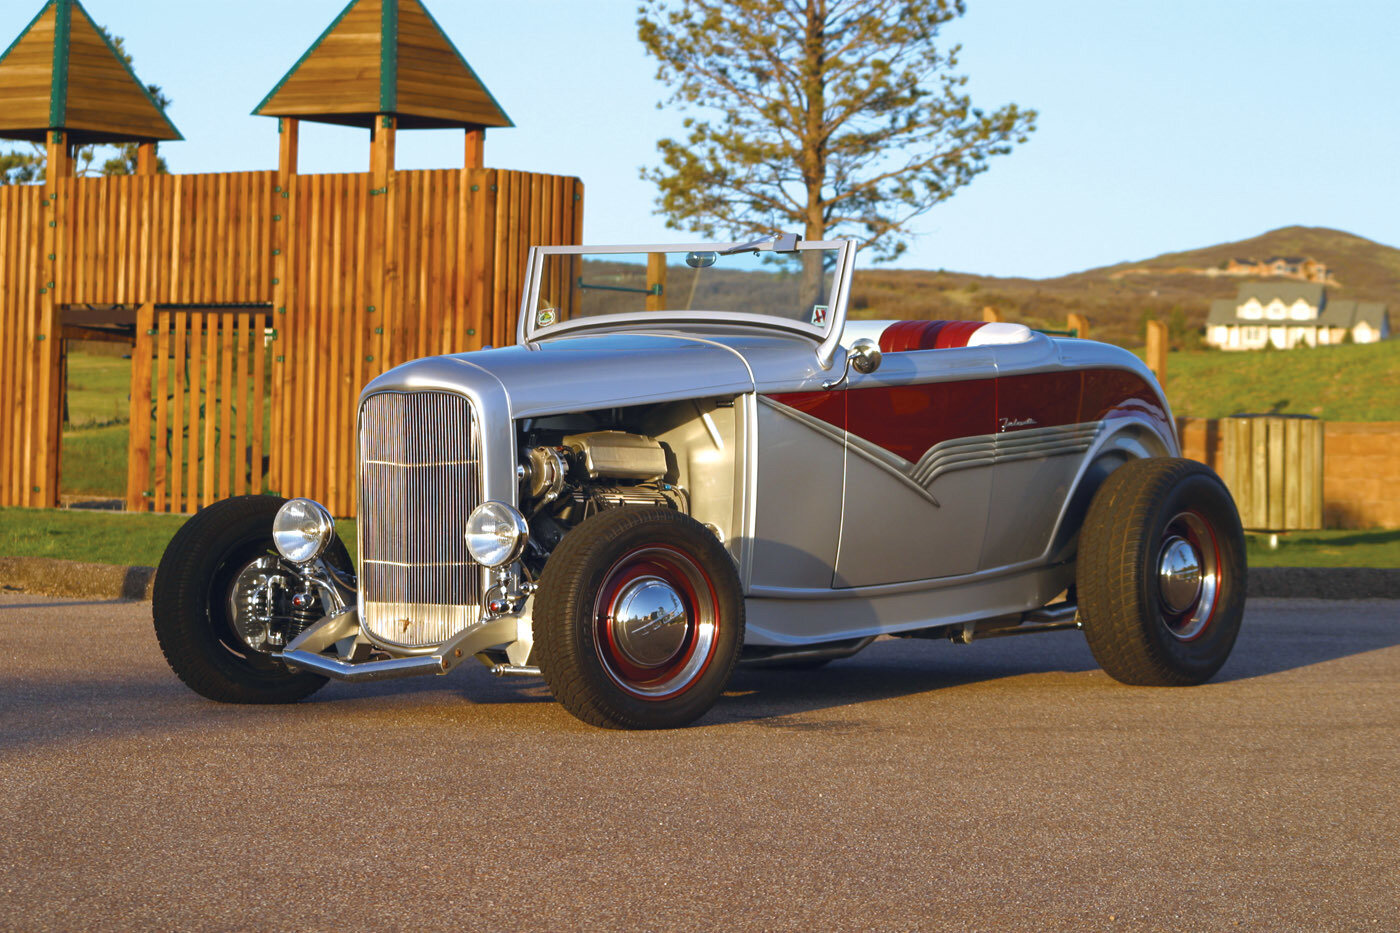
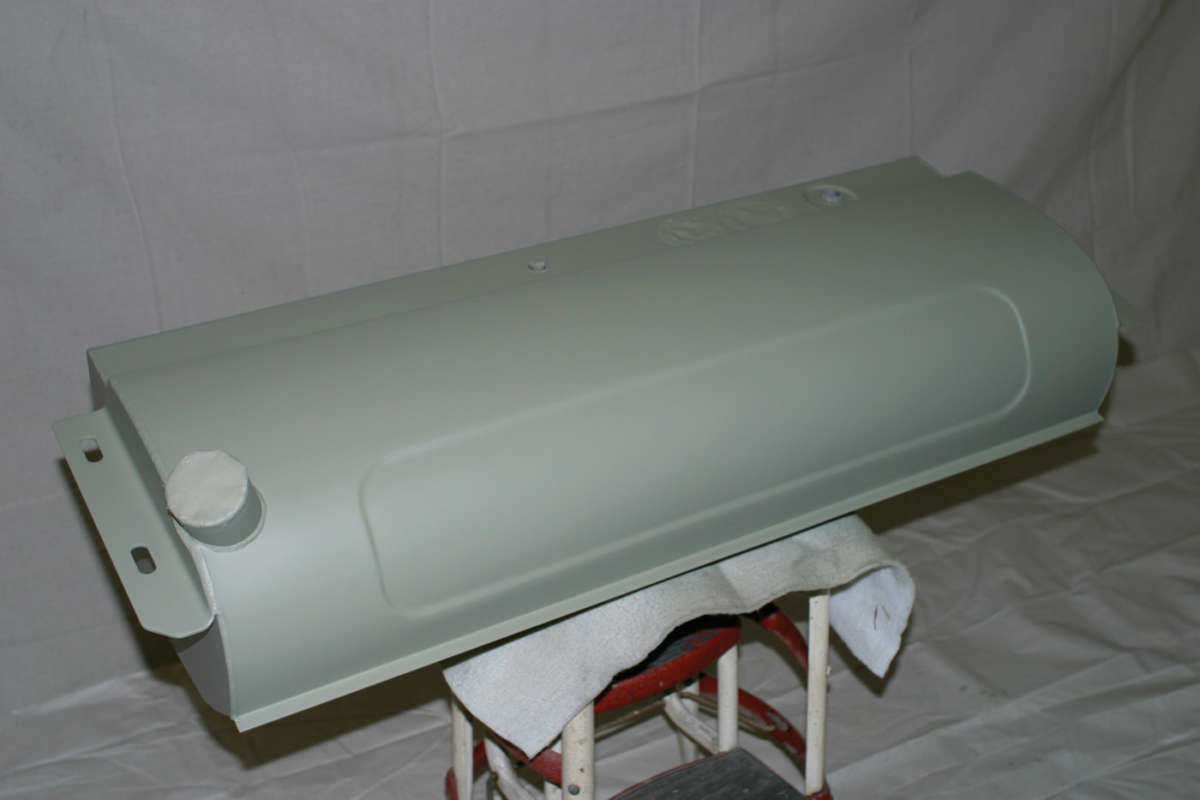
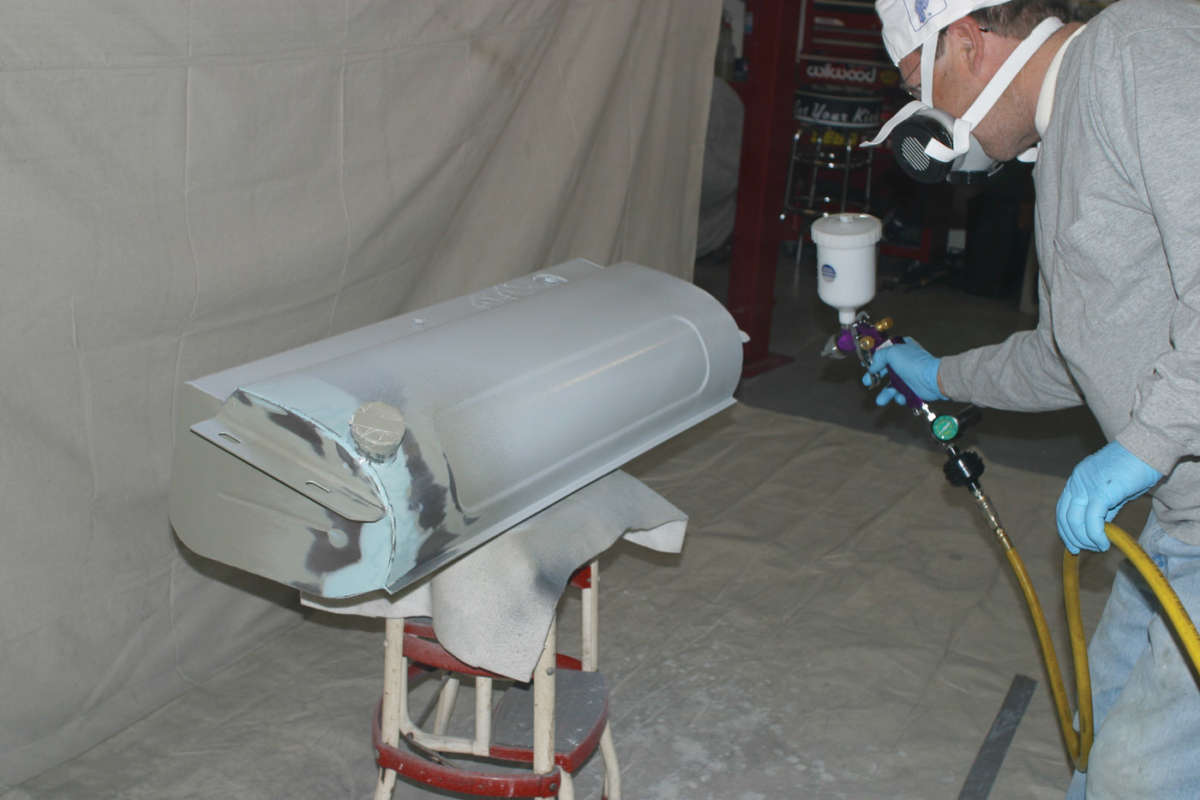
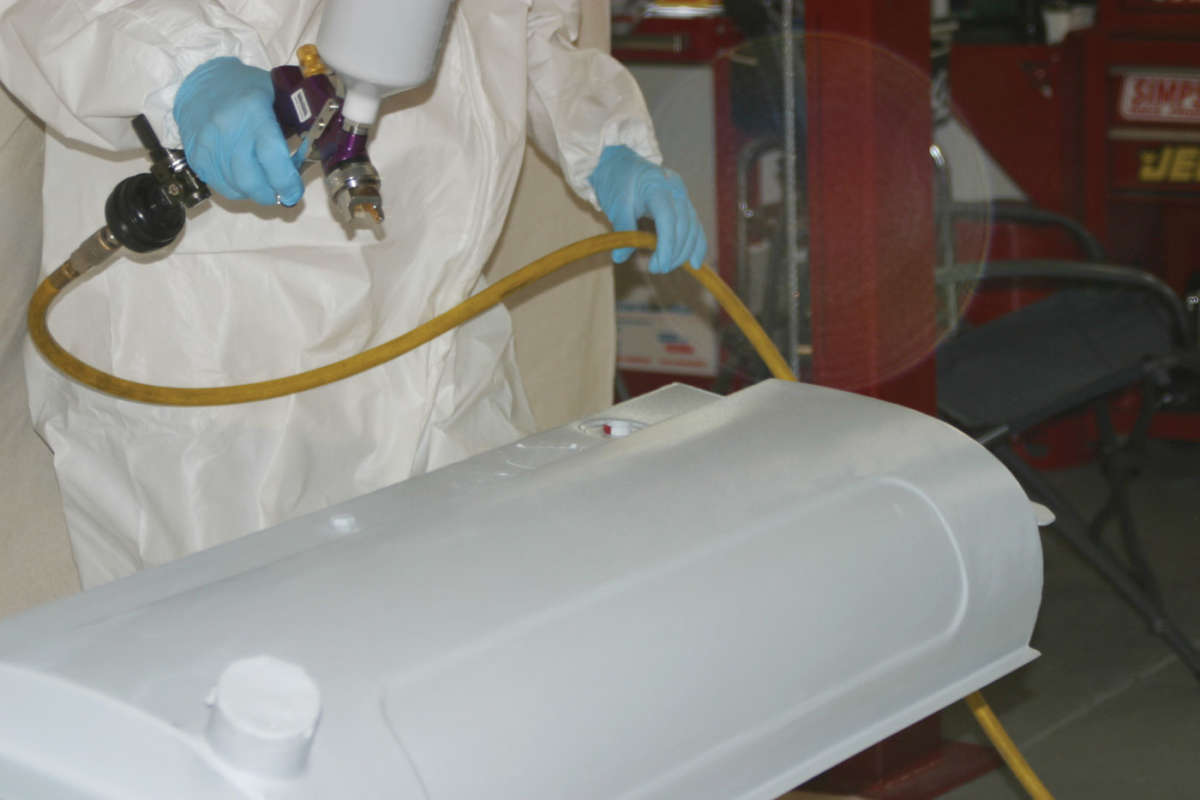
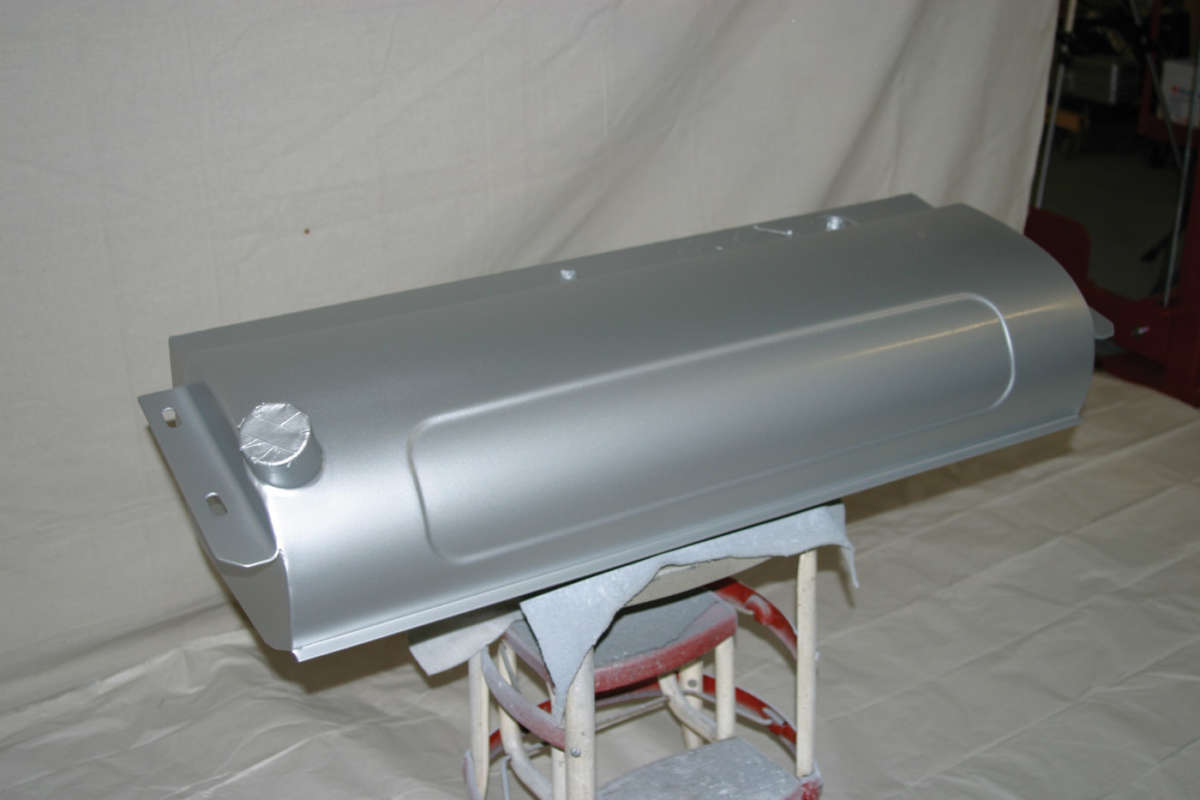
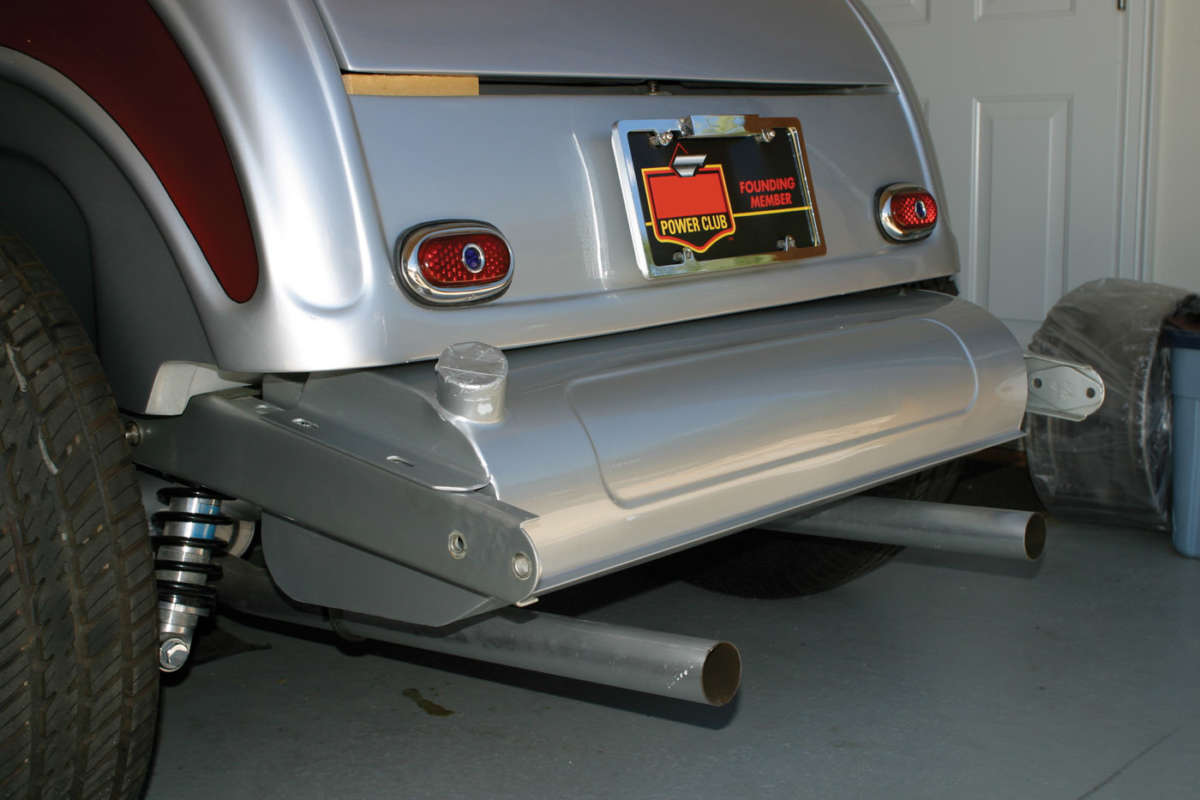
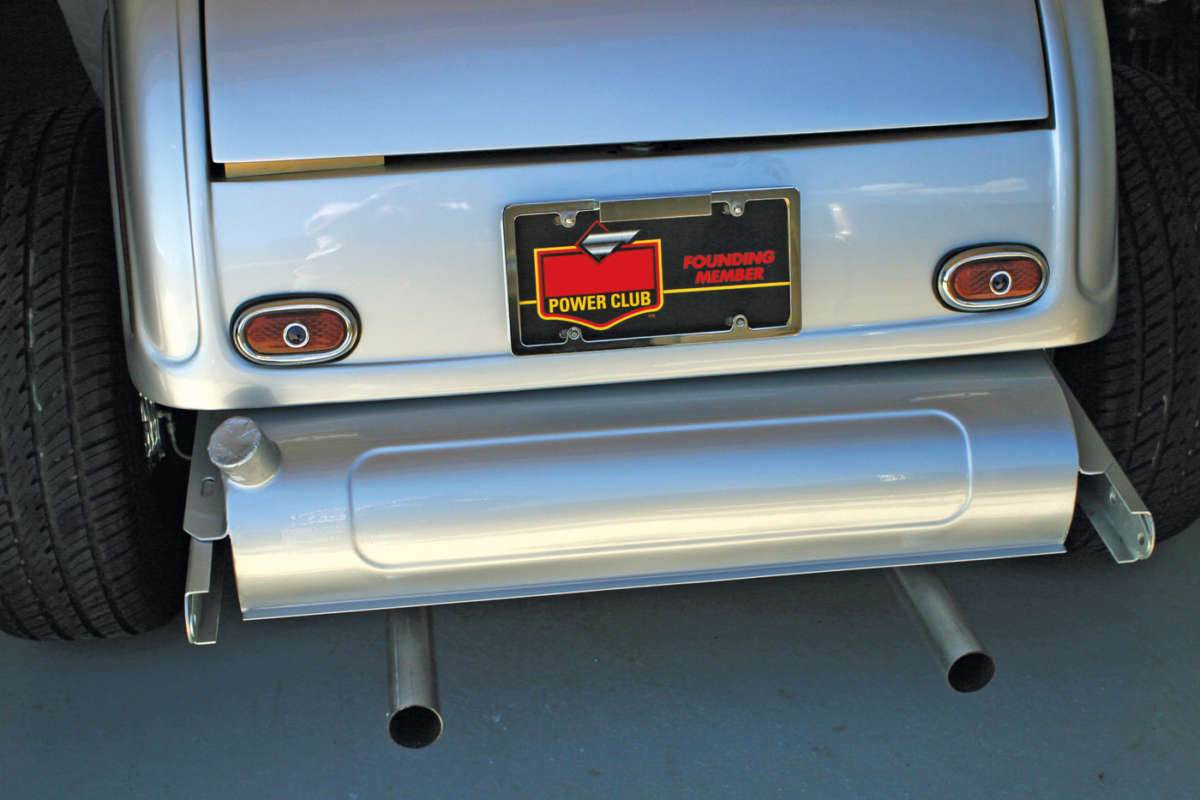
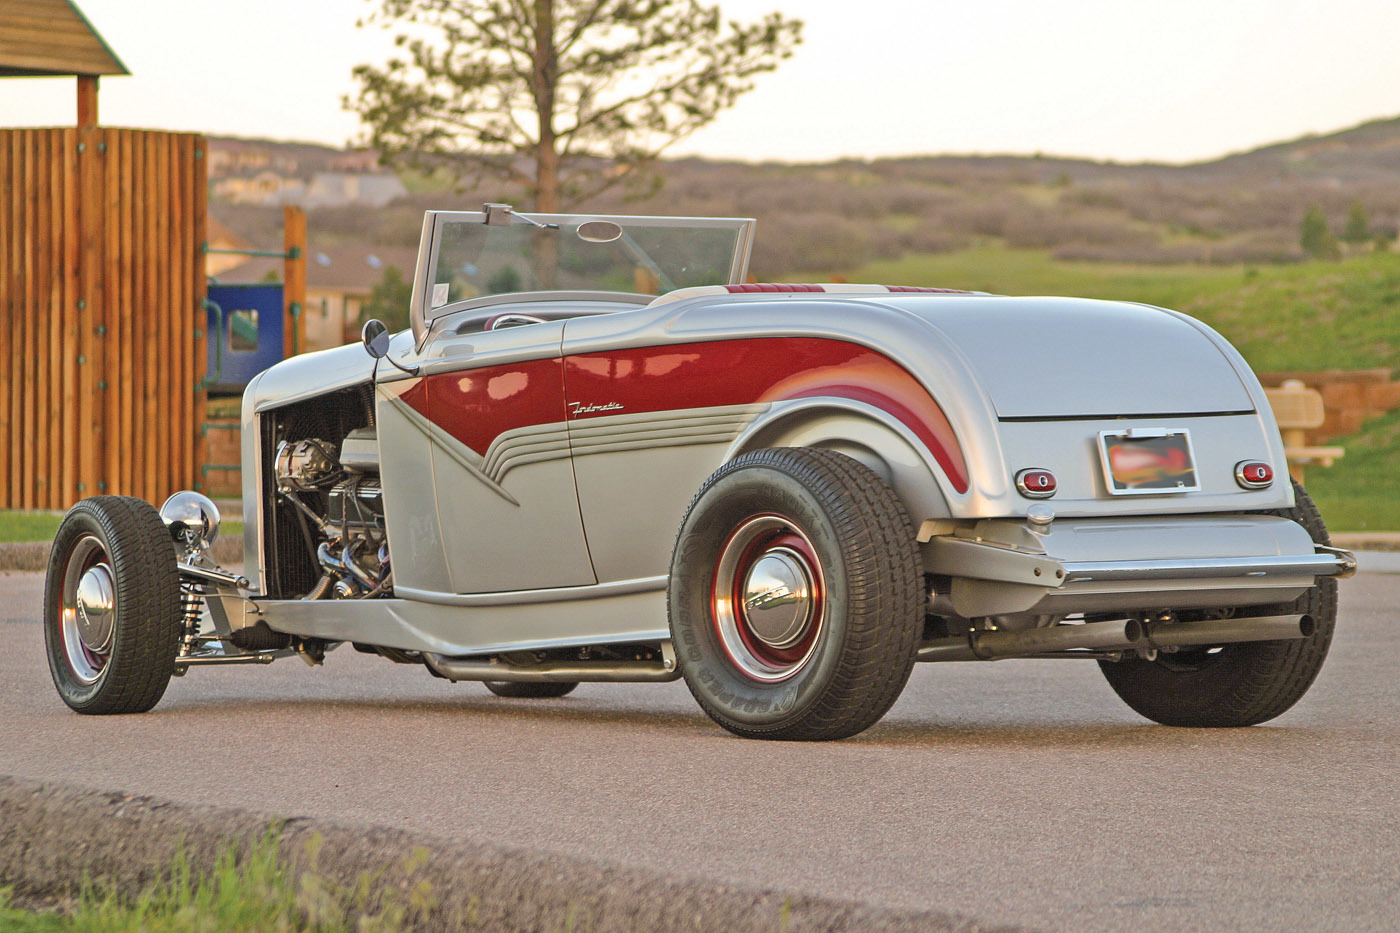
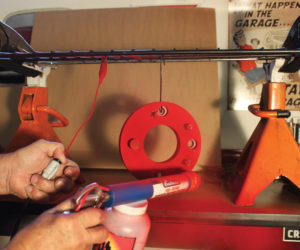
What prompted me to learn how to paint actually stemmed from a fueling issue on my ’32 highboy roadster. I decided to buy a new EFI fuel system setup from Tanks Inc. and also a new unpainted fuel tank. Paint is particularly important on a ’32 Ford fuel tank, as a big portion of it hangs out behind the car in full view.
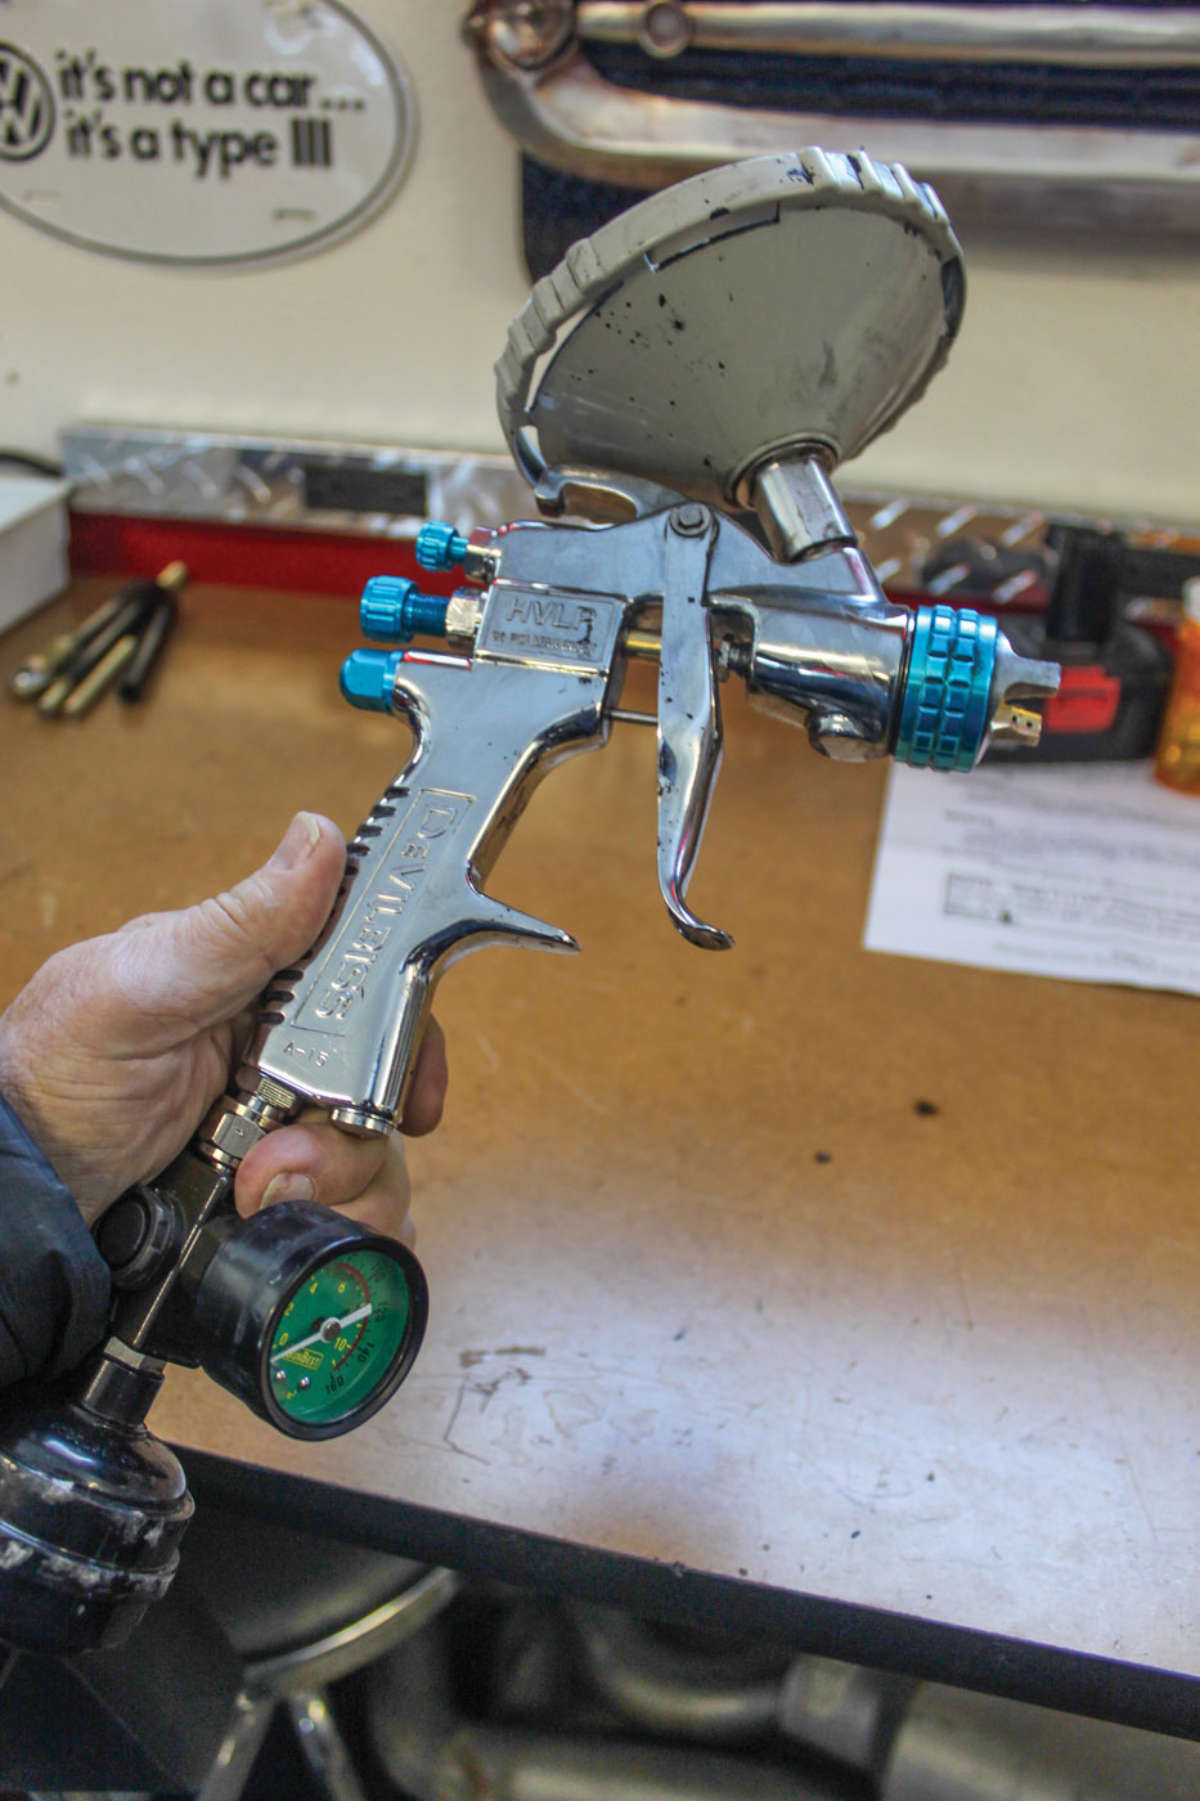
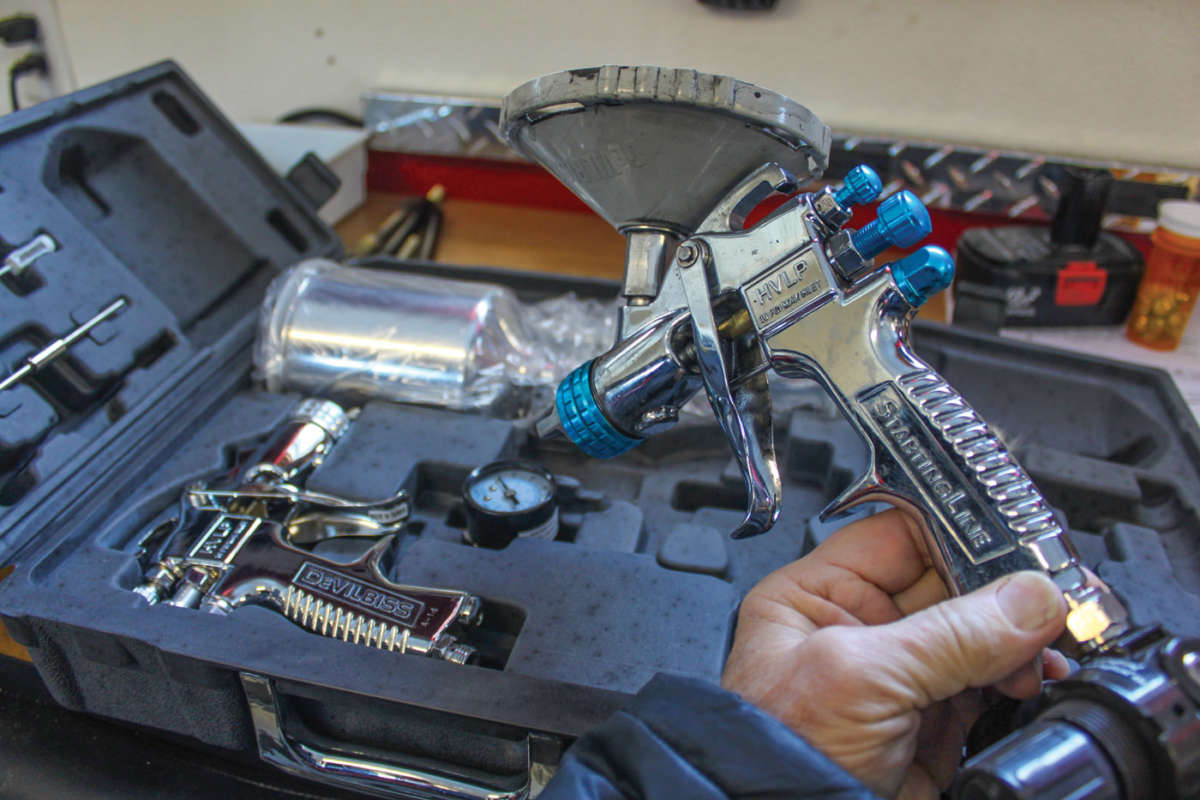
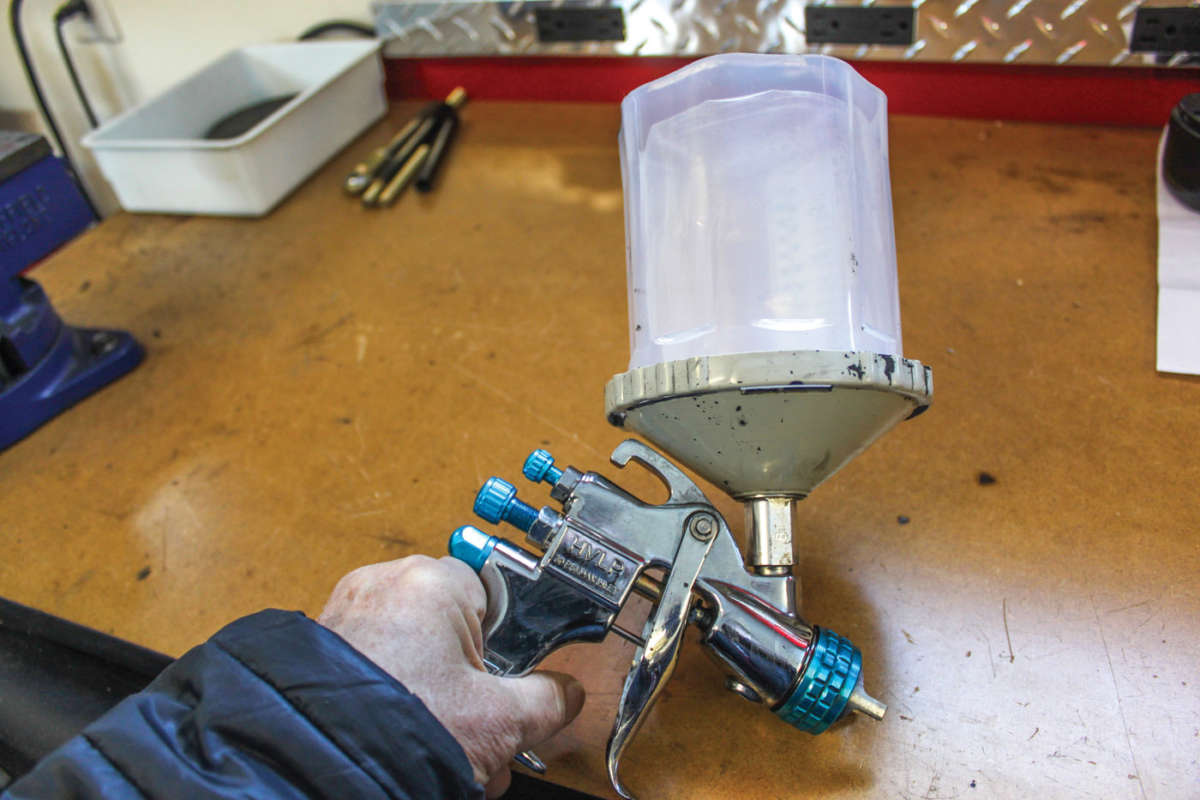
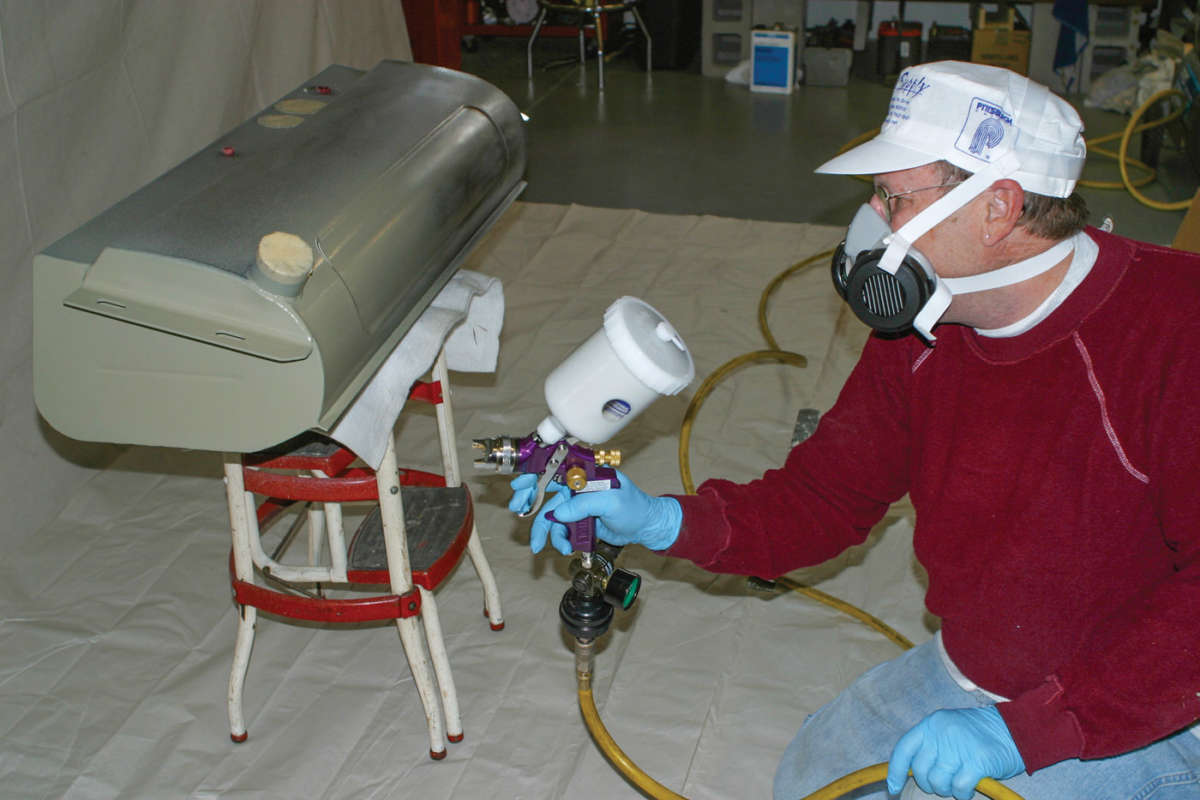
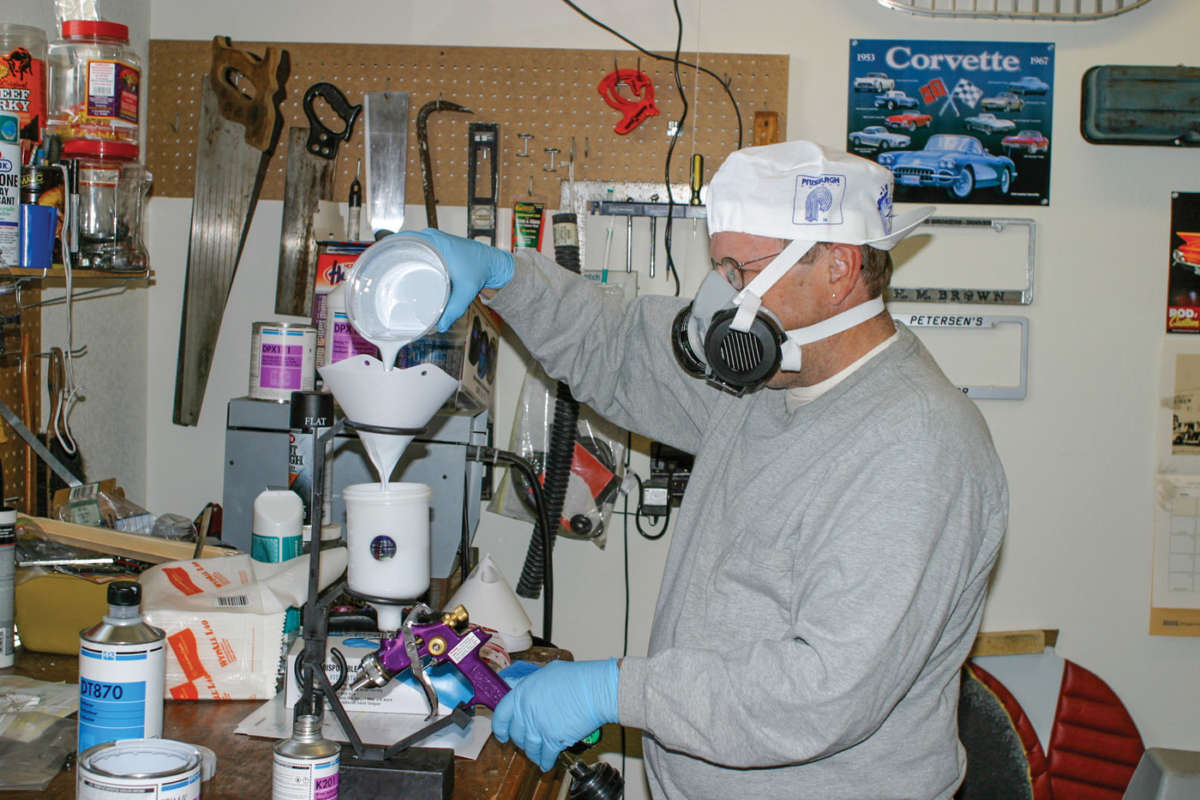
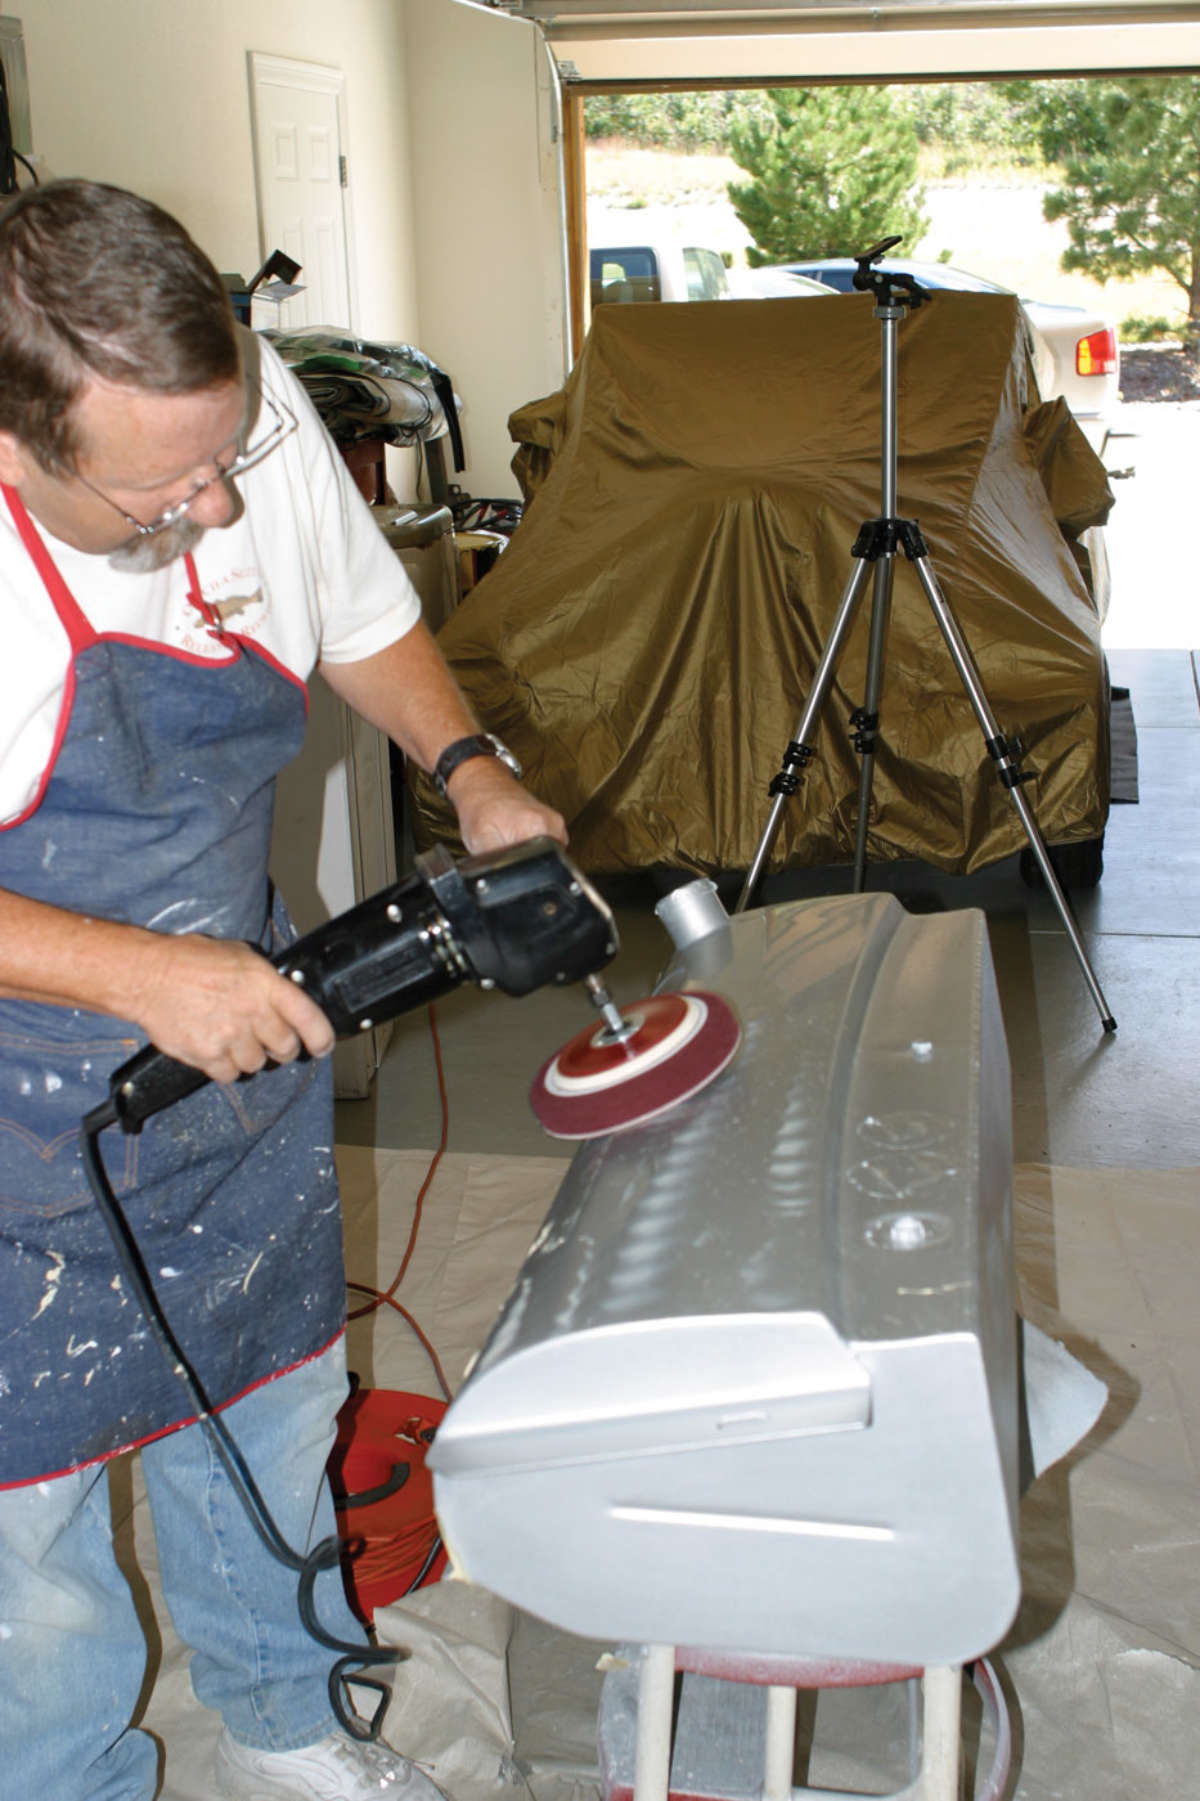
Once the new tank was ordered, the painting project began in earnest with a visit to Harbor Freight to buy a cheap Central Pneumatic HVLP professional spray gun. These are usually under $30 on sale, and I reasoned there was no sense investing heavily since it wouldn’t get much use after this project anyway. I ended up buying a pair of guns, one for primers and one for base coats and clears.

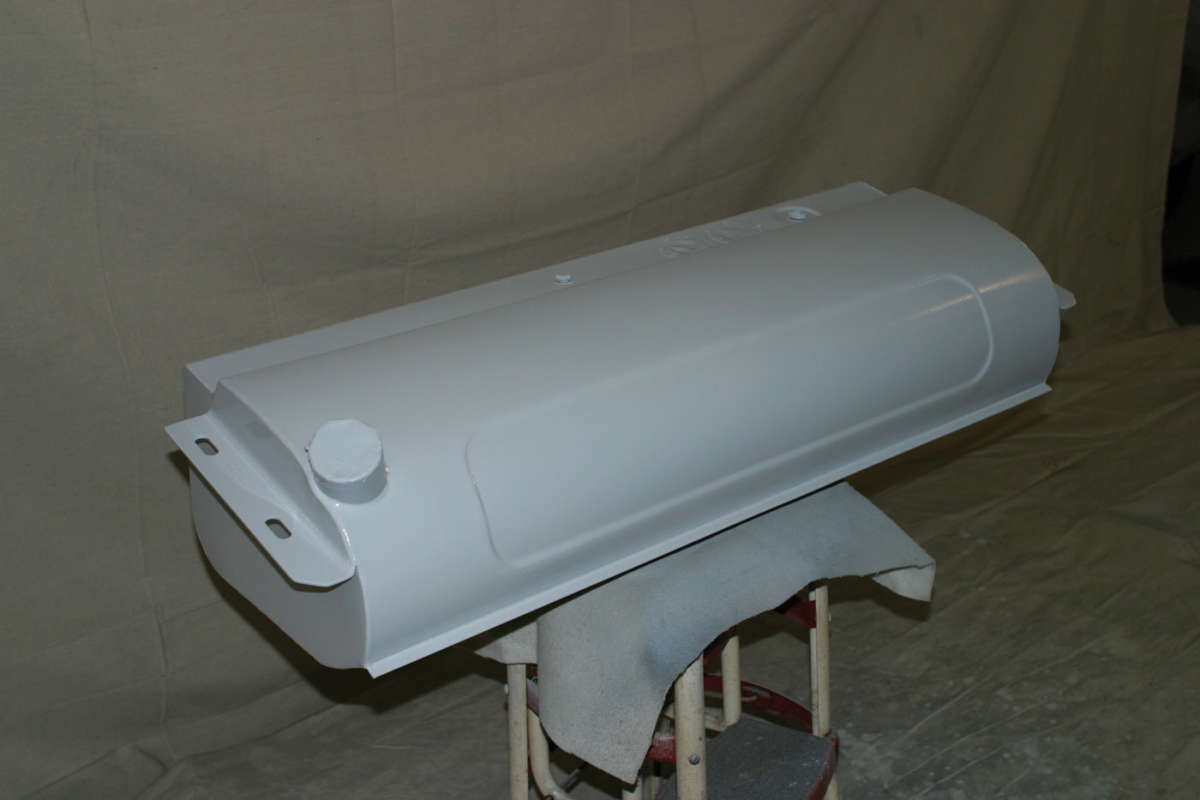
My next stop was Painter’s Supply, a local shop for professional paint and body guys. I needed paint to match the roadster’s silver color, which they were able to accomplish by scanning a sample from the car. I also needed a ream of ancillary items for prep and cleanup. Keep in mind that painting steel and fiberglass requires a few different products, but the basic procedure and materials are the same.
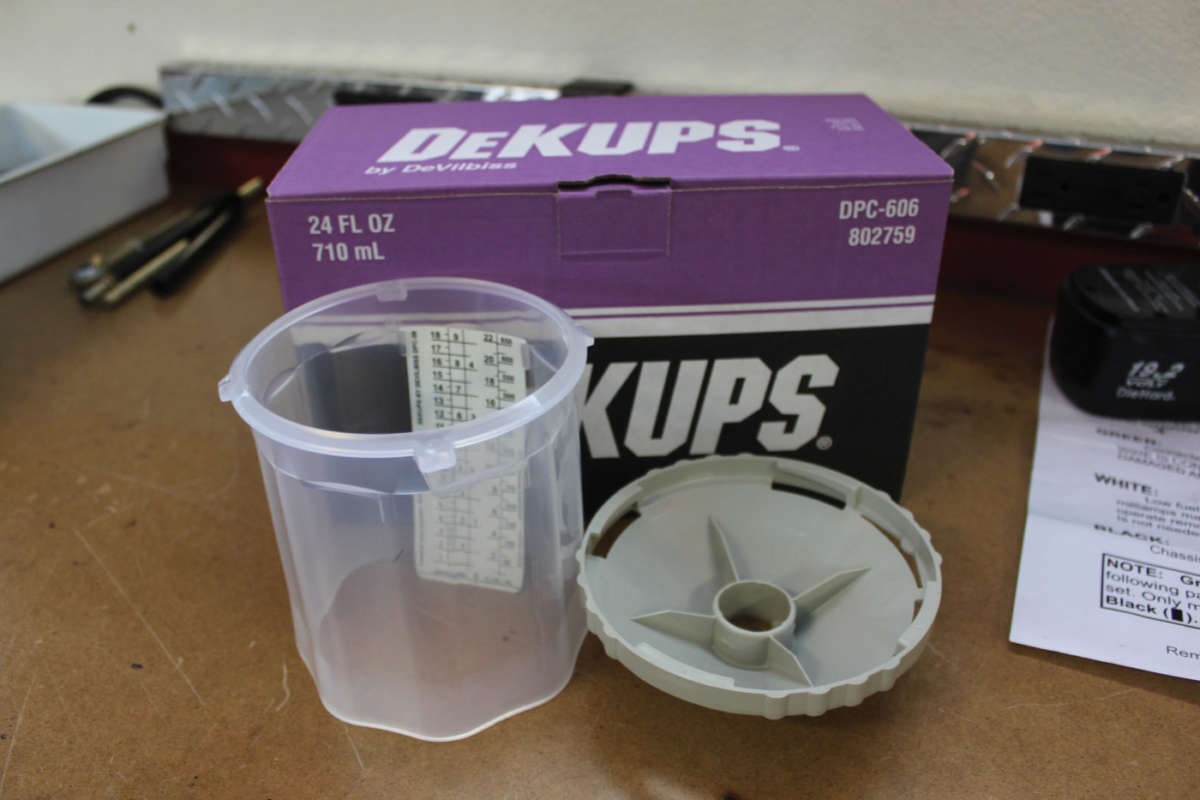
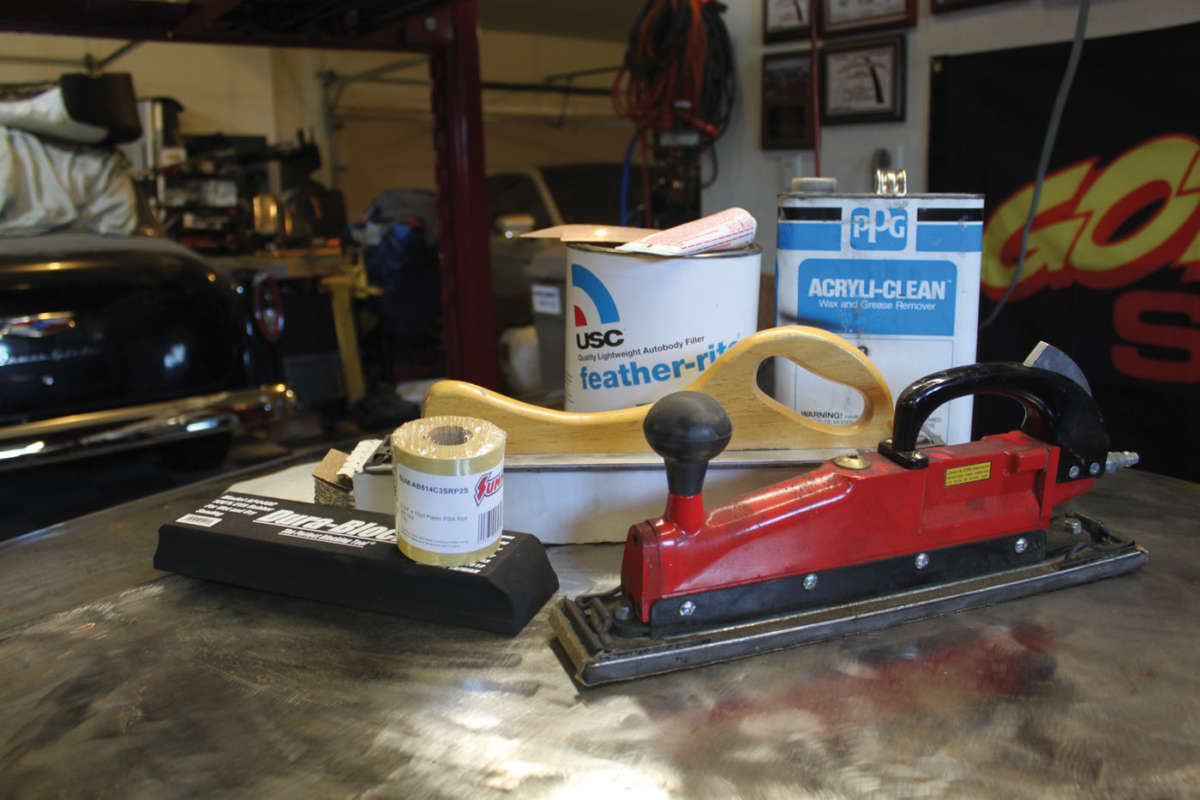
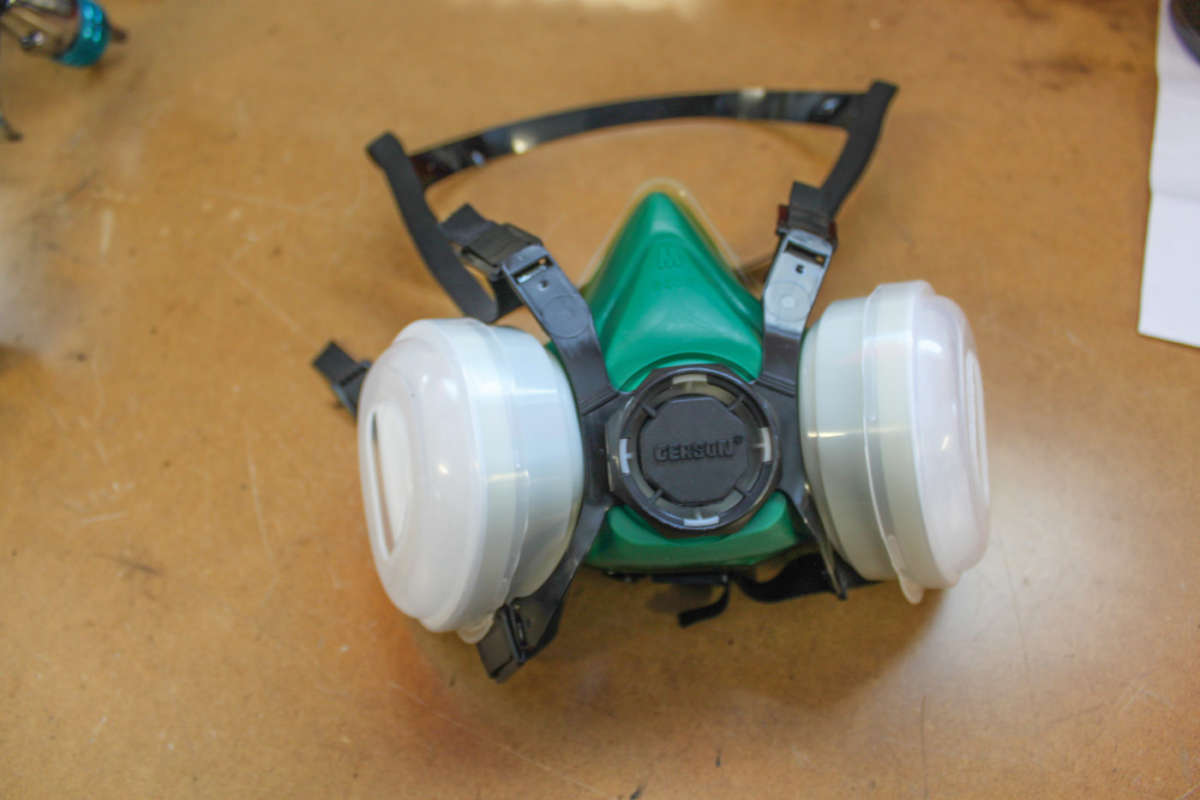
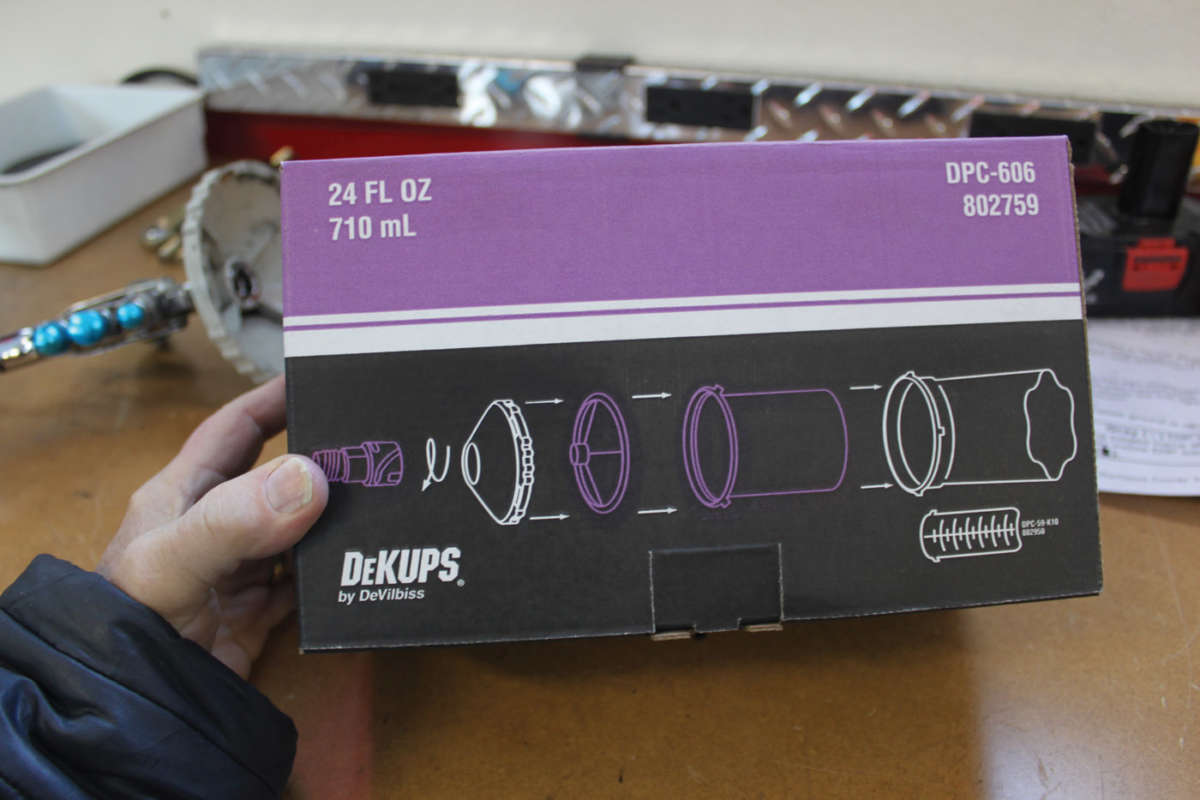
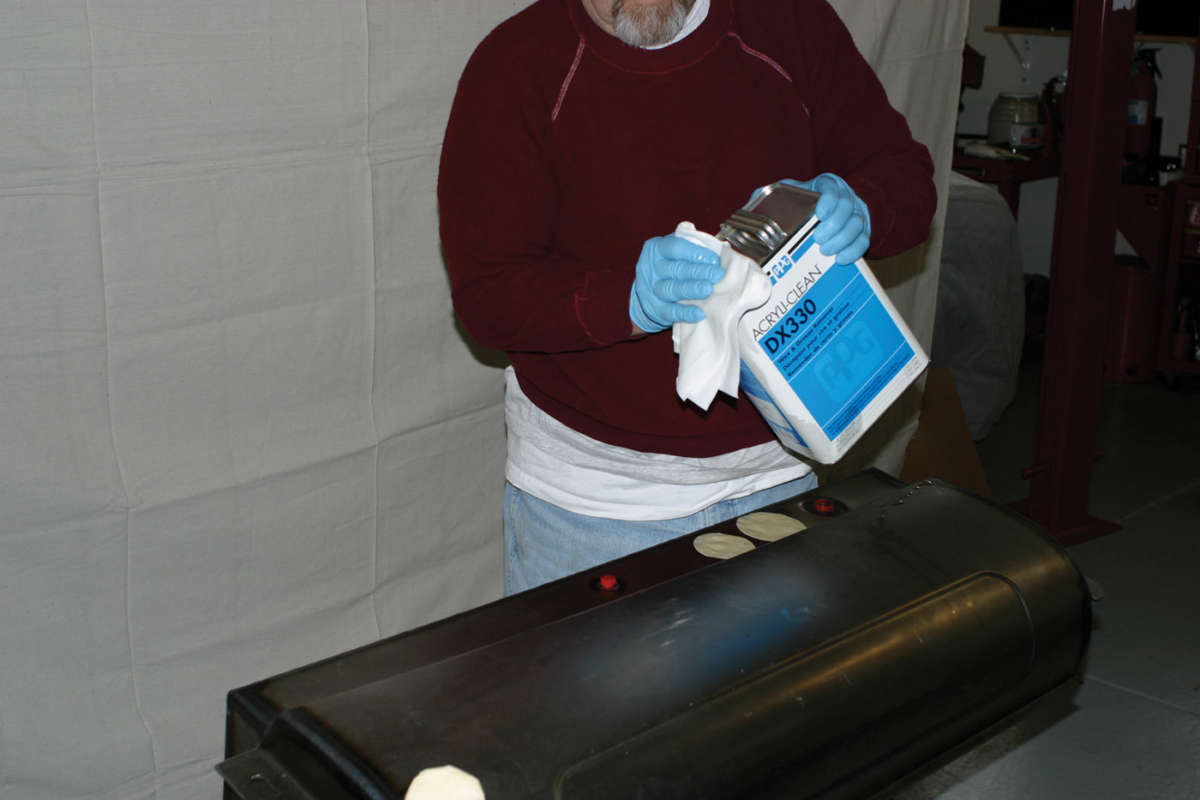
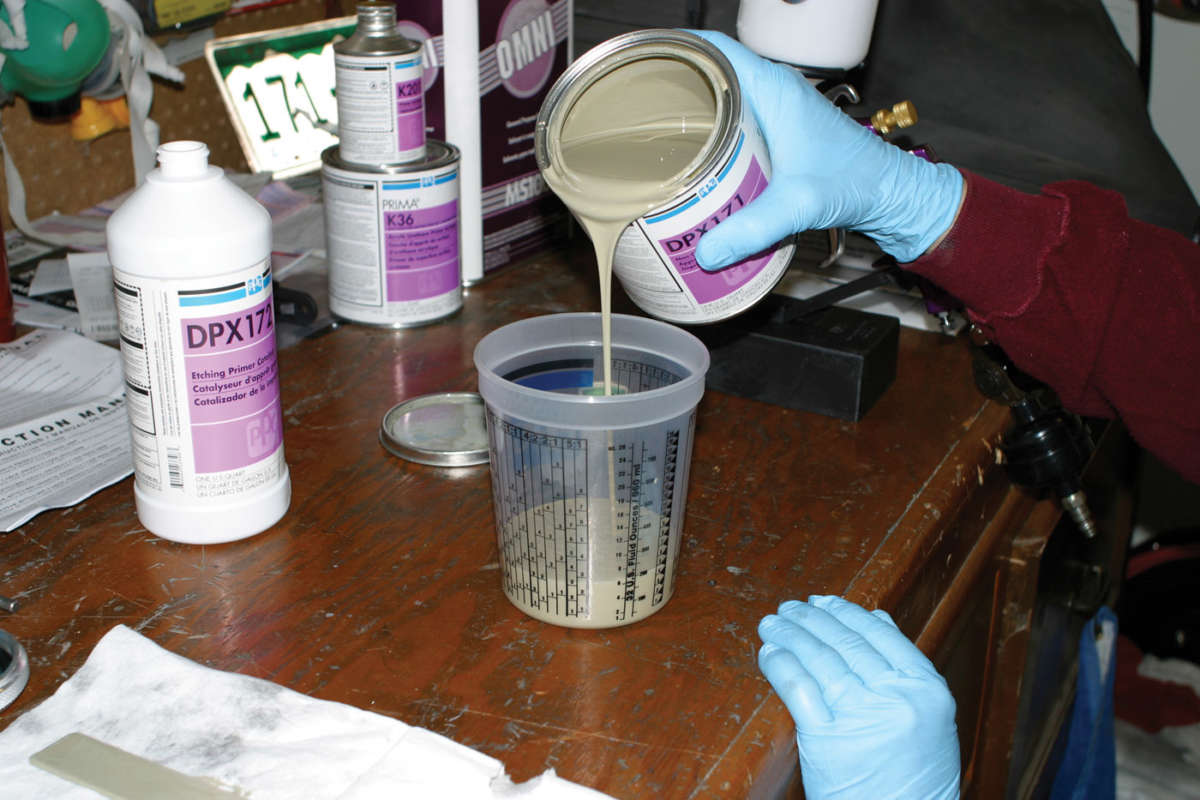
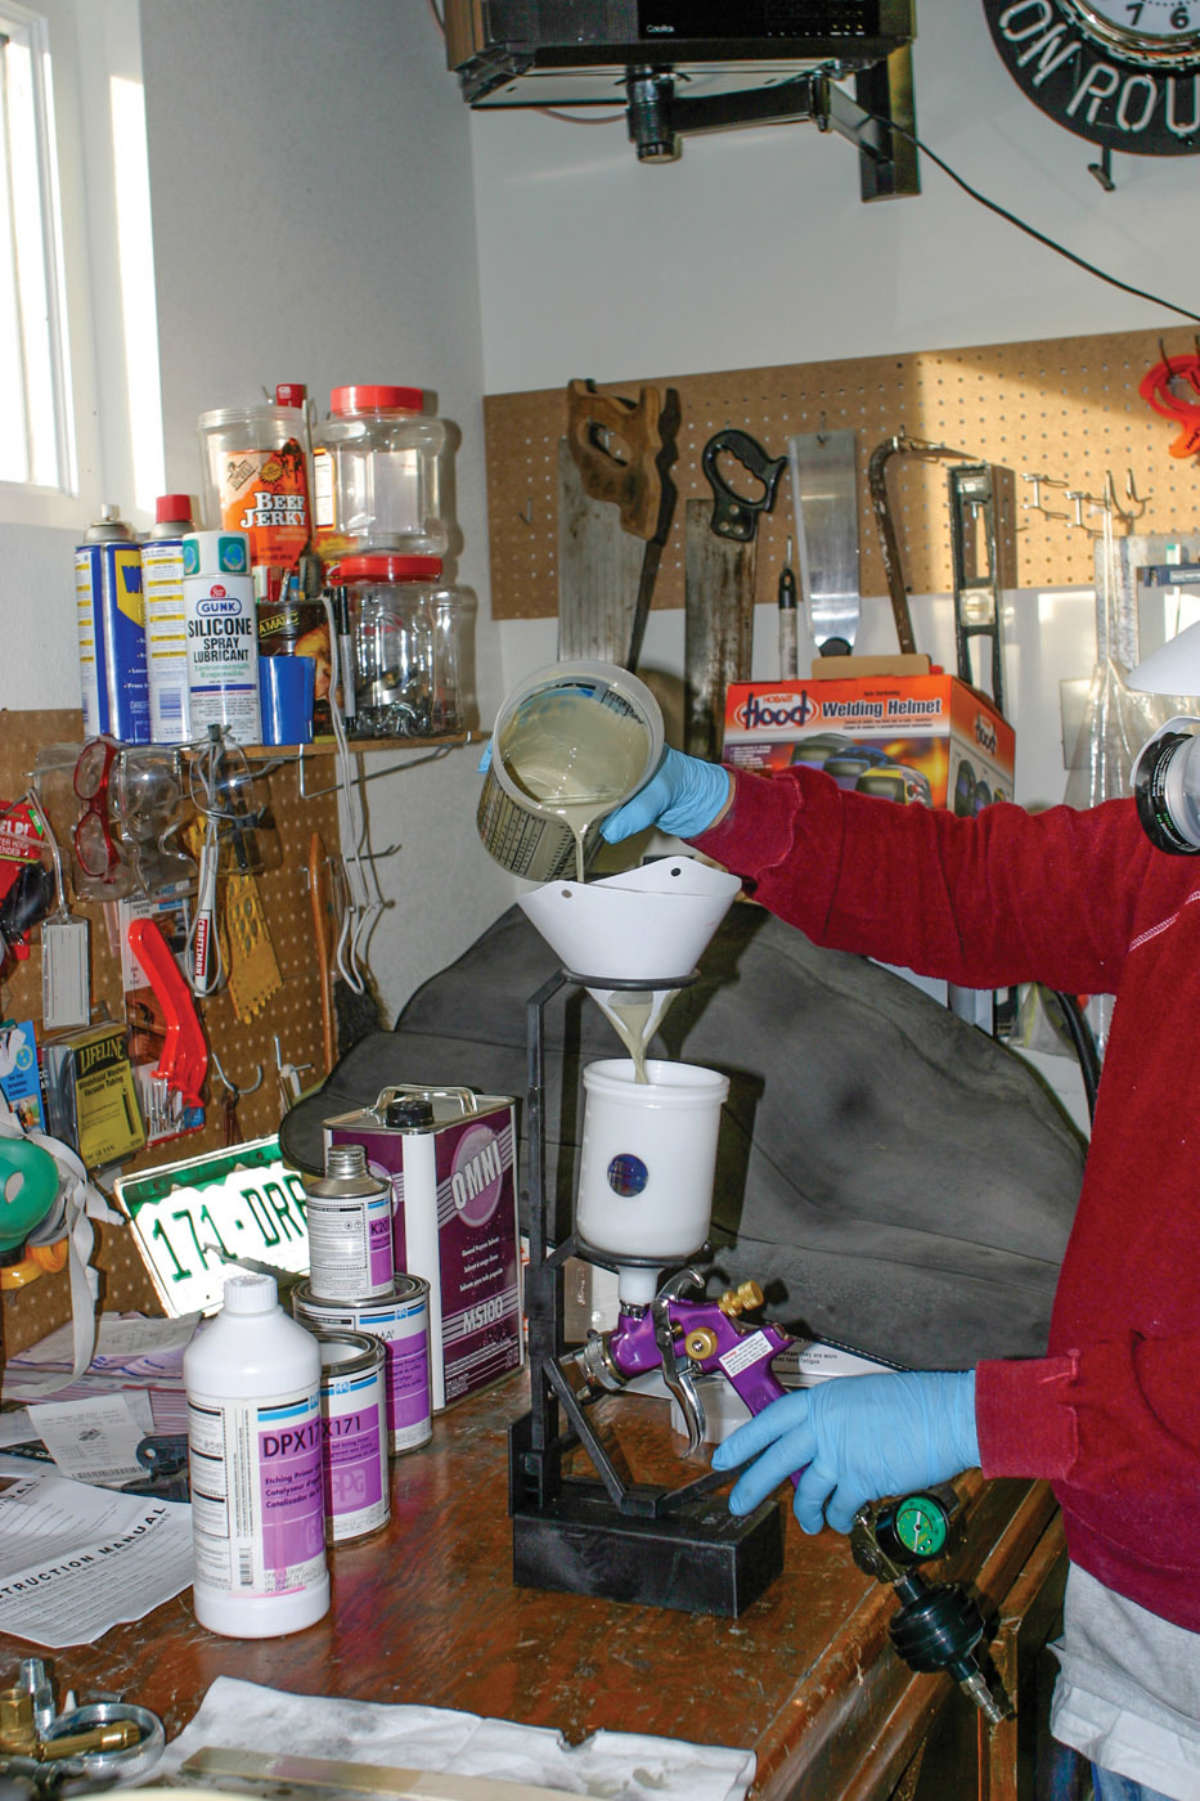
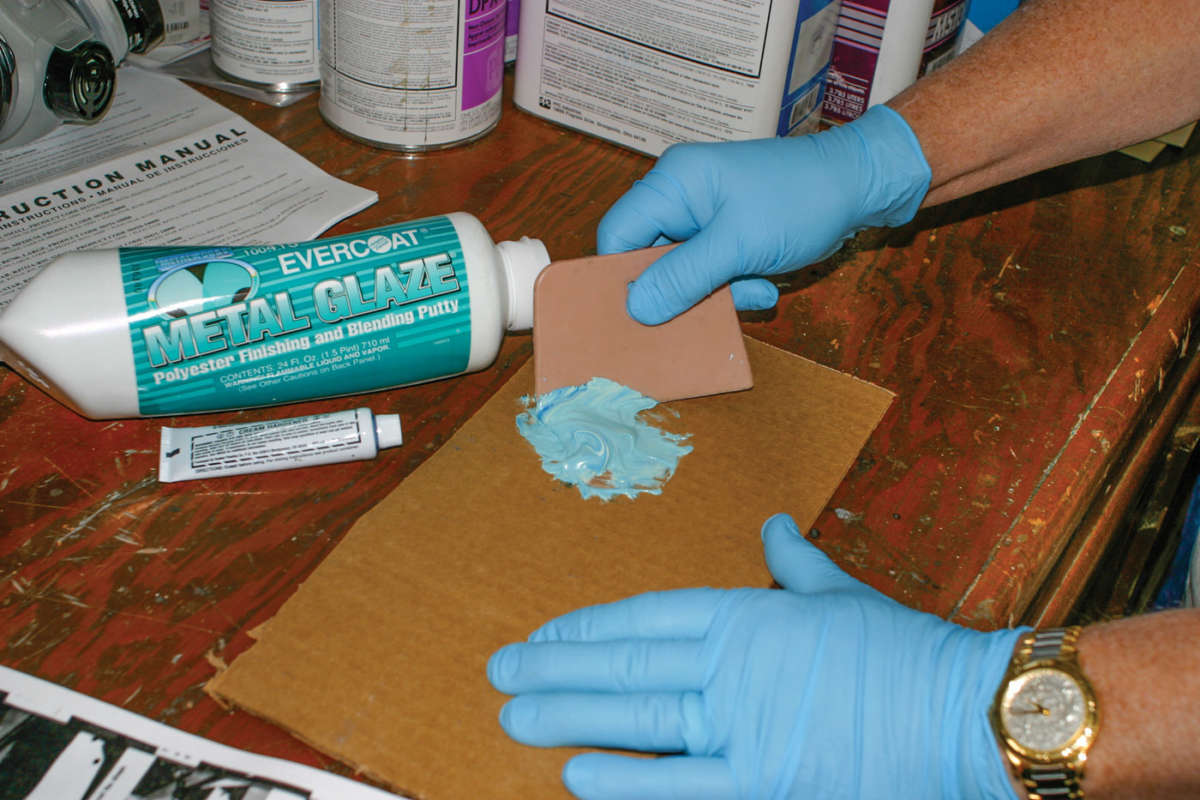
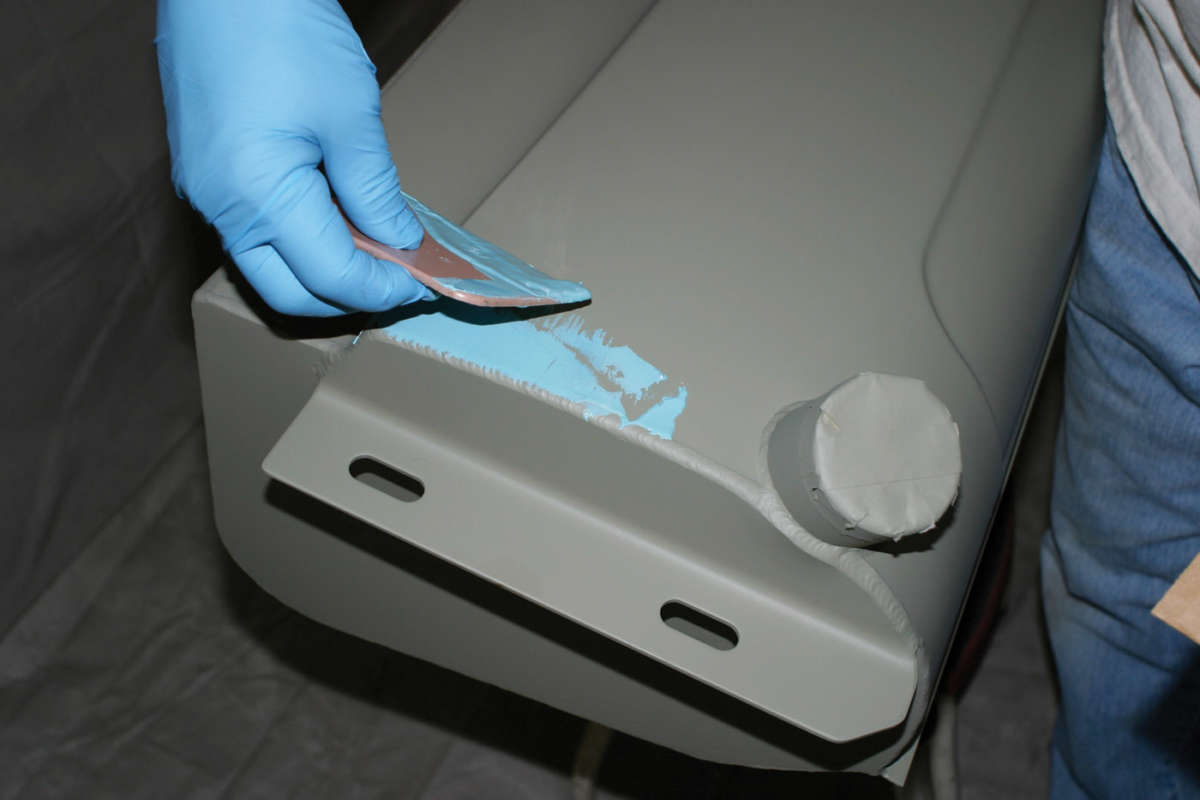
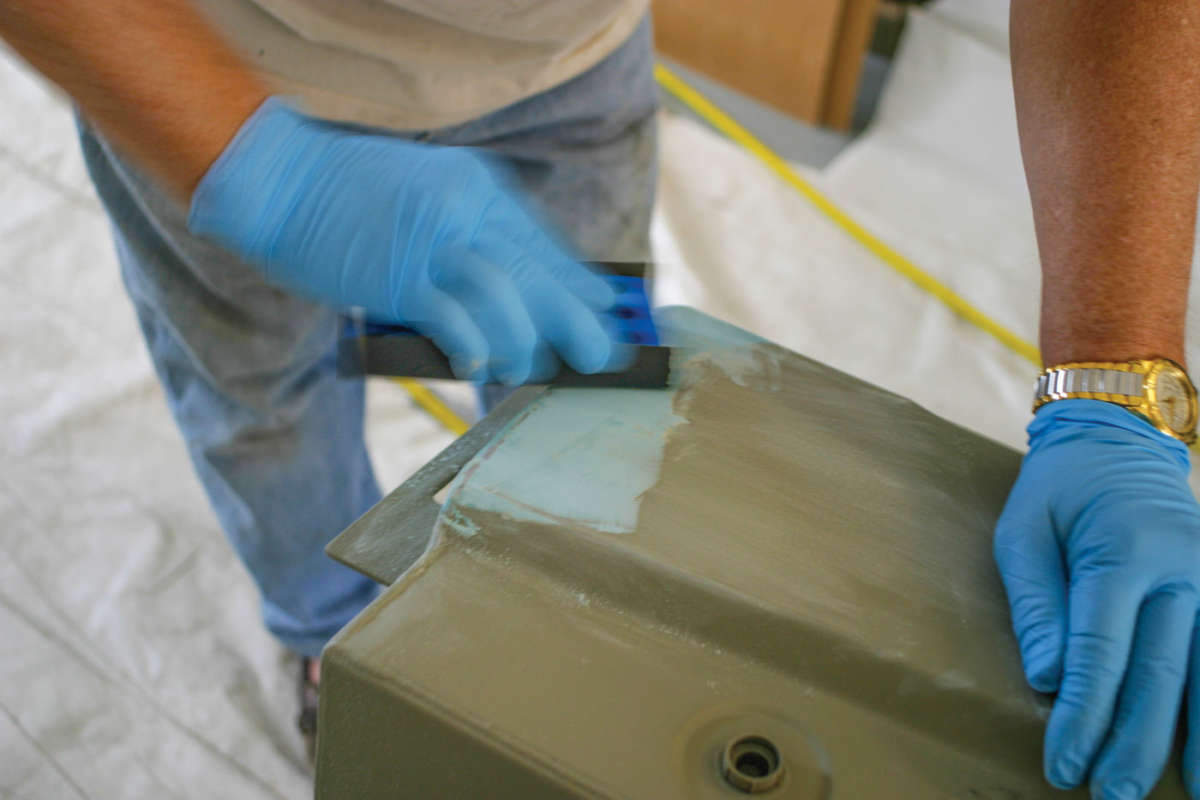
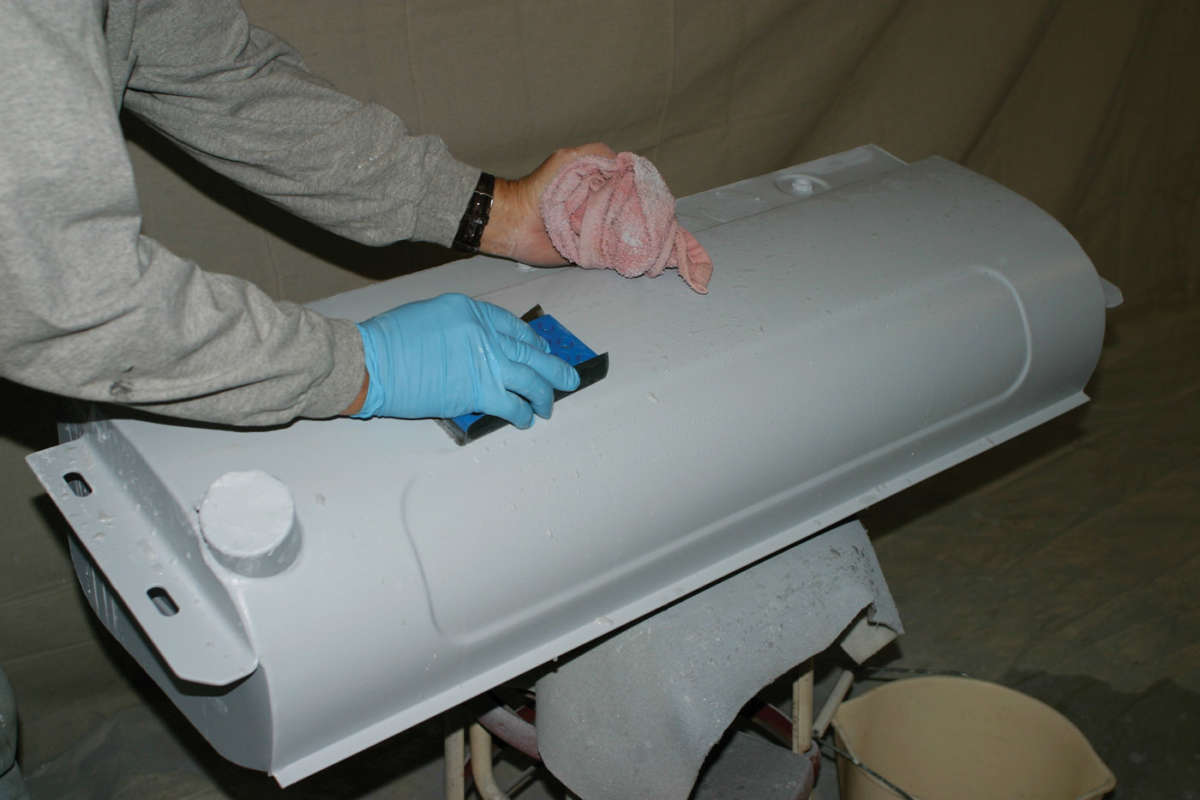
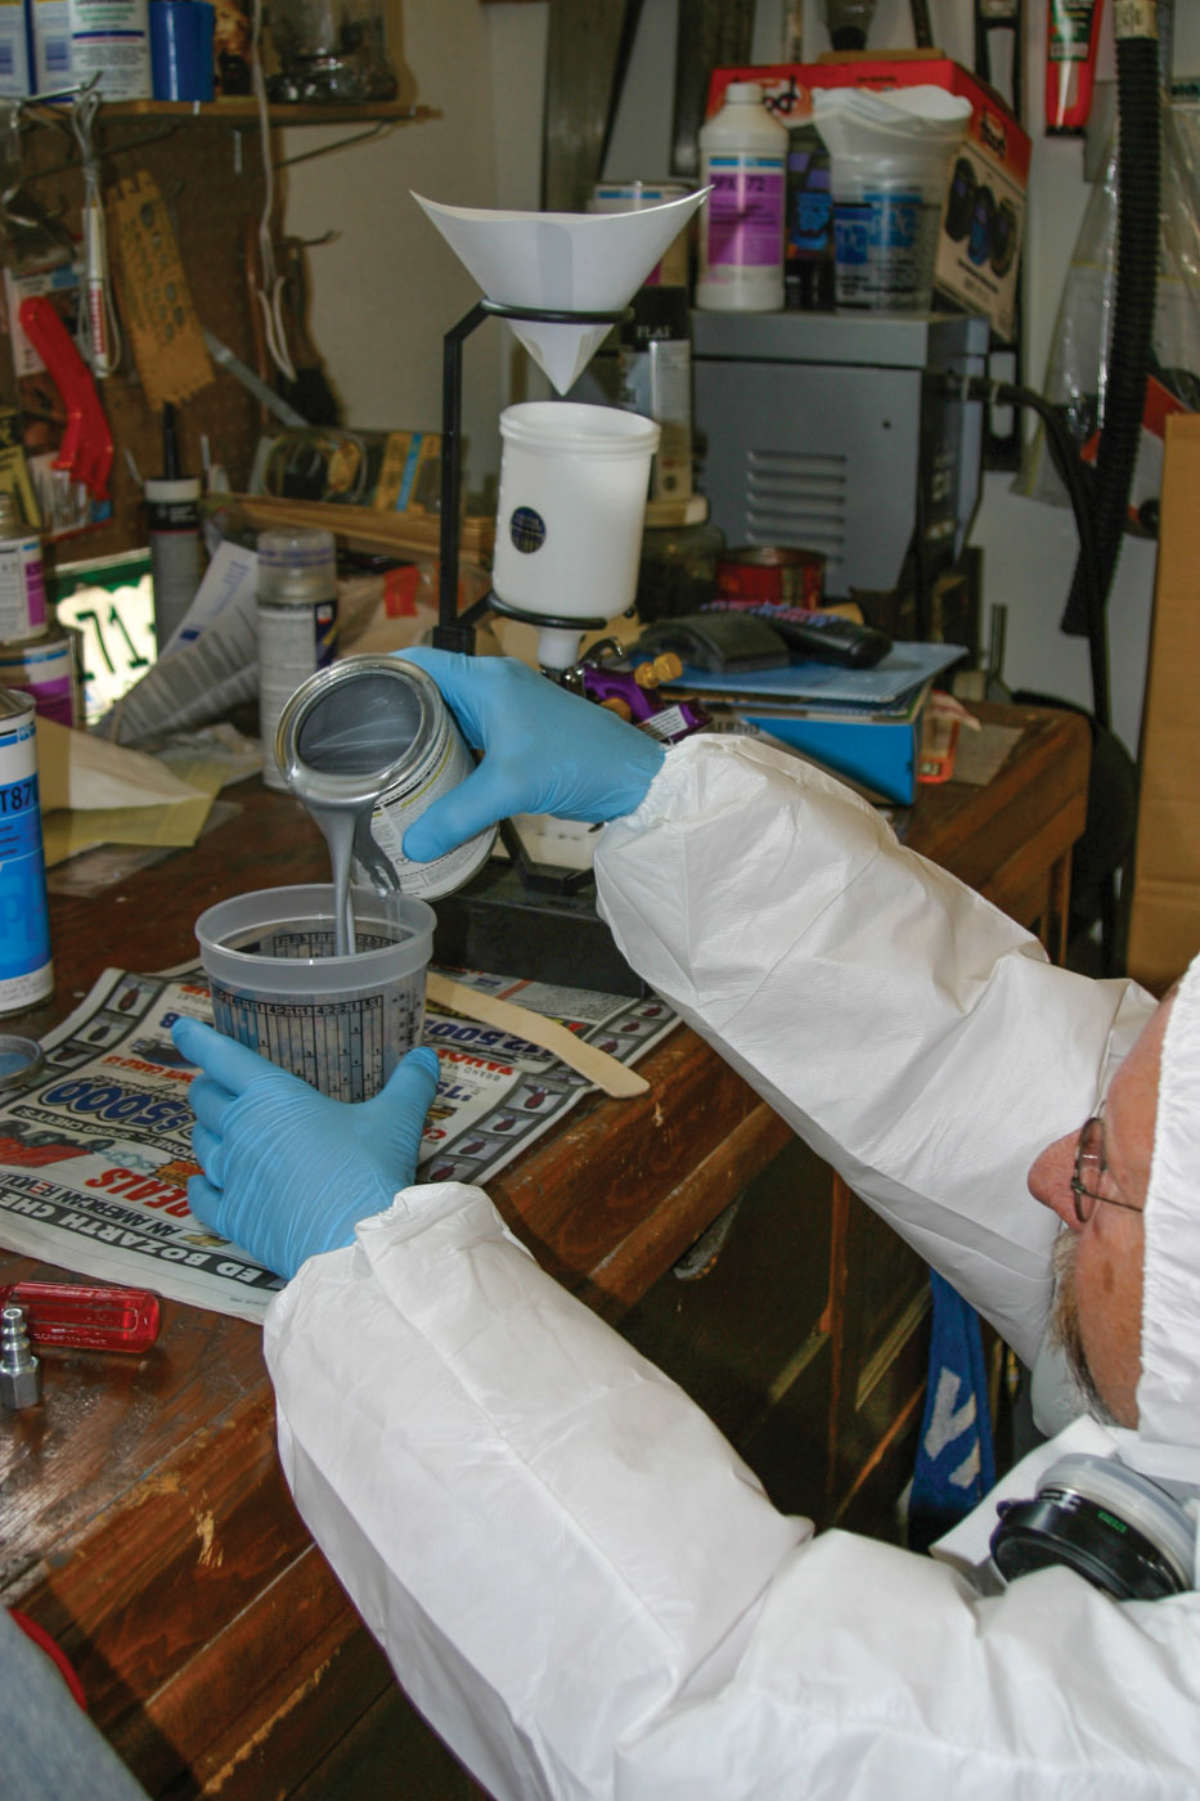
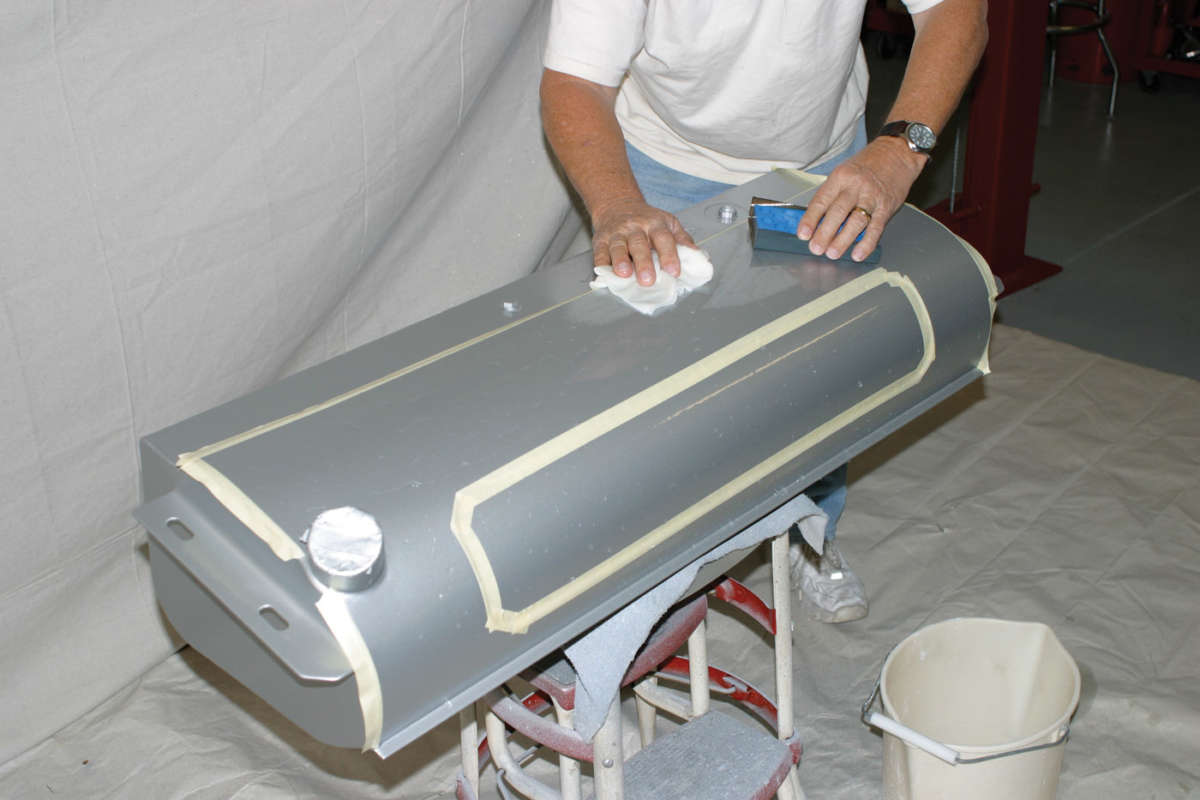
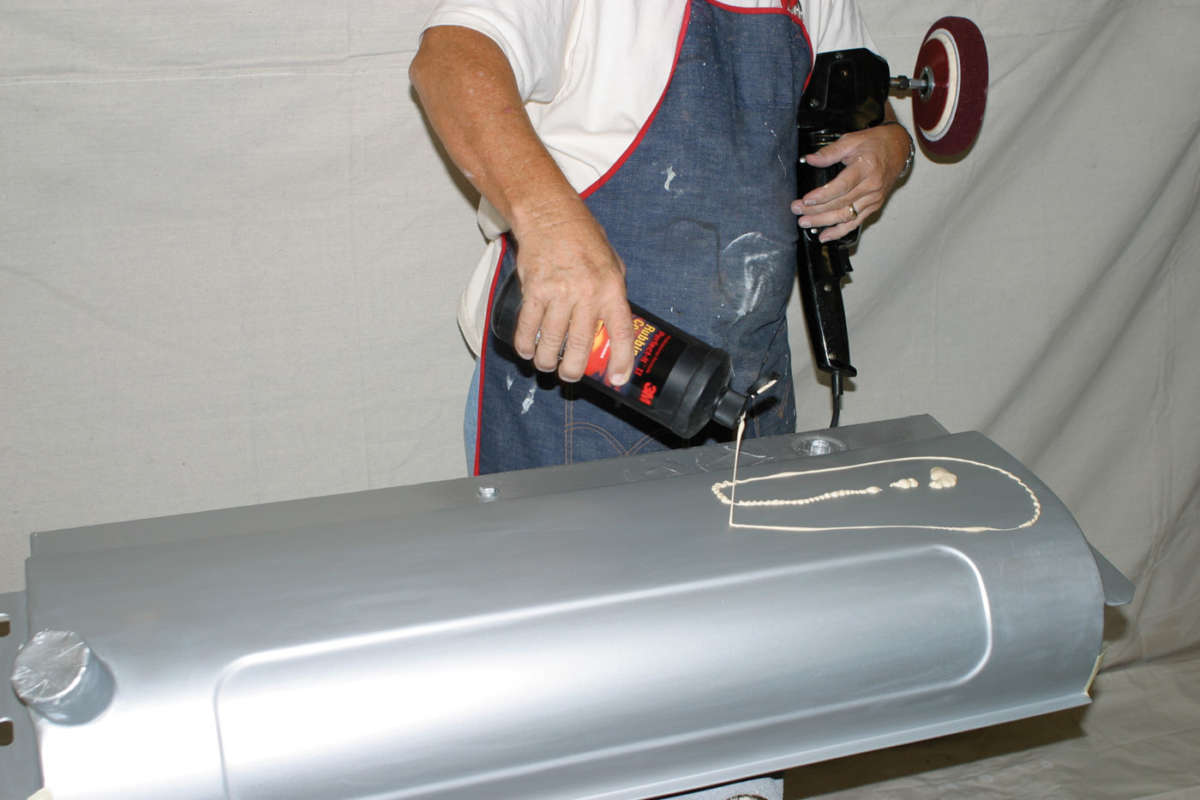
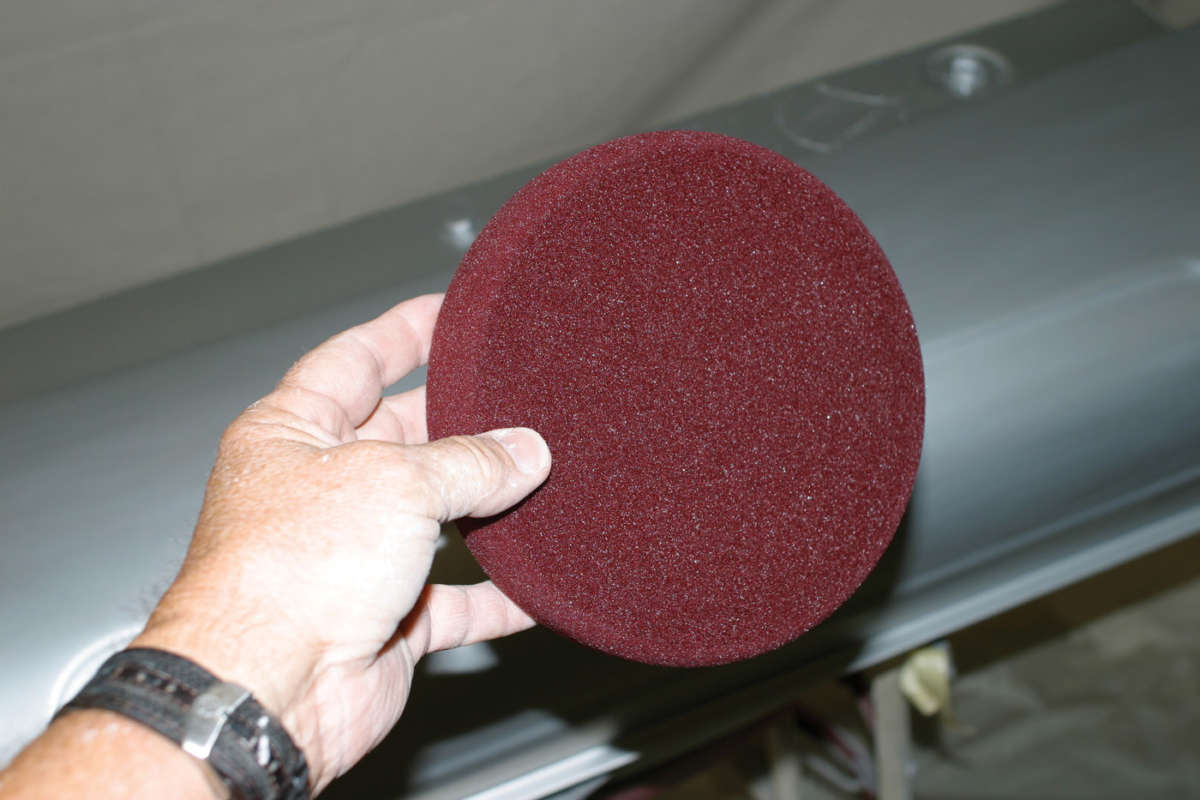
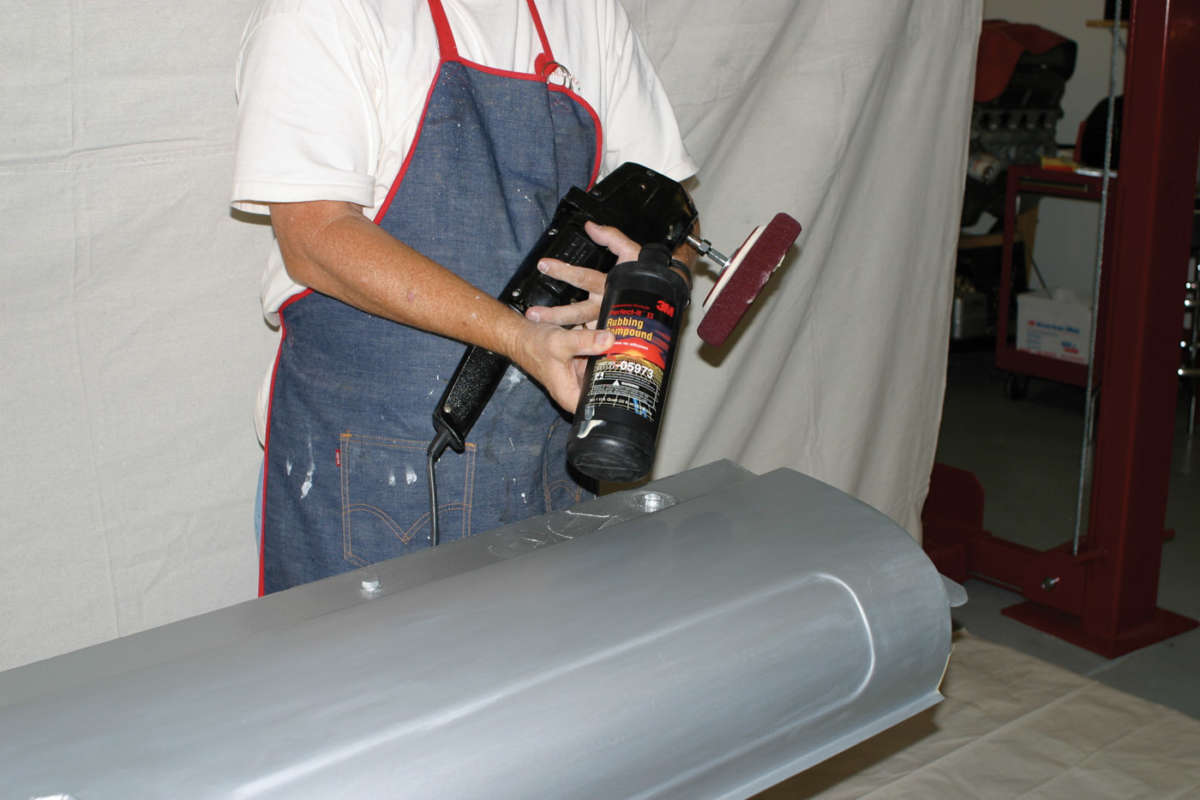
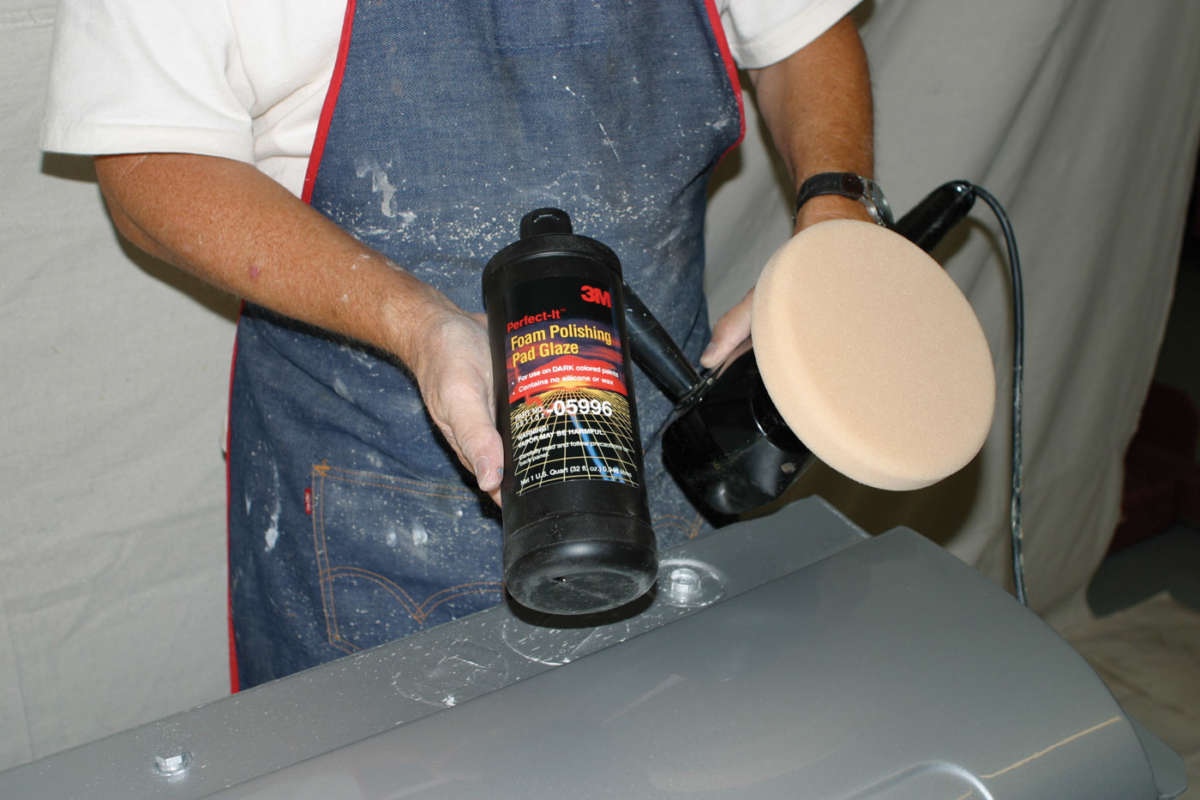
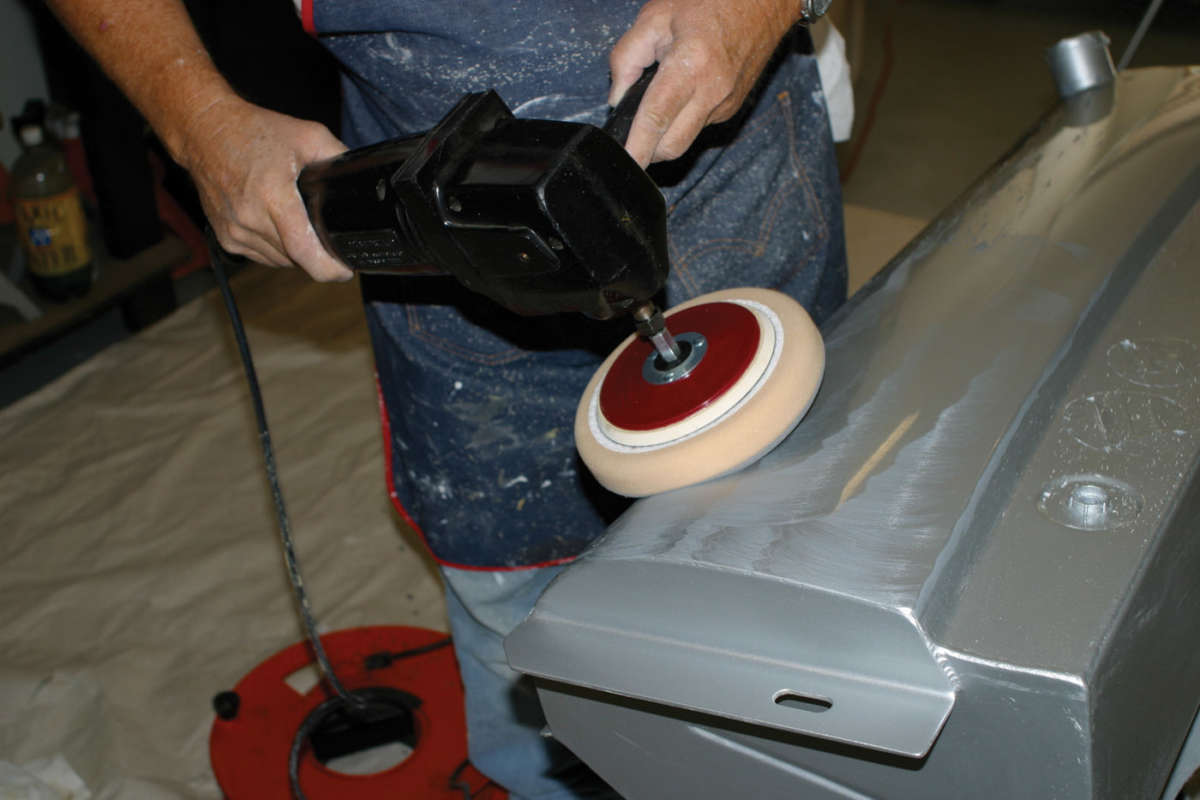
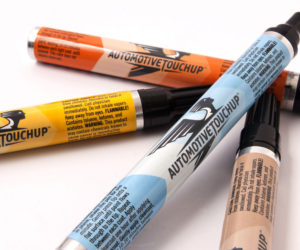
One caution you hear over and over again is to stick with a single brand of primers and paints because they’ve been formulated with compatible chemistries. I went with PPG products including Acryli-Clean for removing contaminants, DPX171 self-etching wash primer and catalyst, DT87 reducer, K36 acrylic urethane primer surfacer and catalyst, and Evercoat metal glaze polyester finishing and blending putty. I even bought PPG measuring cups and a bunch of wet-or-dry sandpaper from 80 to 2000 grit, as well as a foam sanding block. And that was just the first trip to Painter’s Supply, with subsequent trips made for a respirator, primers, tack rags, paint filters, stir sticks and body filler.
Truth be told, I probably spent more on painting supplies than I would have if I hired a professional painter to do the whole job in the first place. Even so, the skills and equipment I acquired during this first painting project have served me well since. Subsequently, I’ve purchased better gear and taken on bigger paint projects, including a complete dead-rat-flat-black spray job on my current ’54 F-100 pickup project.
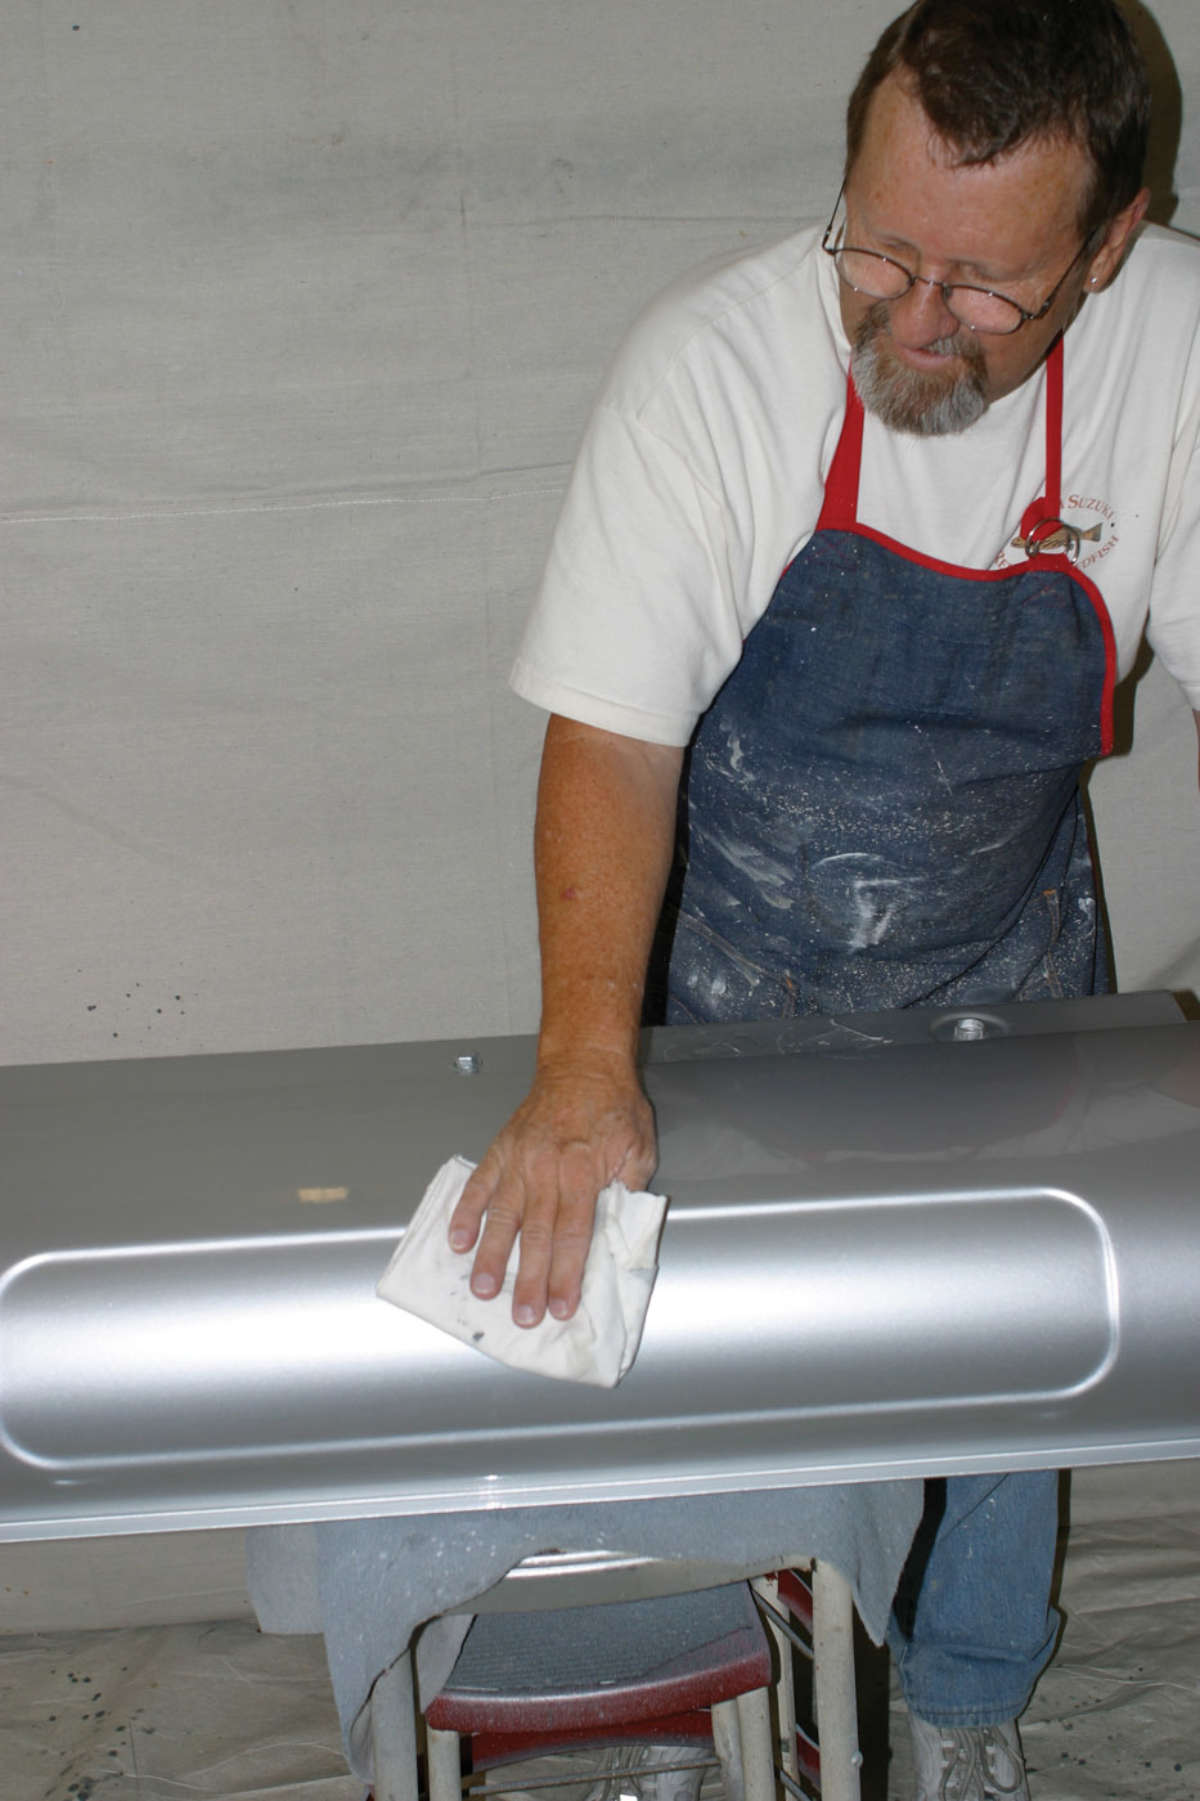

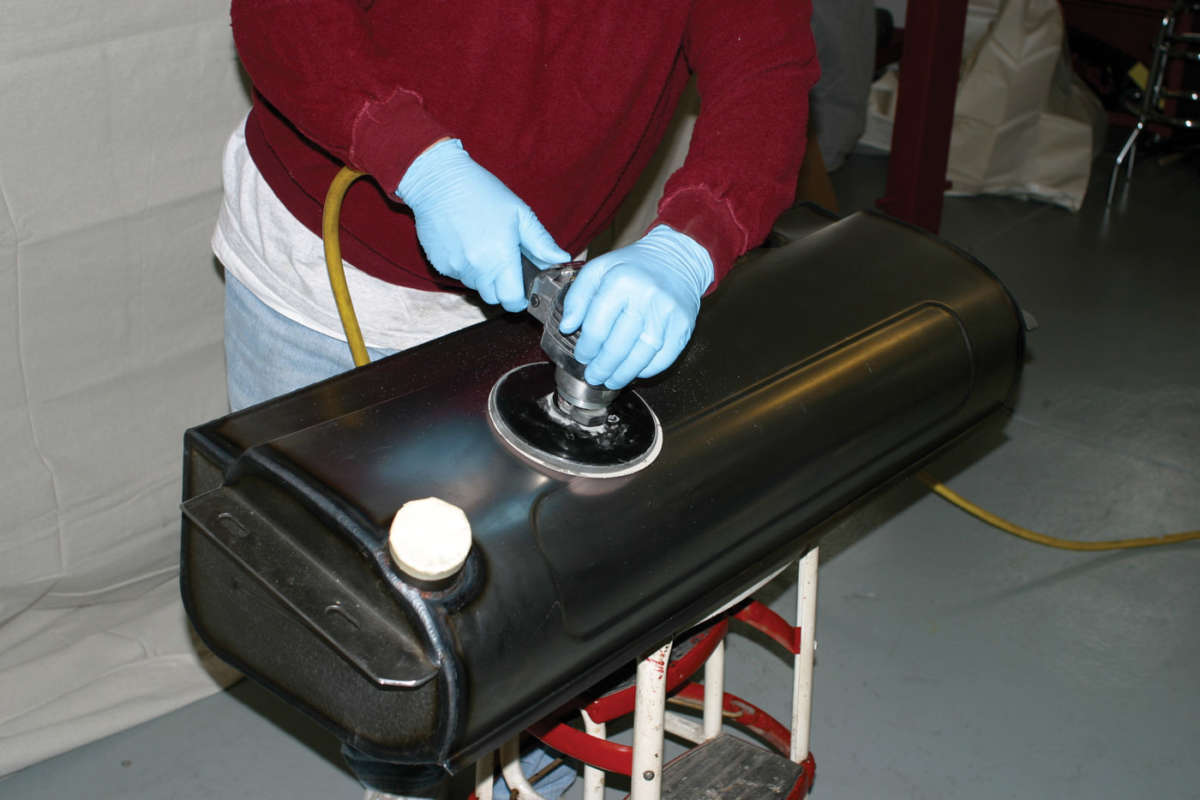
As you’ll see by the almost step-by-step account, it’s a lot of hard work just to get the part ready to be painted. Once that’s accomplished, the actual painting process is fairly easy. I’ll admit to a few rookie mistakes along the way, but I’m very pleased with the outcome. And once done, I could proudly say, “I did it myself!” Now all I have to do is learn how to sew upholstery.


Comments for: Learning Curve
comments powered by Disqus