Braking basics for a custom build
Story and Photos by Jim Youngs
It’s one thing to build a car that’s fast, and quite another to make one that handles and stops well. Properly functioning brakes are vital to you ride’s safety and handling, so we thought it worthwhile to give a course on brake plumbing 101. We’ll give some tips and tricks for routing and bending brake lines as well as some advice on specialty tools and hardware to simplify the job.
You’ll want to give plenty of thought to the overall layout of your brake plumbing, and do a considerable amount of measuring and planning beforehand. “Measure twice and cut once” is the operative phrase here.
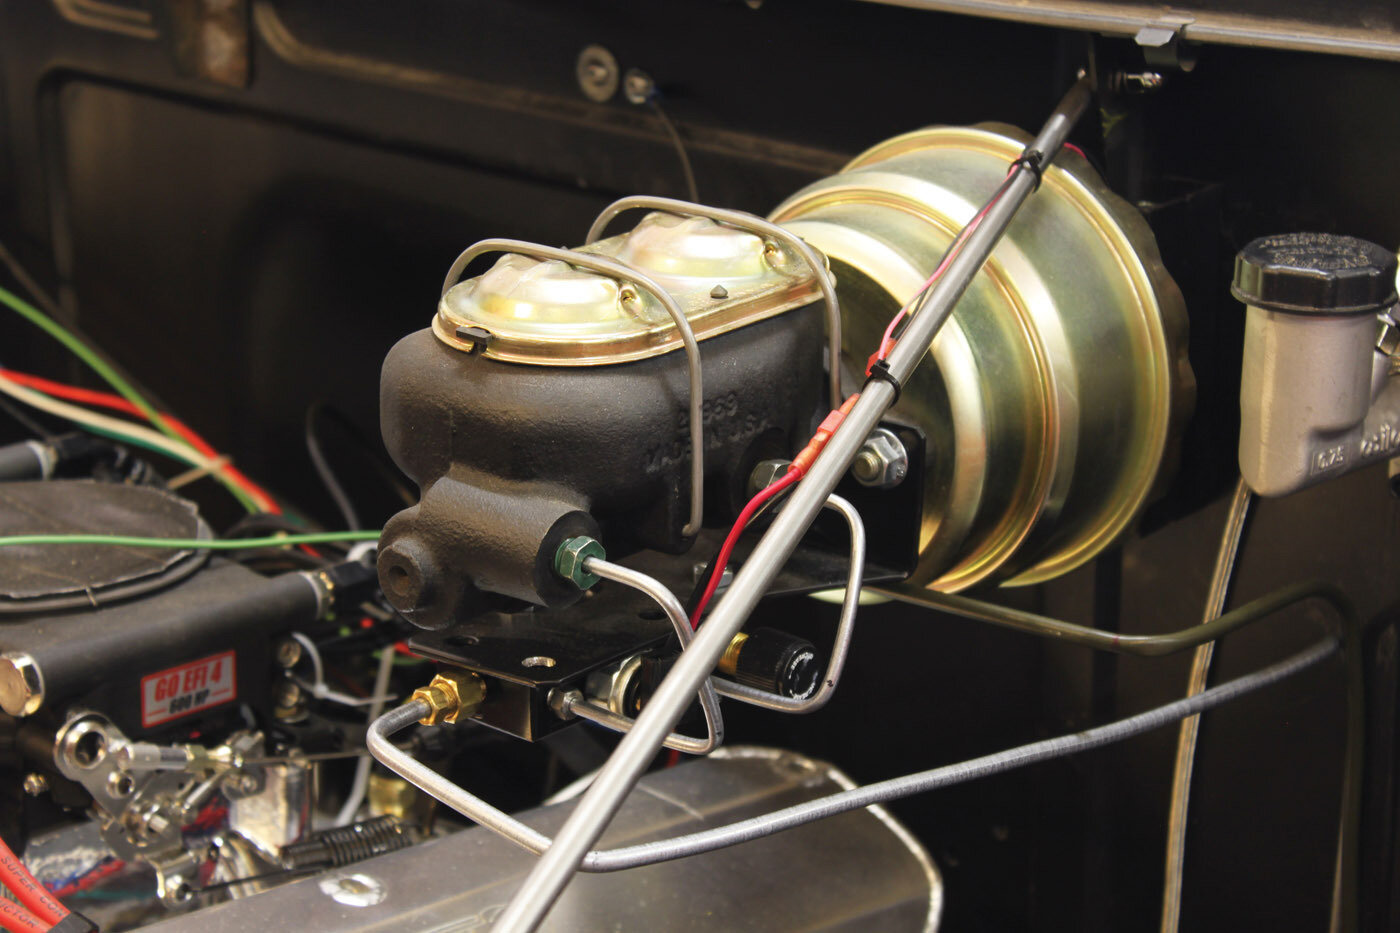
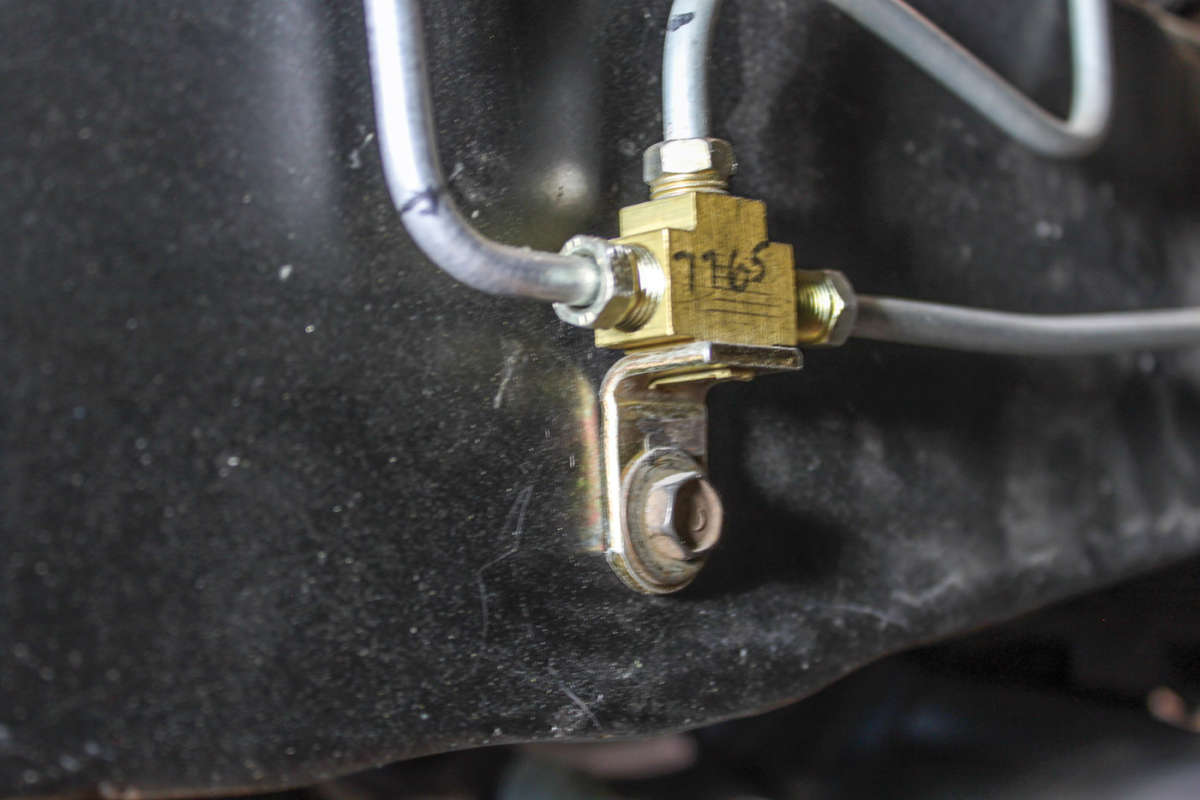
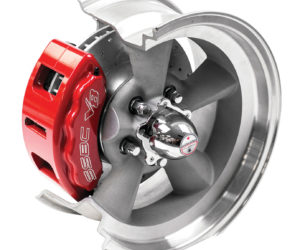
A typical setup for specialty cars these days is four-wheel disc brakes fed by a dual-circuit master cylinder, perhaps fitted with a vacuum-operated power brake booster. Given that most custom cars probably won’t have matched calipers and rotors, or identical tire and wheel sizes front and back, an efficient brake setup should also include a proportioning valve plumbed inline. This valve allows the car builder to fine-tune the front-to-rear braking balance by increasing or decreasing brake-line pressure, ideally allowing the front brakes to lock up just before the rear brakes do.
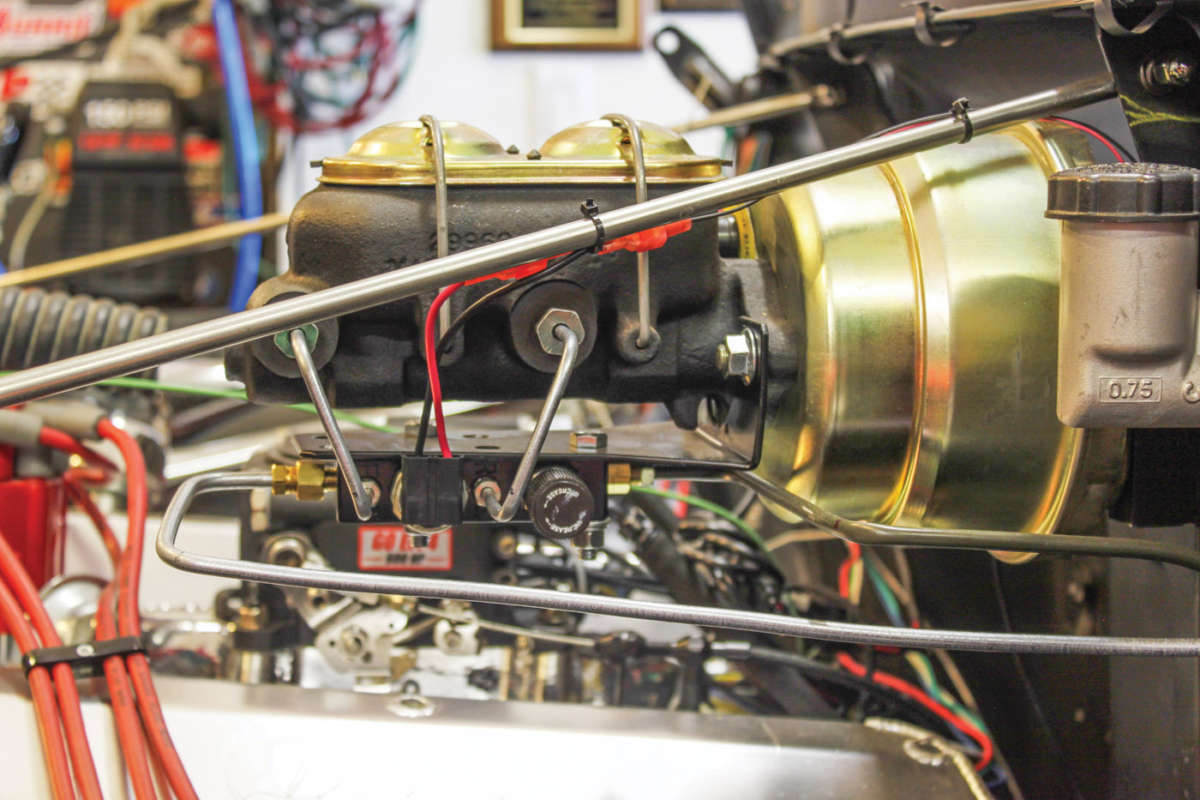


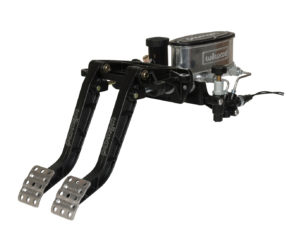
For one of our projects we found a trick proportioning valve block and bracket system from Speedway Motors that mounts the valve under the master cylinder using its mounting studs. It’s an adjustable valve and includes a brake light switch.
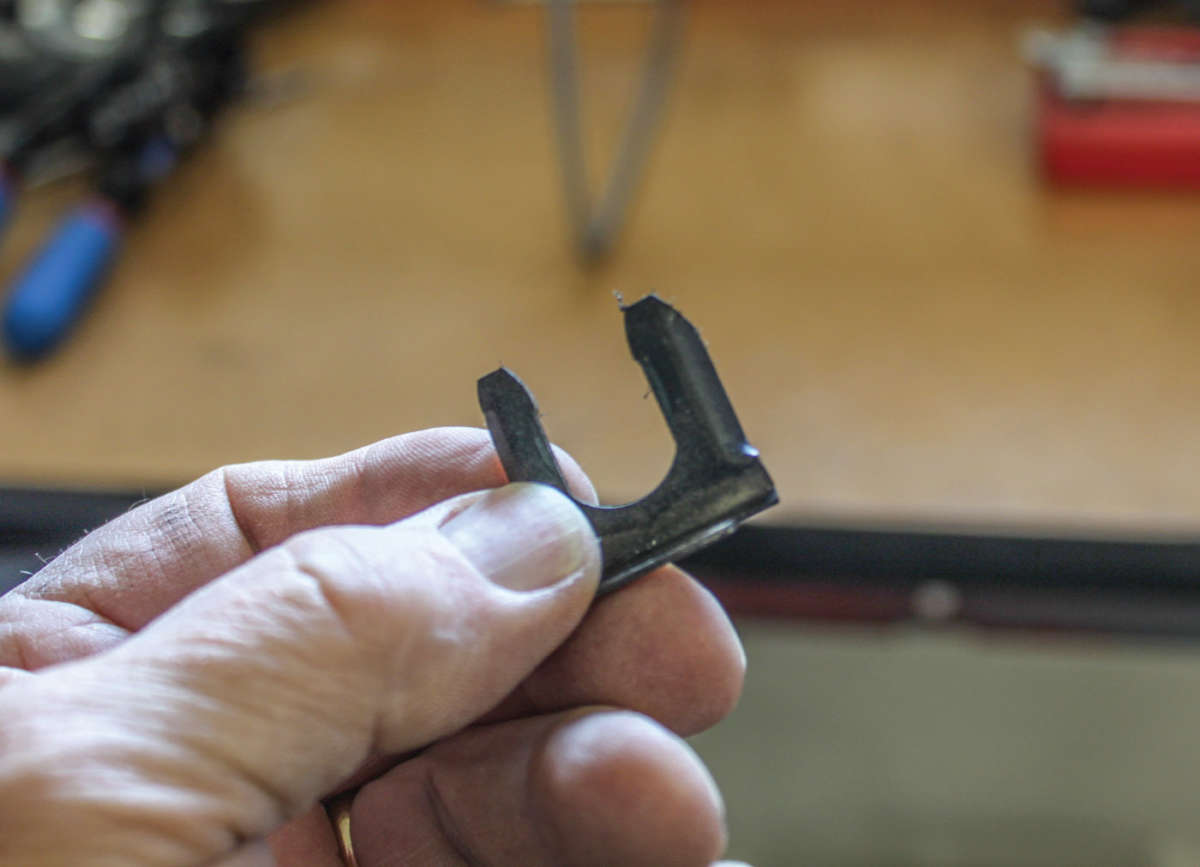
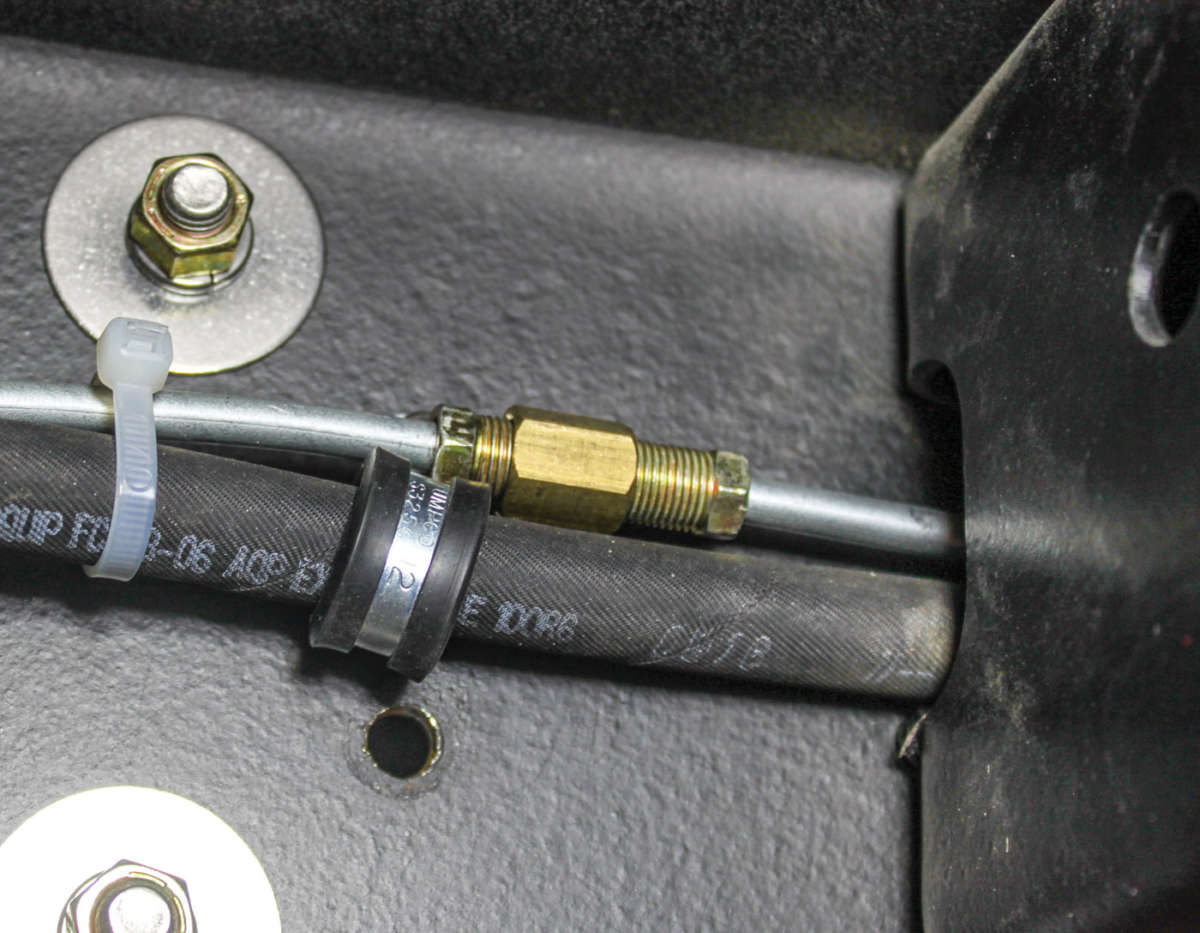
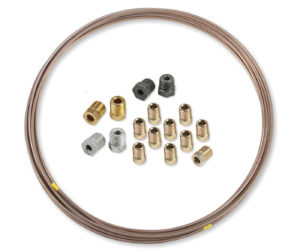
The rest of the brake system consists of plumbing brake lines to connect the master cylinder to the brake calipers. The components needed include steel brake lines, threaded fittings and a couple of T-fittings to route lines to the left- and right-side calipers. Also necessary are some line clamps to keep brake lines secured to the car’s frame.
Of course there are numerous component considerations in planning a brake setup, some of which are what size brake lines and what kind of fittings to use to connect everything. Top companies like Wilwood recommend 3/16-inch brake lines, but it could be that you’ll use a couple different sizes.
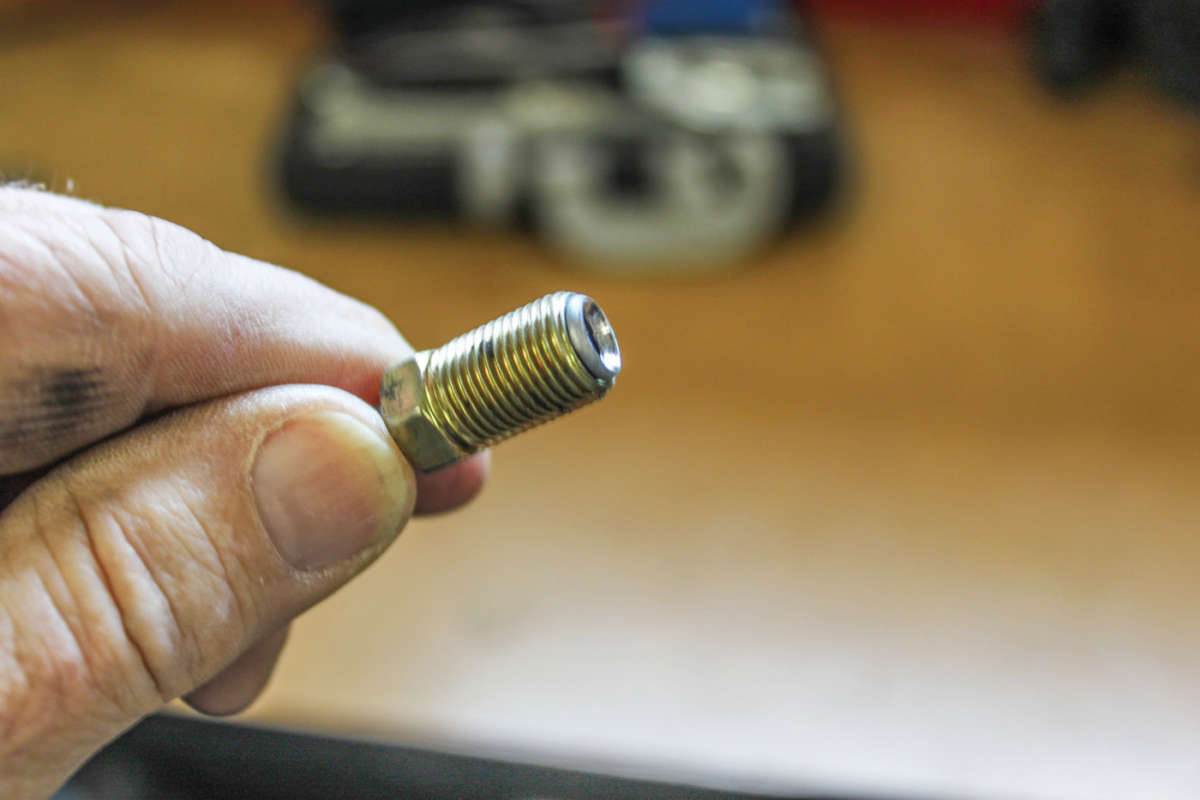
The most common fittings used are 45-degree double flares, but you will undoubtedly also use some banjo fittings and even AN-style fittings as well. As you will see in the accompanying photos, we did just that.

Since there are so many variables with regard to the various components involved, we can’t outline exactly what fittings will be necessary for your project. Often it will take numerous trips to the auto parts store or speed shop to find the right fittings, but it’s also helpful to start a collection of random brake line fittings. It can be frustrating at times, particularly when it entails both SAE and metric sizes. We found some very helpful tips for identifying and measuring fittings at www.hoseandfittingsetc.com (see “Thread Identification for Brake Lines” and “Brake Line Fitting Identification” blog posts) to help ease the shopping pains.
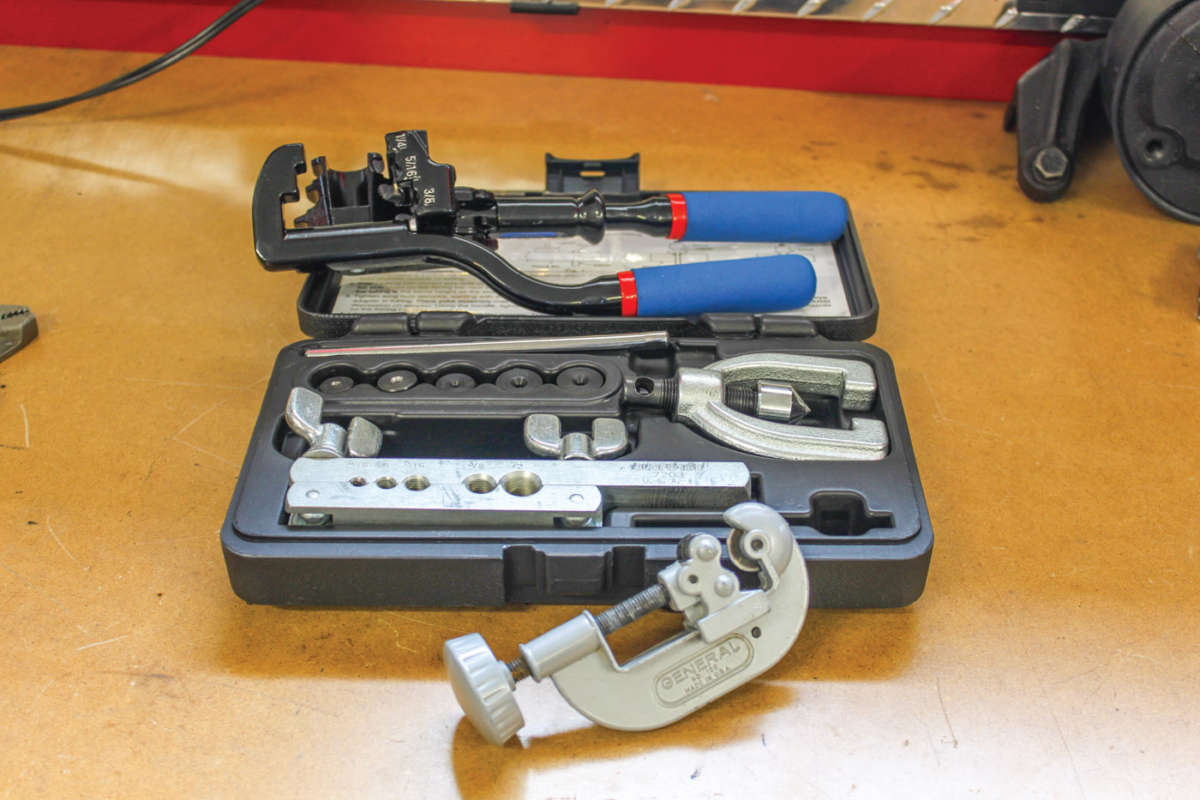
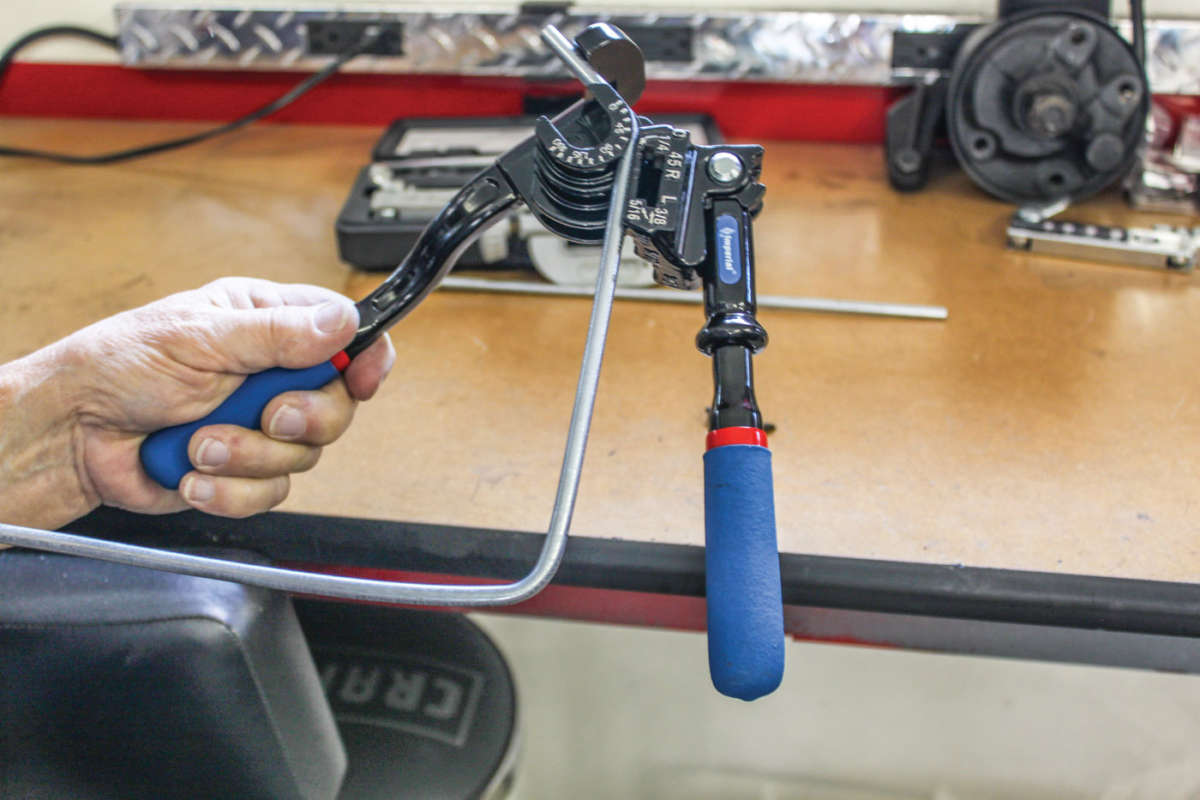
Rather than buying brake lines with flare fittings already installed, we prefer to purchase bulk steel lines and do our own double flaring and bending. To do that you’ll need a few tools of course. We ordered a line-bending tool, tubing cutter and a flaring kit from Summit Racing, $42.97, $22.99 and $29.97 respectively.
The process is fairly easy. If you’re using coils of tubing, straighten it out (it can be done by hand or there are tools available to straighten the tubing). Carefully measure and mark the tubing for where it needs to be bent.
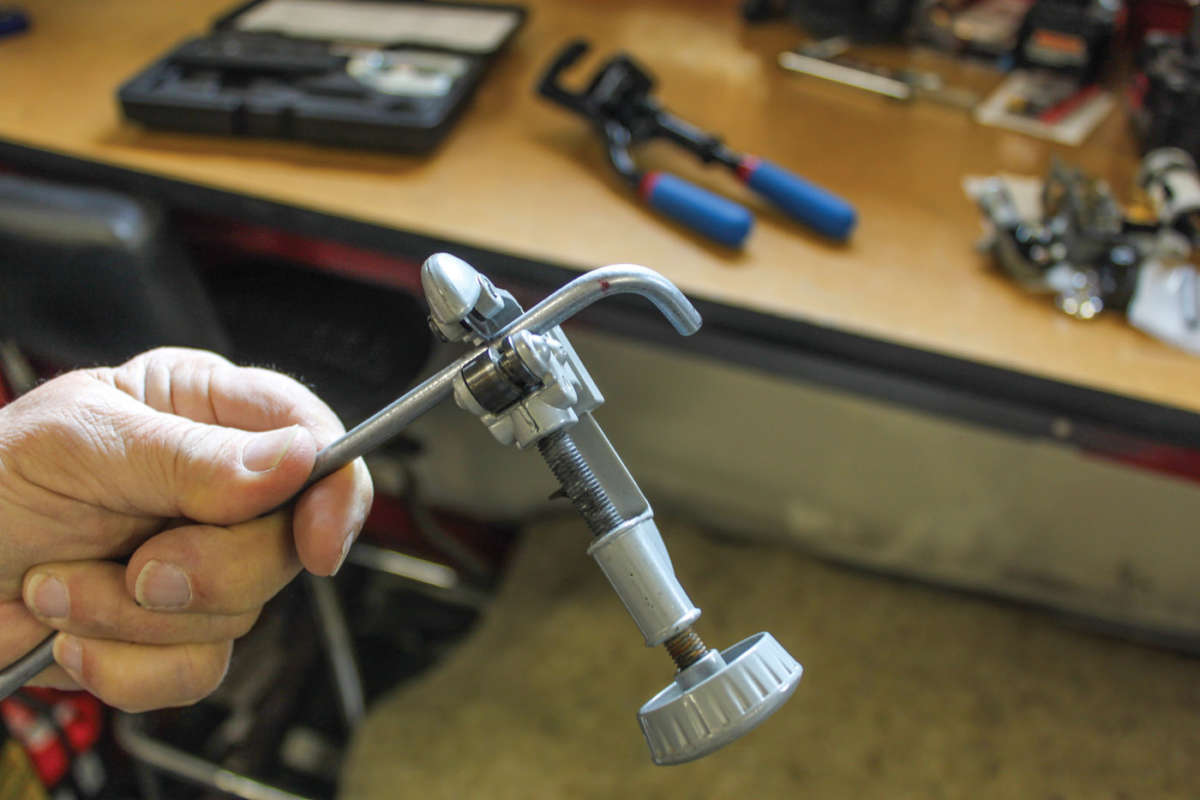
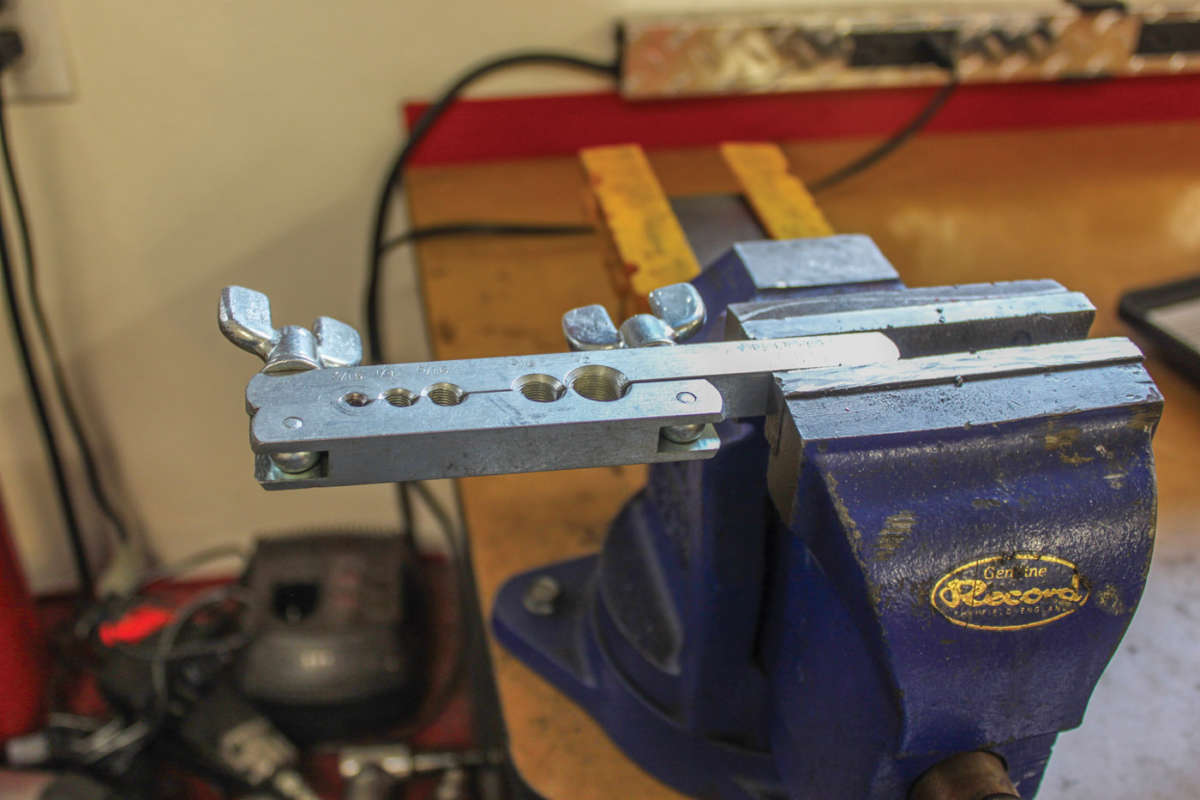
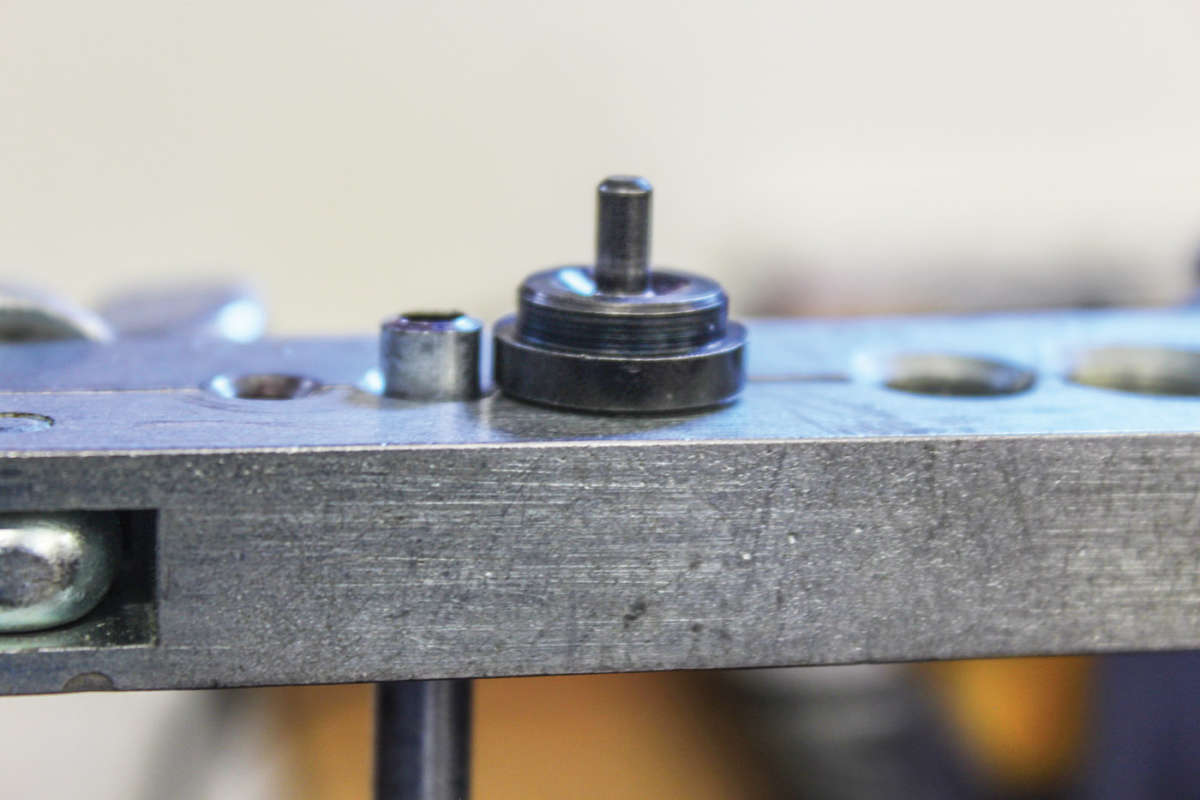
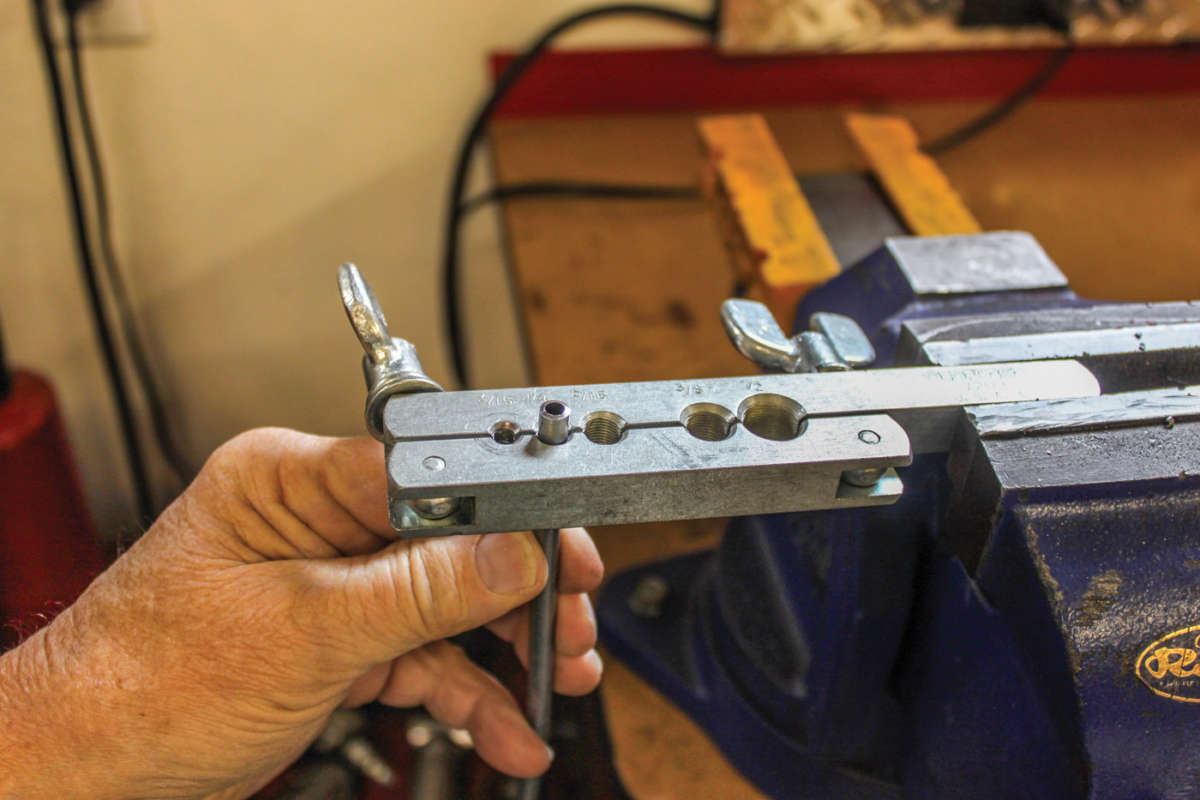
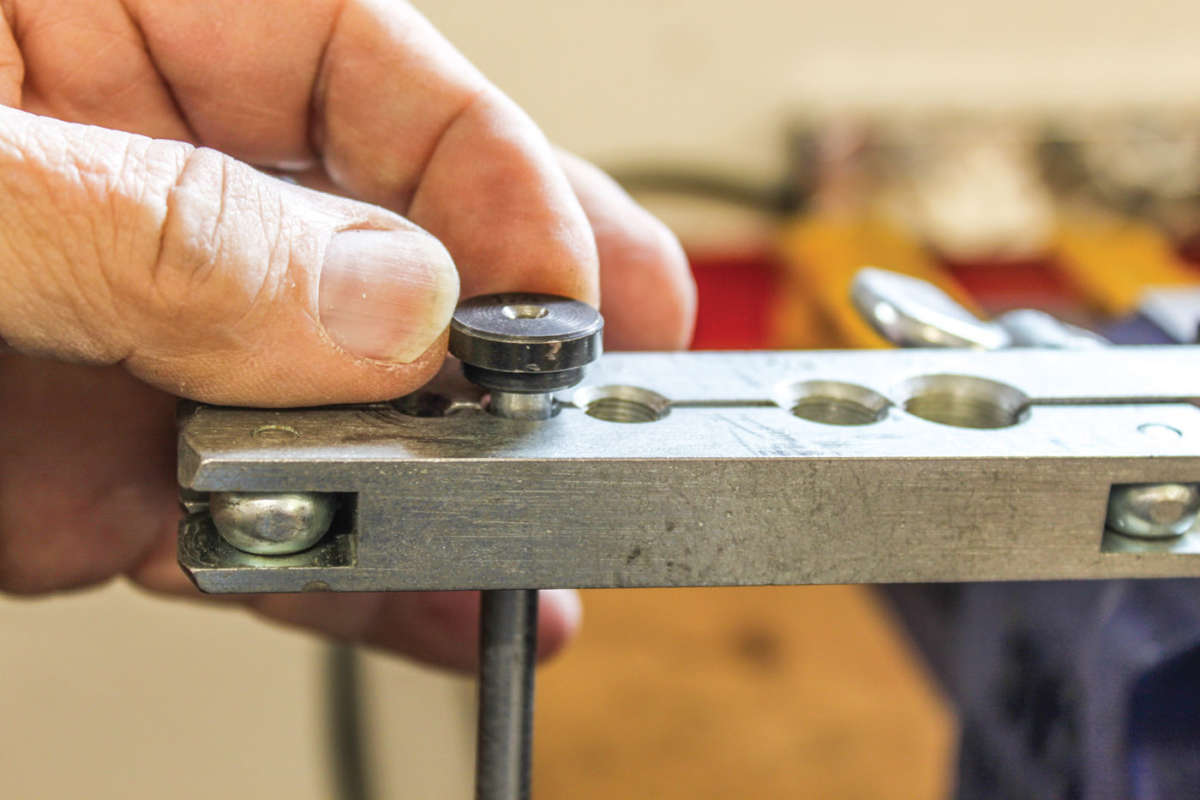
Using the tubing cutter, cut to the correct length and be sure to add the correct fitting before starting the flare. You’ll also want to deburr the inside of the tubing. Loosely clamp the tubing into the correct hole of the flaring bar and use the corresponding size adapter to gauge how far the tubing should extend above the flaring bar.
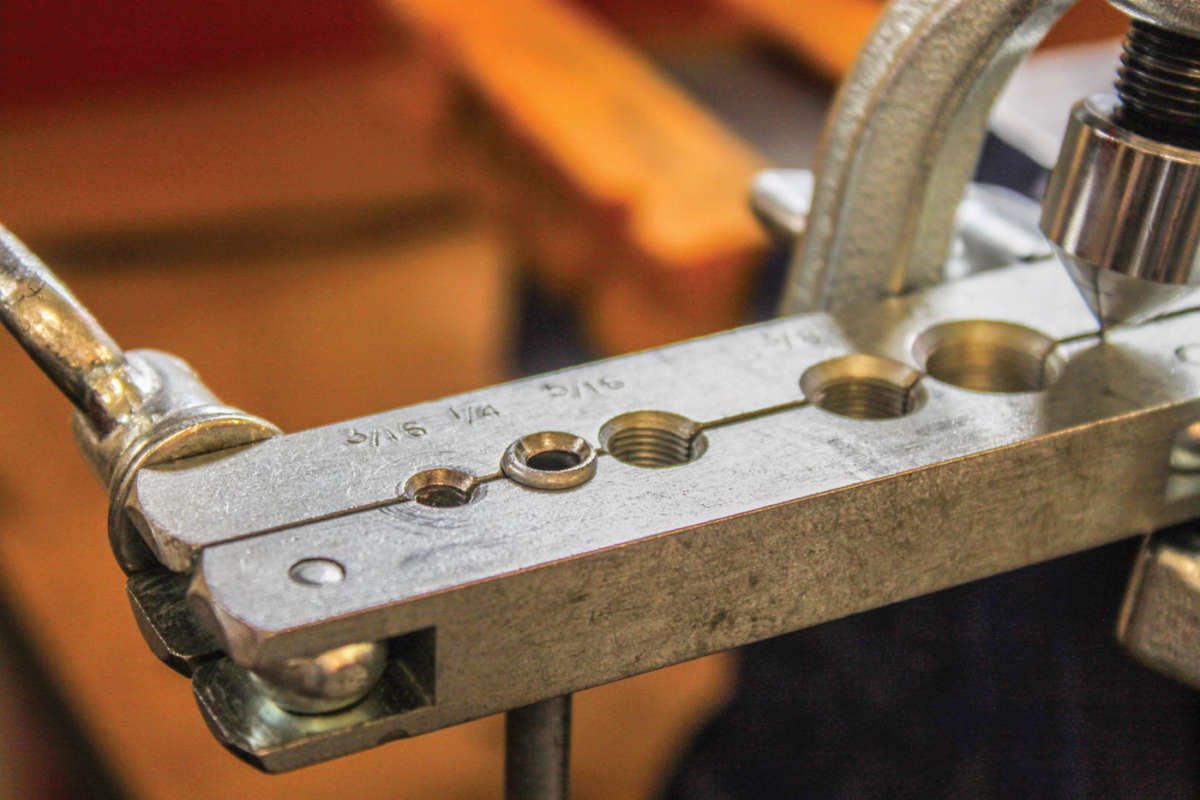

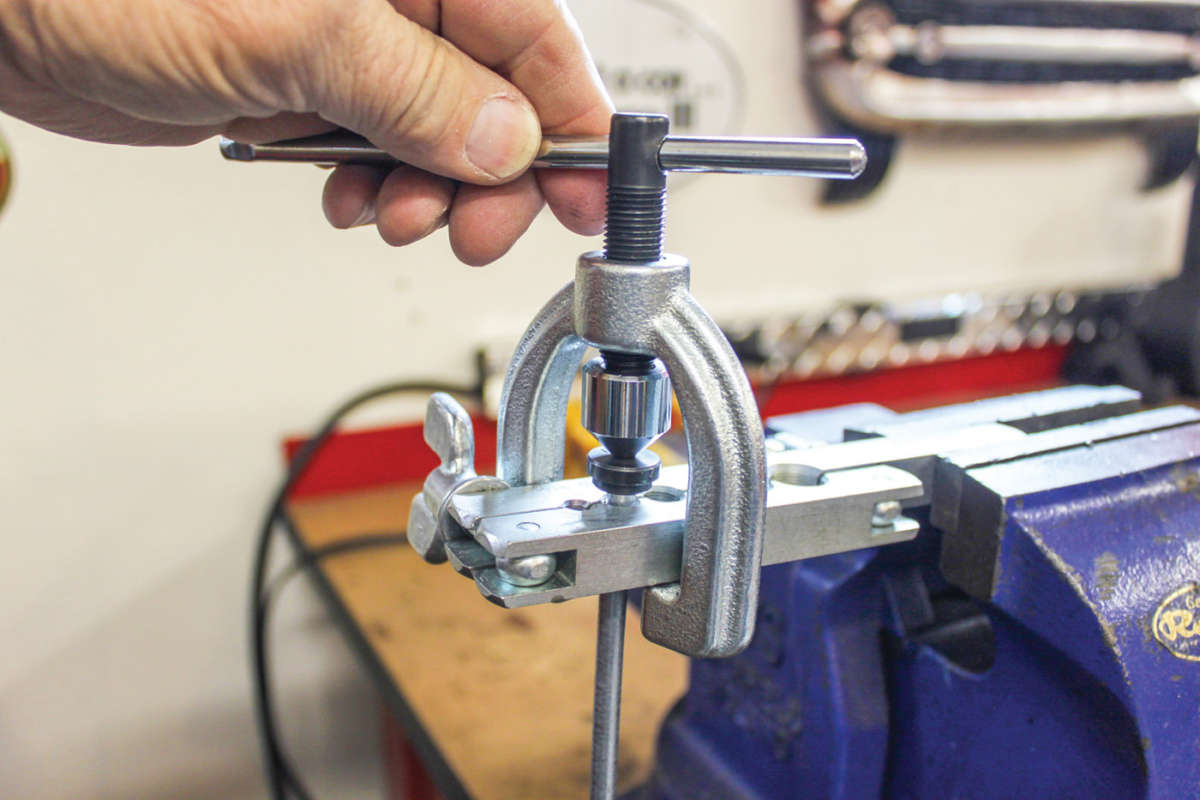
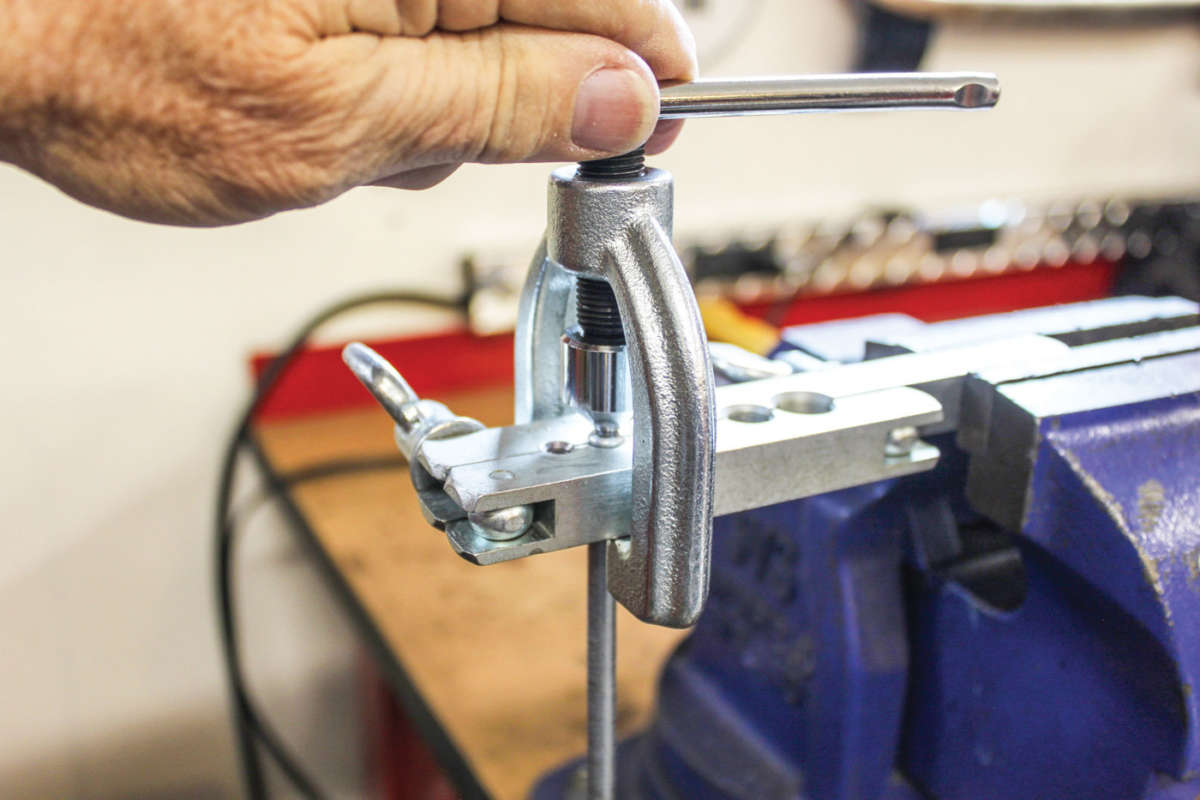
Then, tighten the wing nuts to hold the tubing firmly and place the stem of the adapter into the tubing. Situate the yoke assembly over the flaring bar and line up the forcing screw center with the depression on the adapter. Tighten the forcing screw until the adapter rests on the flaring bar. Then loosen the forcing screw and remove the adapter. Tighten the forcing screw into the tubing to force a bell-shaped end into the tubing. Voila! You have created a 45-degree double flare.
A tube-bending tool is particularly handy for making smooth, kink-free bends. You can also make bends without such a tool, but it makes it much easier and more professional-looking using the bender. These benders typically have grooves sizes corresponding to the most popular tubing sizes. Bending tubing requires a bit of forethought as to which way bends are oriented. Sometimes it’s helpful to form a piece of stiff wire to serve as a pattern for complex shapes. We even found it helpful to make some practice bends (OK, admittedly we goofed up some tubing and had to make several attempts before we got it right).
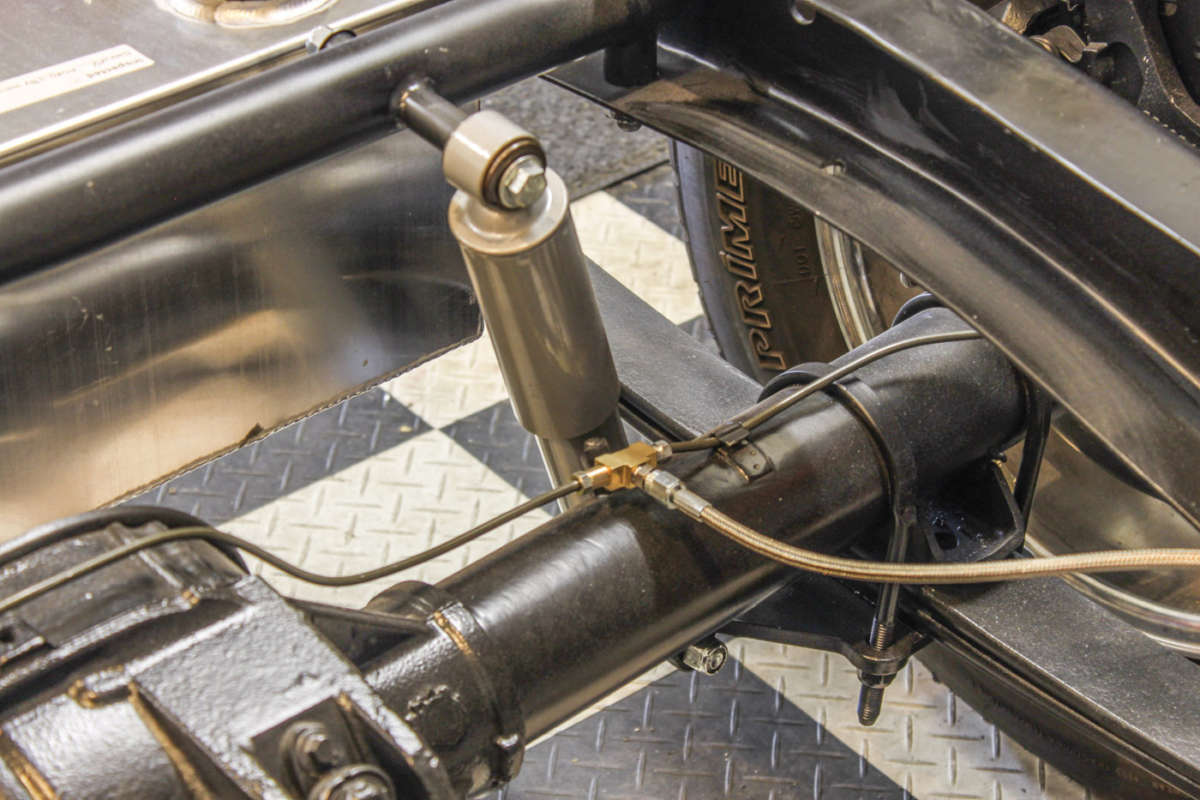
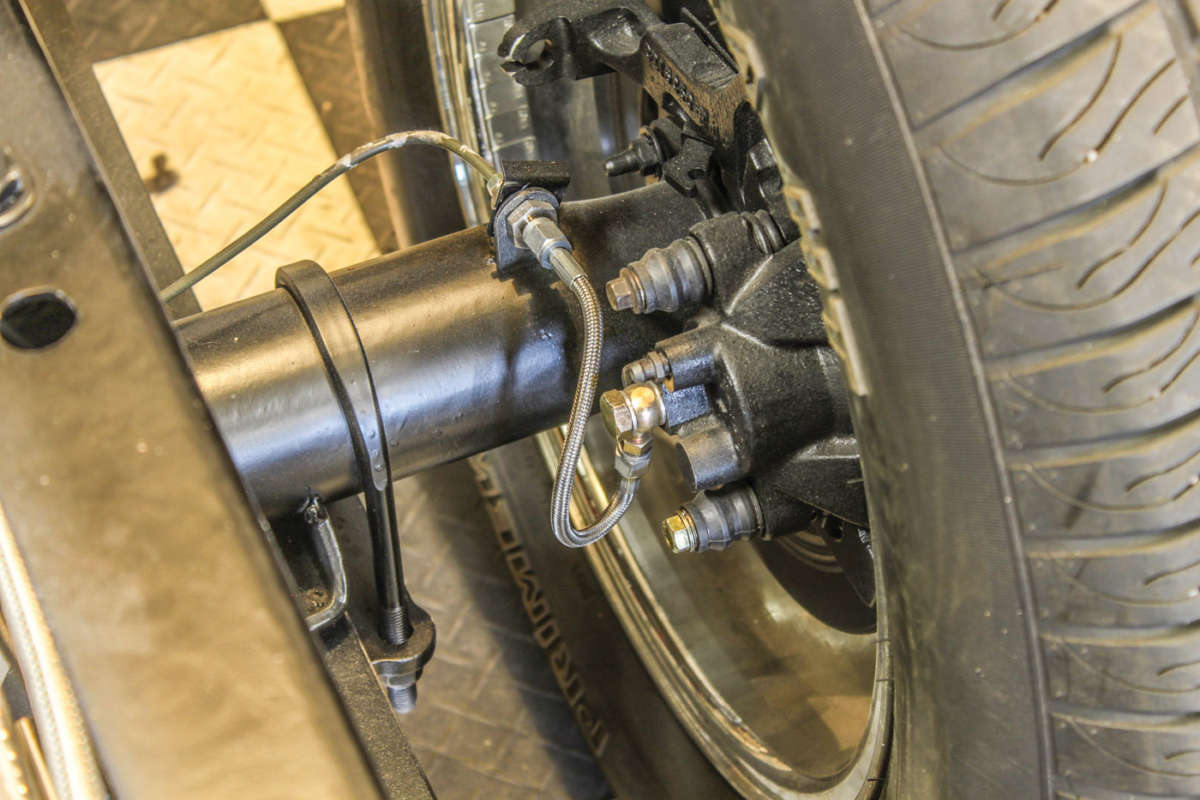
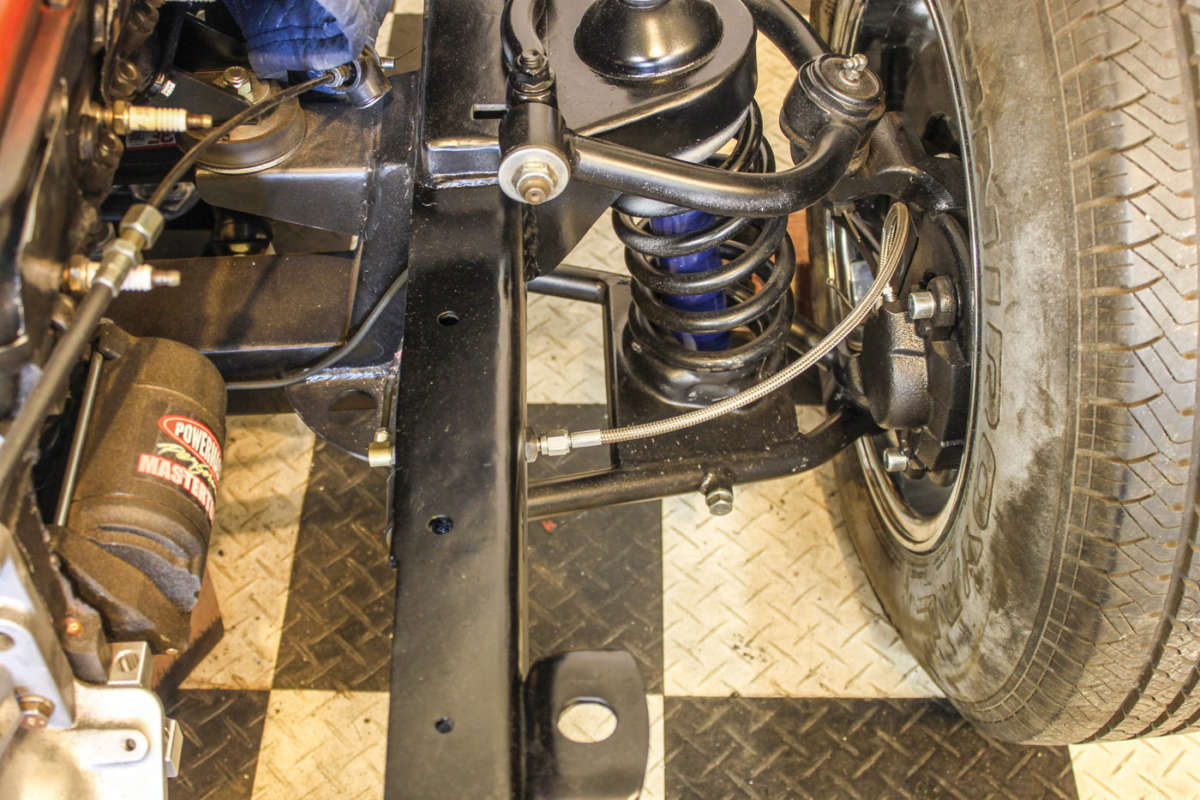
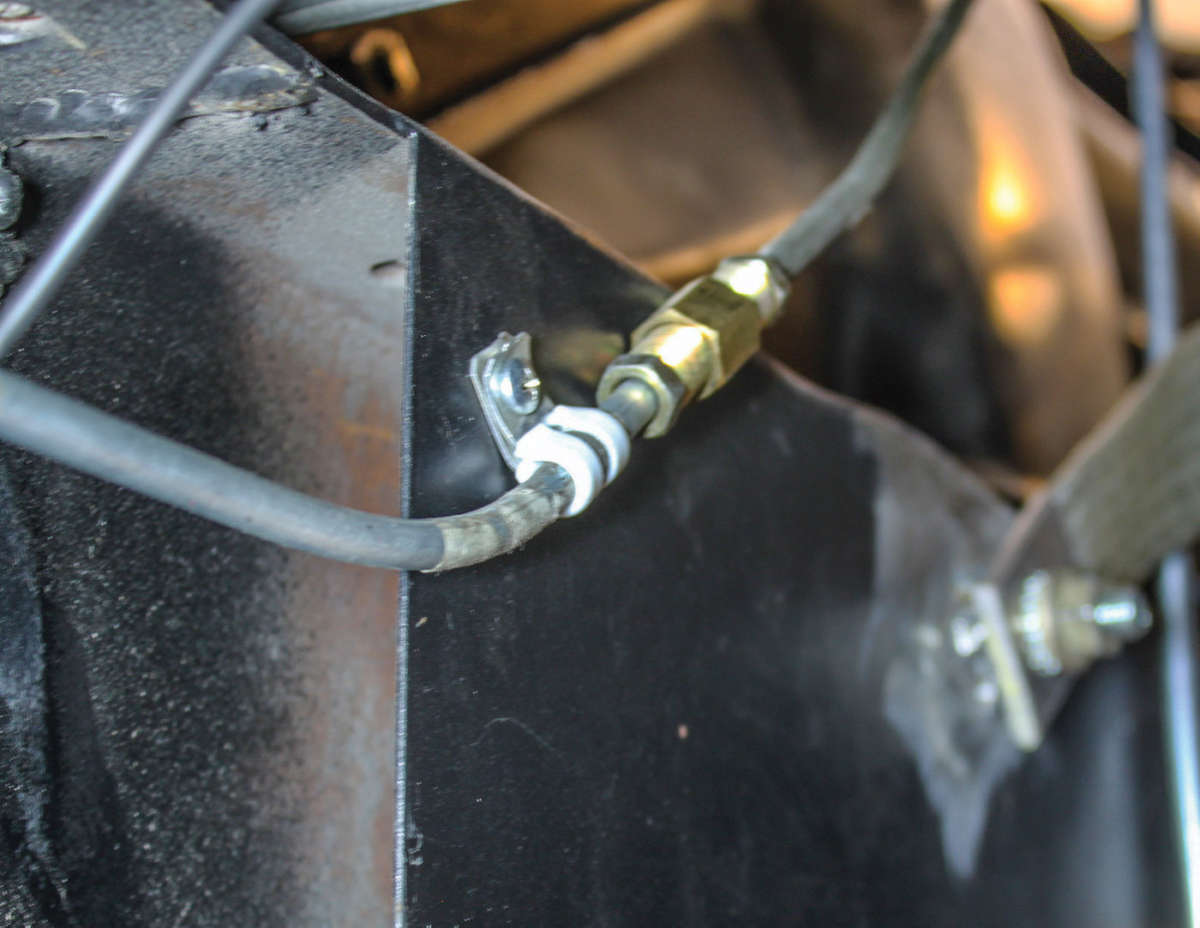
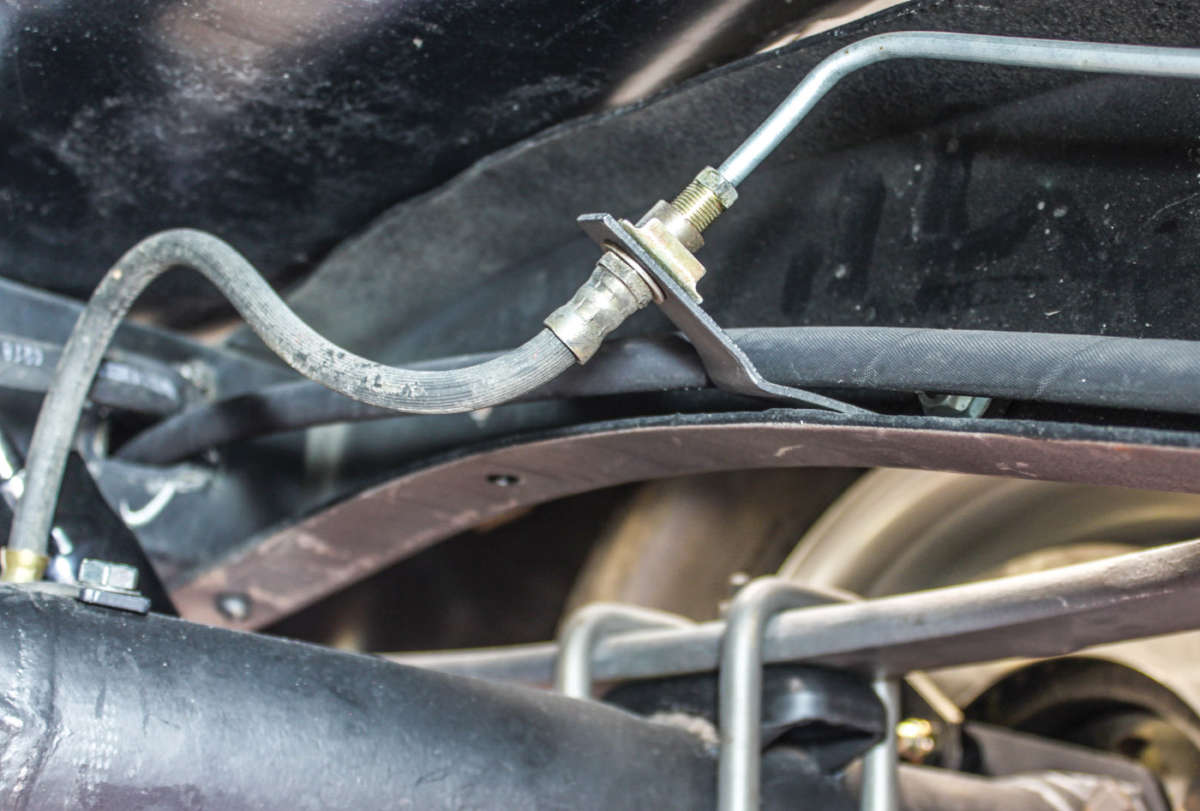
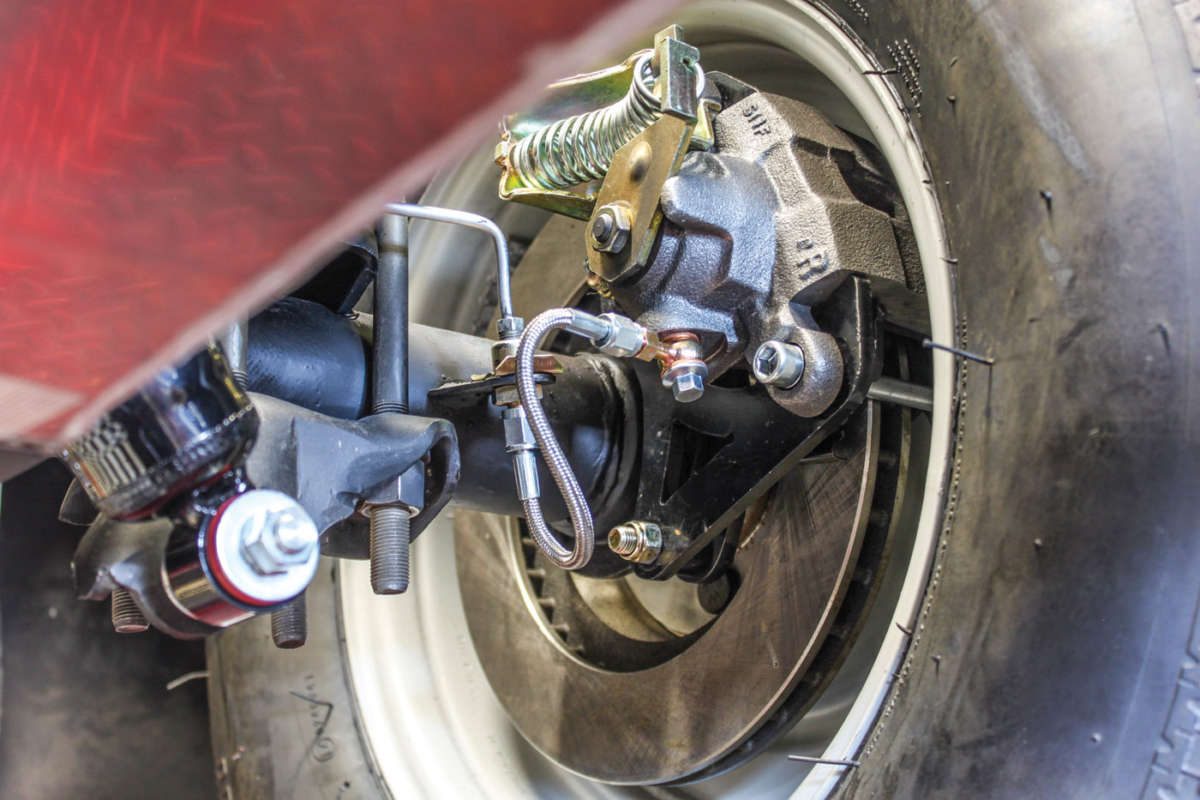
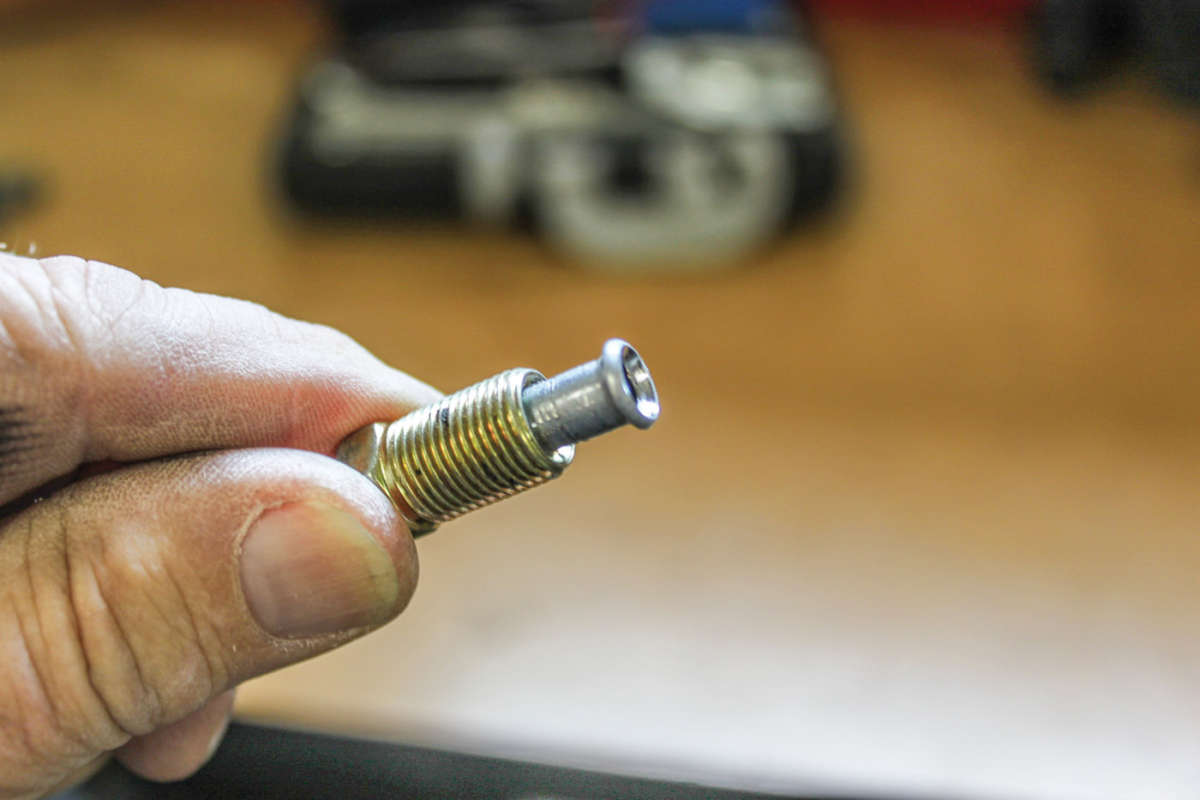
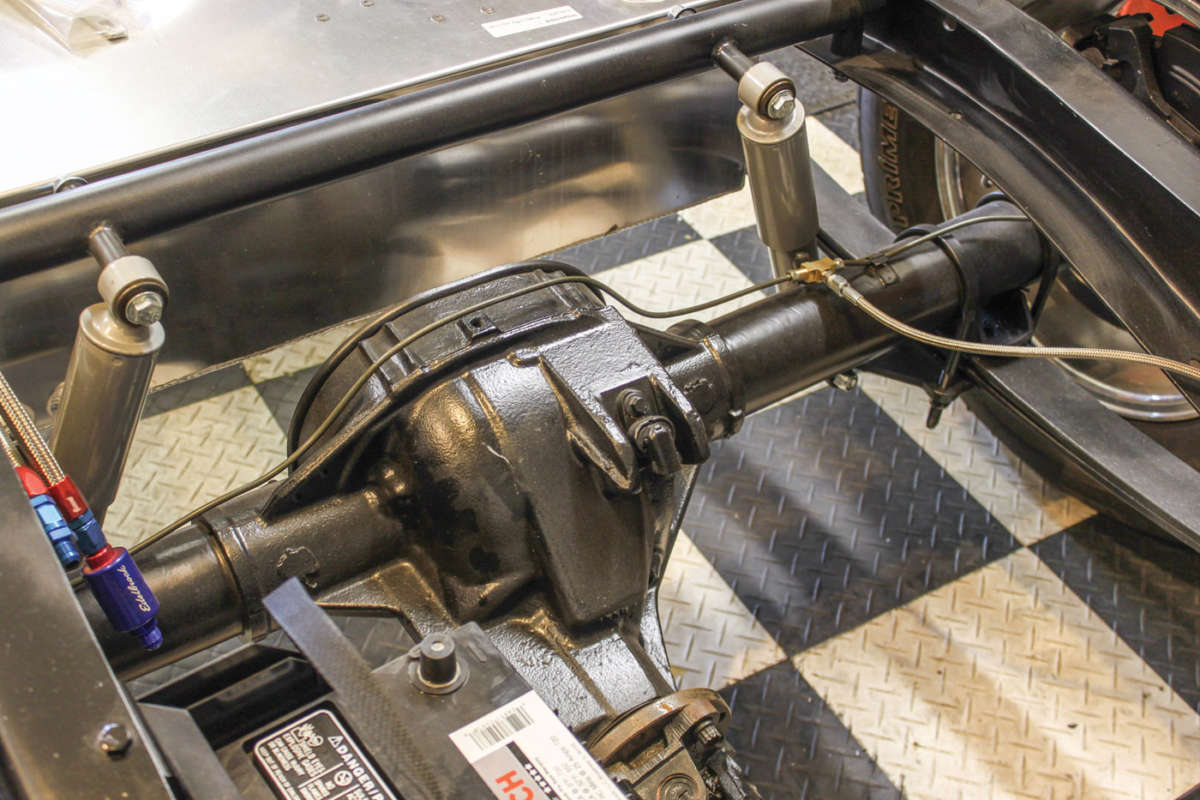
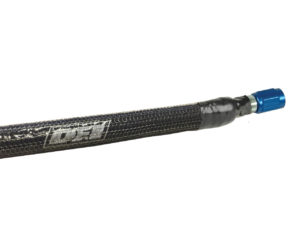
Once all the tubing is cut and the correct fittings in place, the hard lines can be installed and line clamps added to keep them all secure. Then it’s time to add flexible lines from the hard line end points to the calipers. We welded brackets to the rear axle housing and front of the frame at those end points. The brackets have holes in them that accommodate a brake line adapter with a female inverted flare on one end and a male AN on the other clipped into the bracket. Then a braided stainless steel flexible line, or plain rubber line, attaches there and onto a banjo caliper fitting, also with a male AN end.
After everything is routed, secured and tightened down, about the only thing left to do is bleed the system. Before mounting the master cylinder, it’s a good idea to do a “bench bleed.” Purchase an inexpensive bench-bleeding kit from an auto parts store and install the tubes and fittings into the master cylinder, mount it in a vise, fill with brake fluid, route the tubes into the fluid and use a screwdriver to pump the master cylinder numerous times to expel any hidden air. Then mount the master cylinder to the vehicle leaving the tubes in place until the proper fittings and brake lines can be installed. Be careful not to get any brake fluid on painted parts, as it will strip away the paint.
Follow all of the above tips, and you’ll have a brake system that functions as it should, bringing your ride to a smooth and sure stop.


Comments for: Gimme a Brake
comments powered by Disqus