Amateur Hour: Ford Windsor Build Part 4
By Dean Larson
Tag along with us for the next couple months as a pair of total amateurs tackle the complete rebuild of a Ford 302 Windsor engine. Despite being obsessive gearheads and project car addicts, neither of us have ever rebuilt a car or truck engine by ourselves before. Our subject is a bare Ford 302 engine from around 1972 that we picked up from a shop for cheap. In the end, we hope to come up with a fun and reliable Windsor engine that any guy could build at home with a few helpful resources. Will we prove to be Windsor wizards, or will this thing kick out a rod immediately? There’s only one way to find out.
I’d Tap That
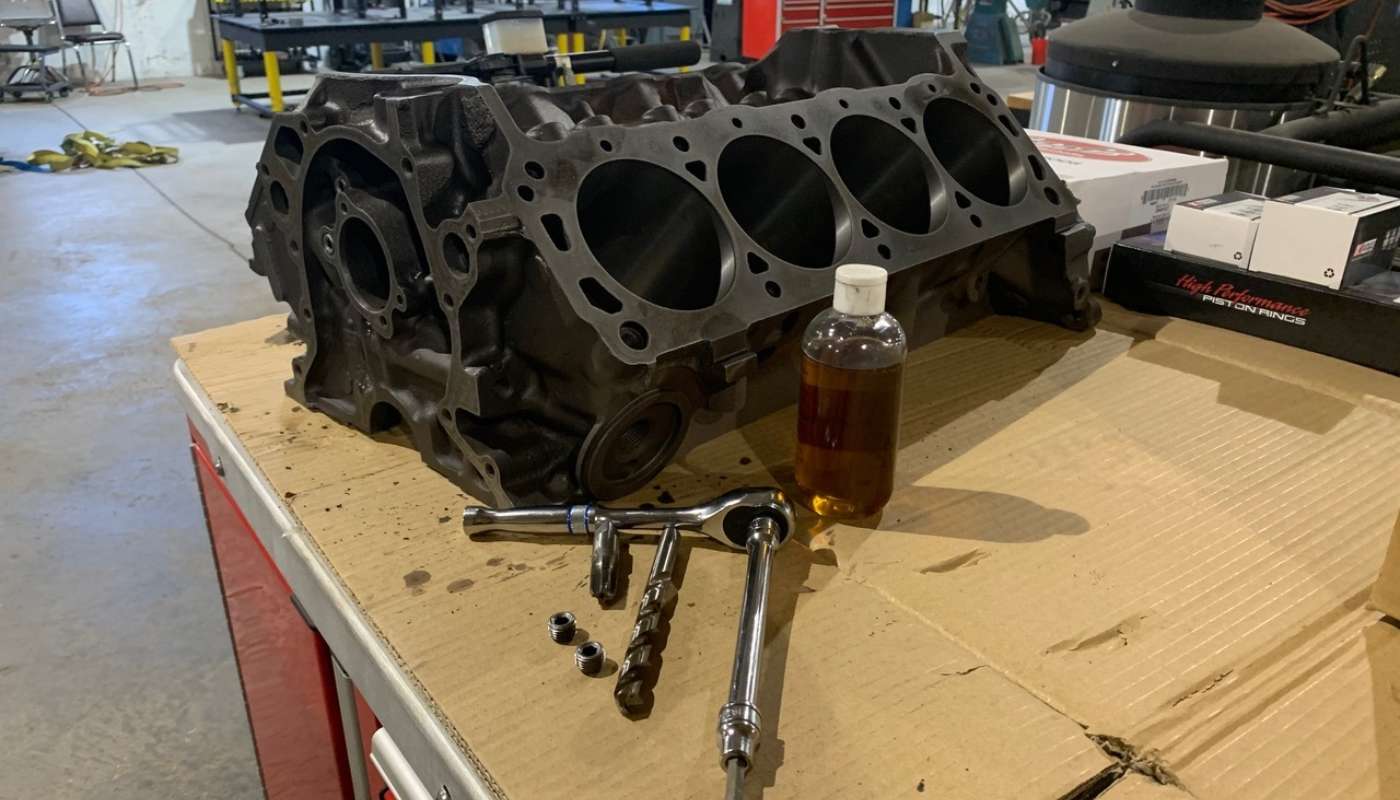
Spend the time now, and save yourself a headache later — that’s really the topic of this week’s quick installment on our Ford 347 stroker build. Our project this time around was tapping the infamous oil galley plugs on the front of our 302 block, a step that will ensure that our engine doesn’t leak excessively in the timing chain area, or lose oil pressure all together.
This is a pretty quick process that you really want to do on your 302 block before it goes out to the machine shop, and you’re essentially just replacing the factory press-in oil galley plugs with thread-in 1/4-18 plugs. This of course means that you’ll have to do some permanent modifications to your block, as in cutting threads, which can be a bit daunting. But to help push you forward, it might ease your mind to understand why this process is worth doing.
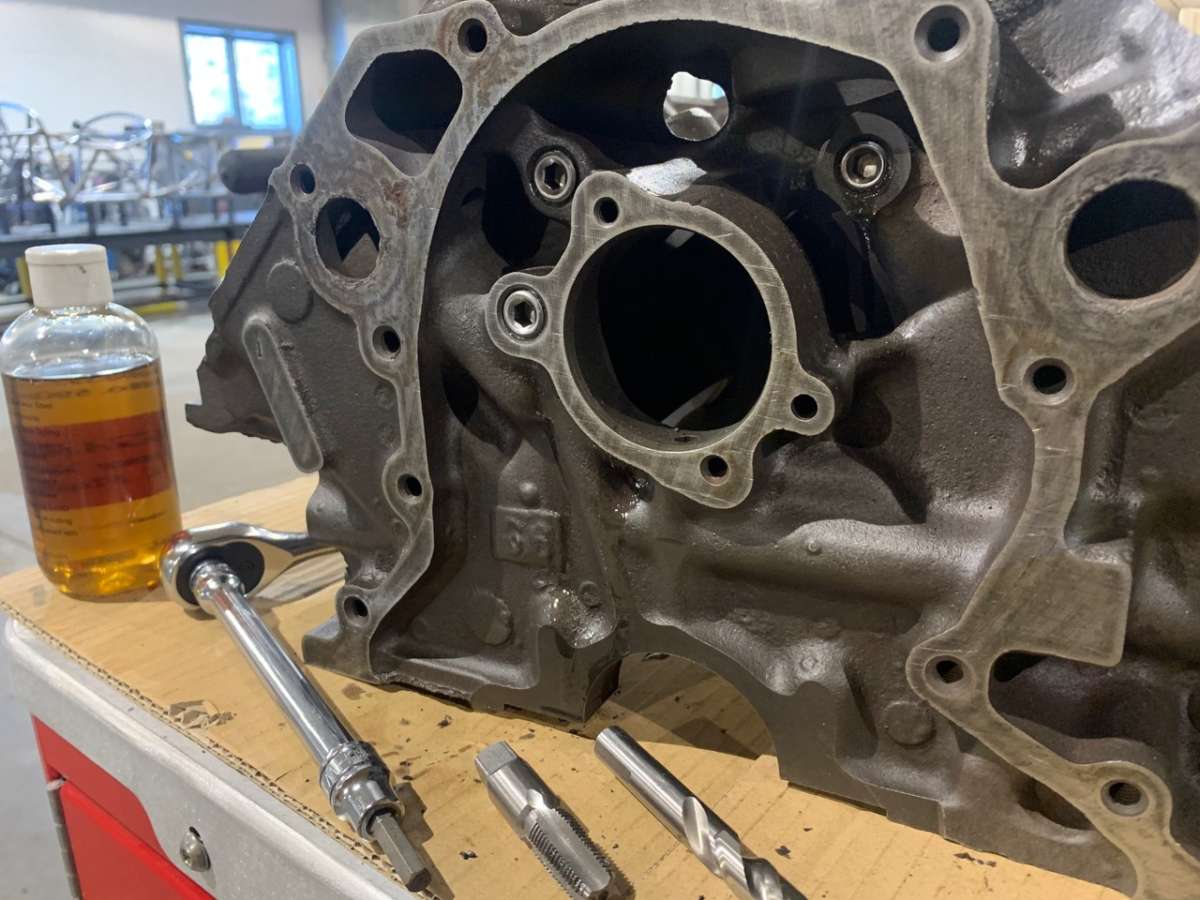
There are three plugs under the timing chain area of a Ford Windsor engine, and on 289 and 302 blocks, only one of these plugs will be the thread-in style, and that’s the one closest to the distributor. The reason for this is that the other two plugs are covered by the camshaft retainer plate, meaning that those press-in plugs can’t technically come out as long as the correct camshaft retainer plate is used. Regardless, there are tons of horror stories out there on the web involving these plugs working themselves out, leading to oil leaks or a complete loss of oil pressure, which can kill your fresh engine. So for the low price of $0.60 per plug, we thought it was well worthwhile to get these holes plugged correctly, and due to the metal shavings created in the tapping process, you’ll want to get it done at this stage of the build.

You’ll need three 1/4-18 NPT tapered pipe plugs to get this job done, and be sure to get the allen-style plugs as opposed to the external hex sort. It also doesn’t hurt to grab a few extras in case you mess something up. You’re also going to need a 1/4-18 NPT tap, along with some cutting fluid.
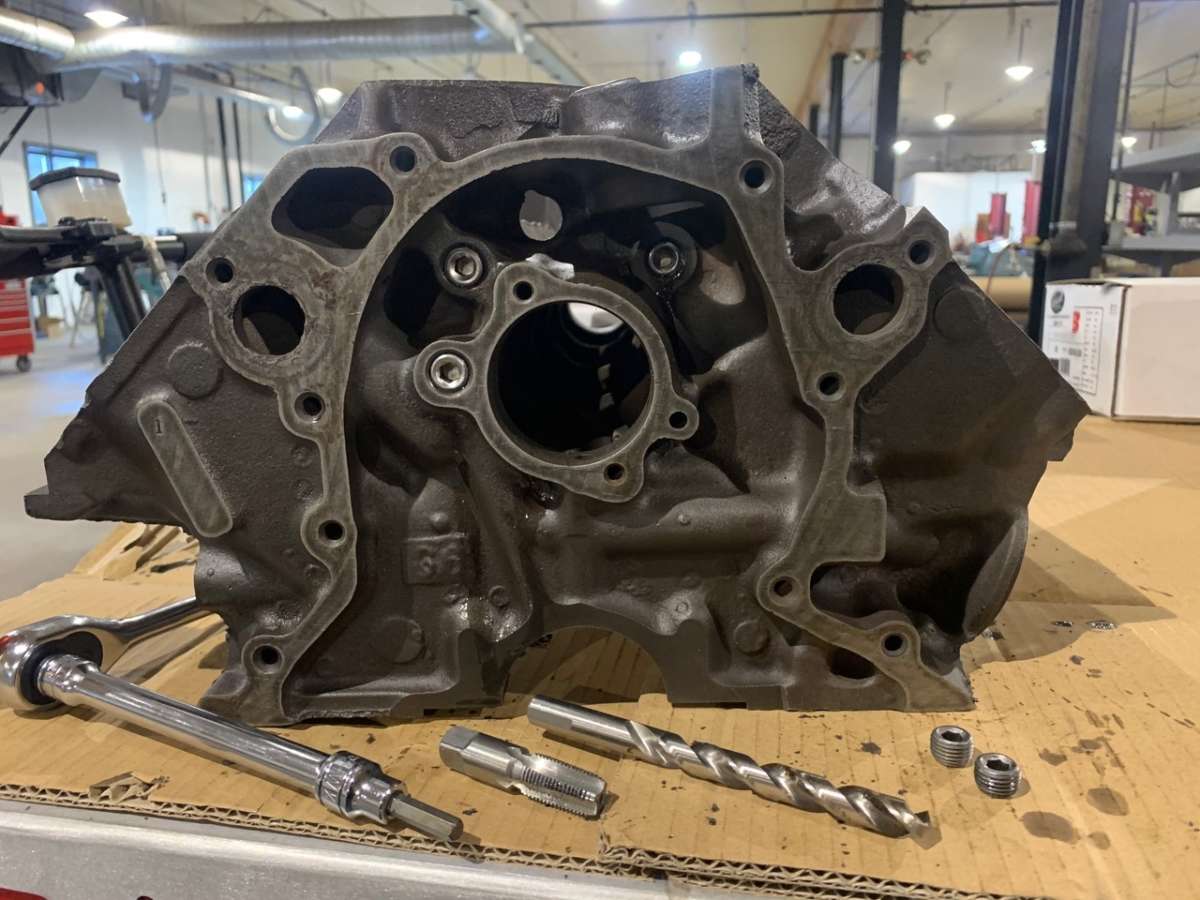
We started with the two holes on the passenger side of the block, as they’re the easiest to do. Like any other thread tapping process, use some cutting oil and be sure to turn the tap in reverse often to clear shavings from the new threads. The tap is tapered, so it should fit in the holes right away, but you’ll notice it gets much harder to turn as you go along. I’ll say that I was more than surprised, even a bit nervous honestly, as it took a lot of force to turn the tap as we got further along. So I backed the tap all the way out several times and cleaned the holes out before we got deep enough.
To gauge when you’ve gone far enough, simply thread in one of your pipe plugs. You’ll want to be sure it threads in so it’s recessed just a bit beyond the surface of the block. This is especially important on hole No. 1, as the camshaft retainer plate needs to fit flush to the block.


There are just a few additional things to keep in mind when you get to hole No. 3 — starting with the lifter bore and distributor clearance. See, you have to thread the third plug in far enough that it doesn’t interfere with the distributor drive, which will usually mean that your tap starts cutting threads into the lifter bore beyond it. When you get here, simply clean up the lifter bore with some light sandpaper, just to remove any sort of burs that could develop. In our case, the thread didn’t seem like our tap was cutting threads that deep yet, and our lifter bore was fine.
It’s also worth mentioning that this third hole will probably already have threads cut in it, since it’s recessed too far to be retained by the cam retainer plate. We thought we’d just be chasing these threads, but it really seemed like our tap was cutting all new threads. Maybe the OEM plug used here was different, but I’m not sure, as our block was bare when we started. Either way, it all went fine, just required a little more elbow grease than I expected.
From here, we have only to notch our cylinder bores for the stroker connecting rod clearance before our block goes to the machine shop. I left our plugs in dry for now, and I’m assuming the machinist will know to remove them if need be. Maybe I’ll ask him first, we’ll see. But it’s worth mentioning that we’ll be threading these plugs back in for finish assembly using thread sealant.
Overall, I’d say this is a nice process to get your feet wet on the subject of altering your block. And that’s good, because next time we’ll be mangling the bottoms of our cylinder bores with a carbide bit — wish us luck!


Comments for: Amateur Hour: Ford Windsor Build Part 4
comments powered by Disqus