Restoring a Firebird with aftermarket steel panels
Story and Photos by JoAnn Bortles
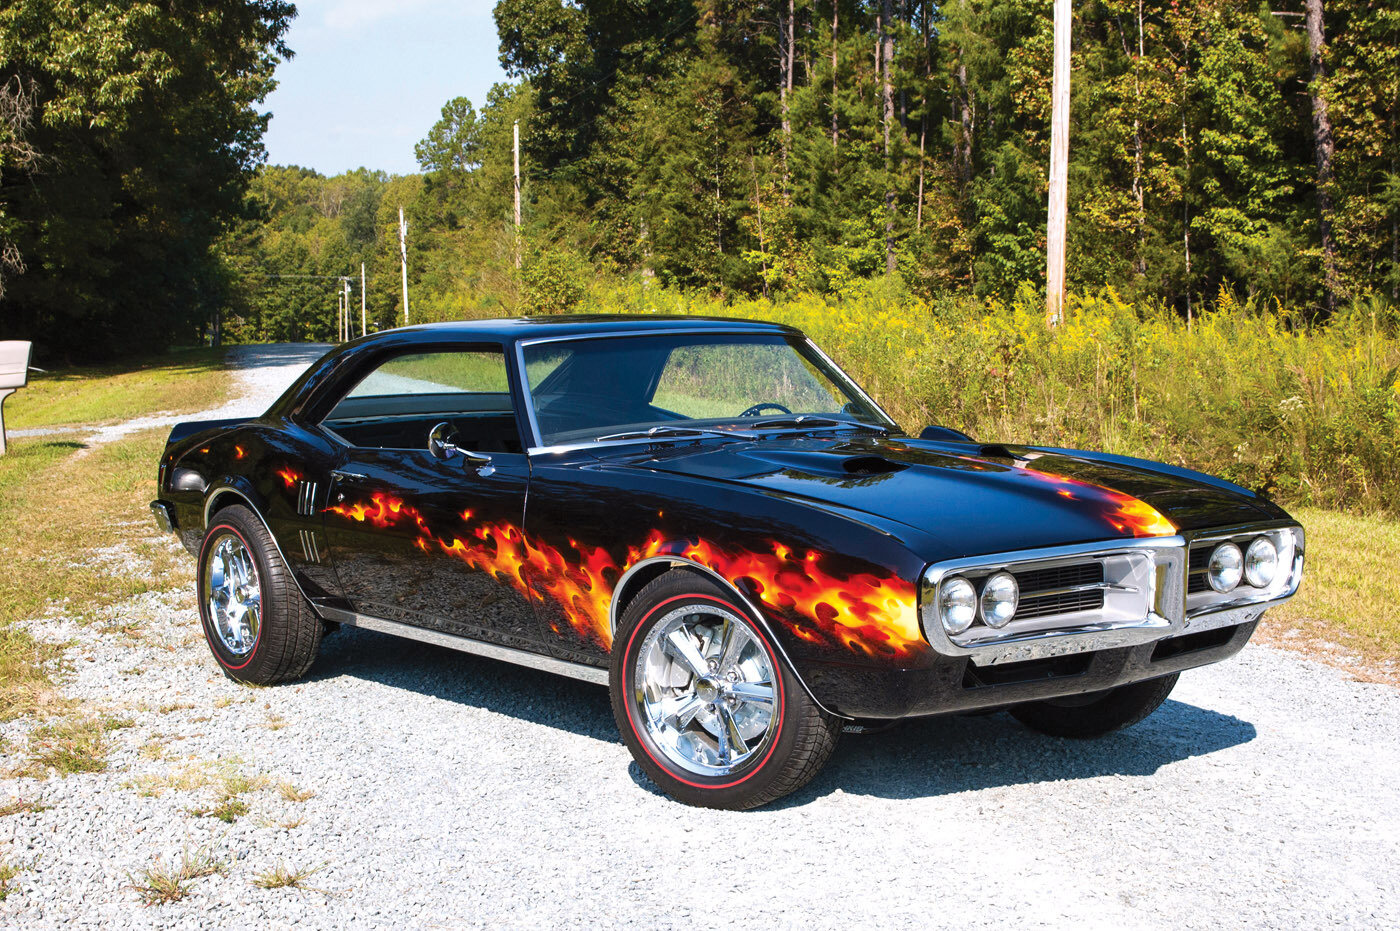
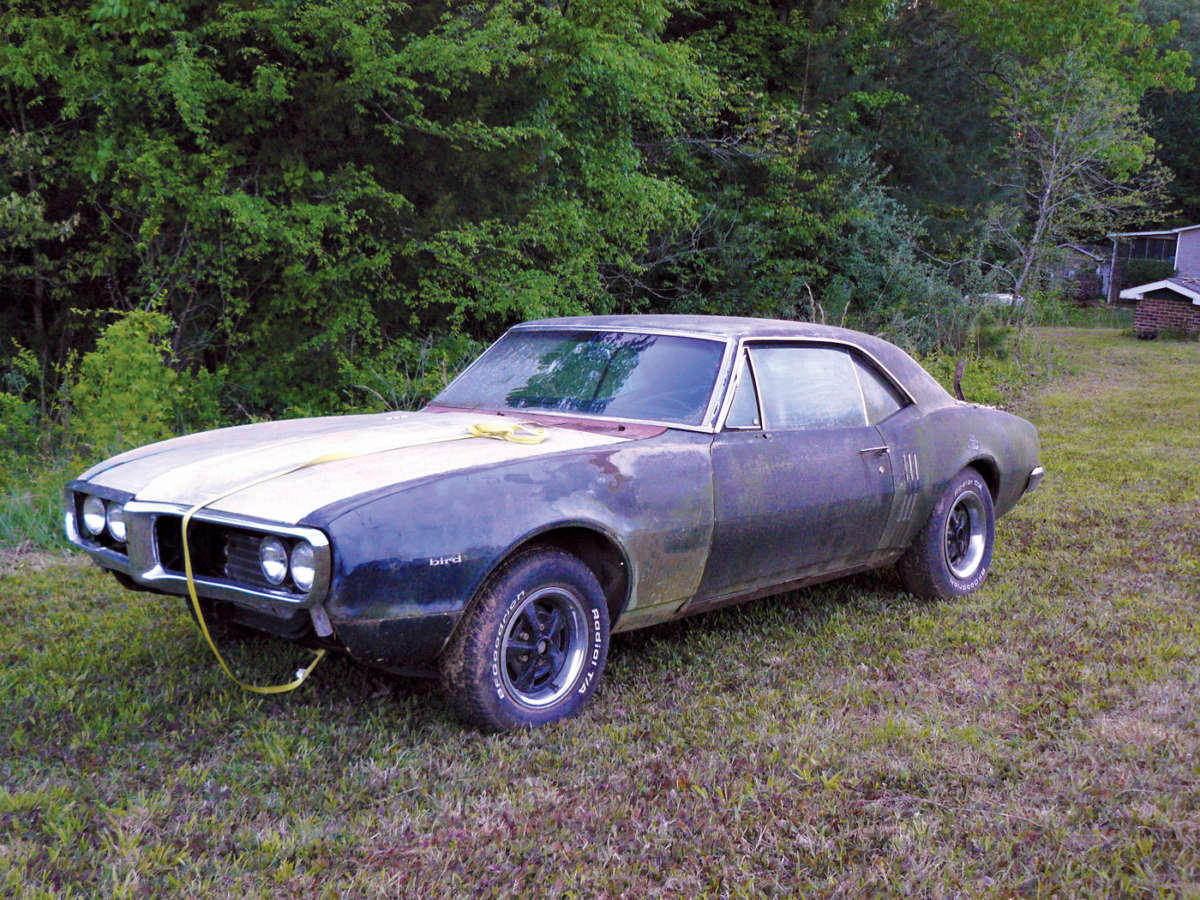
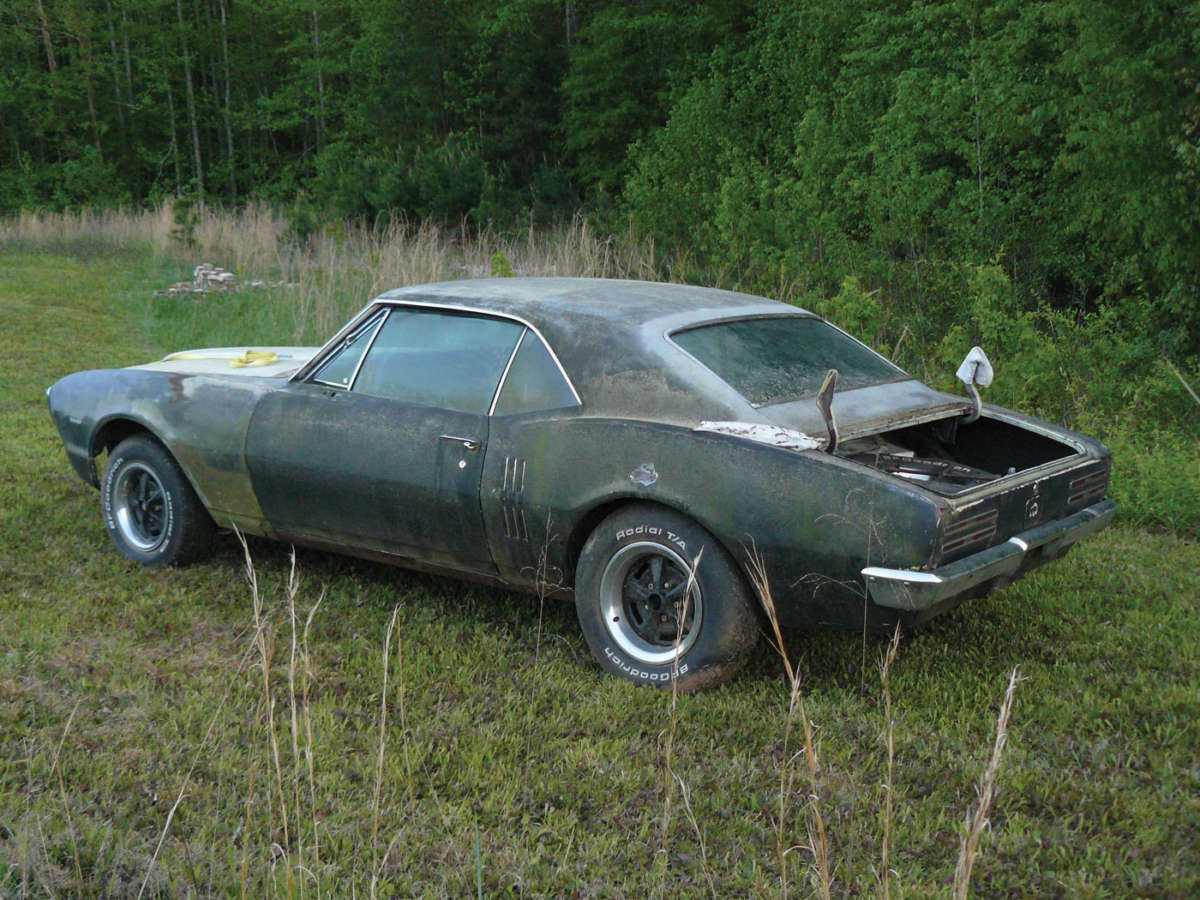
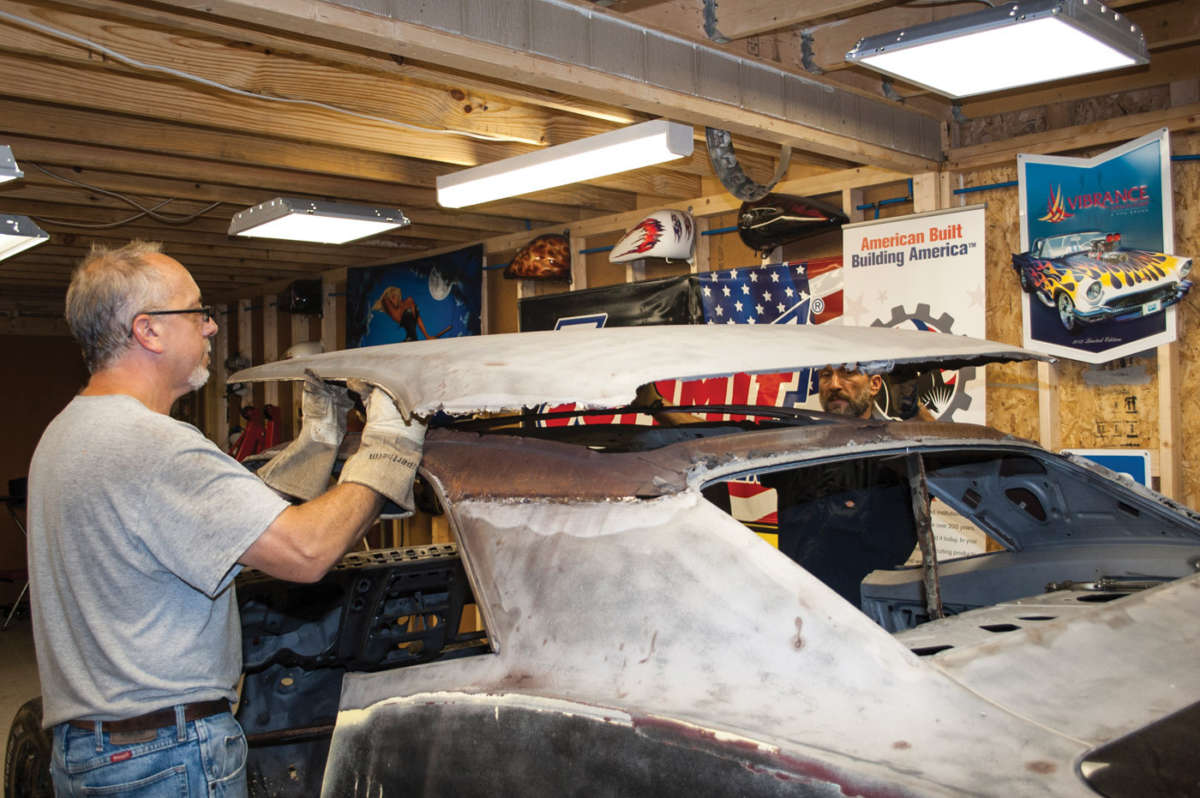
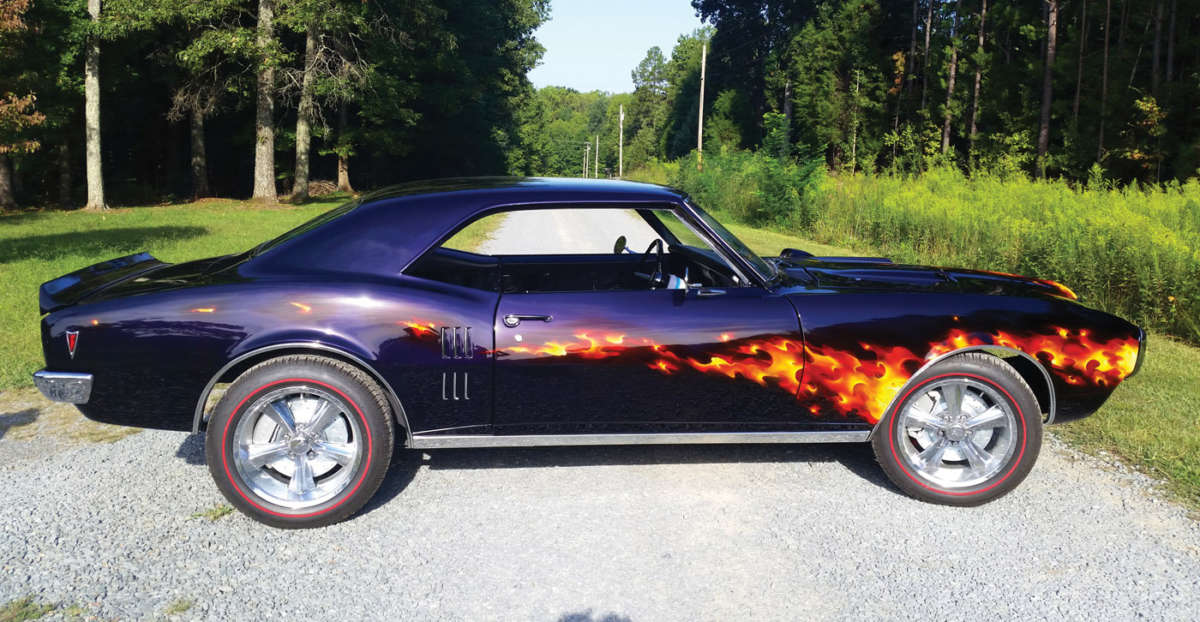
After getting tired of seeing my favorite model of Firebird decaying every day, I decided to do something about it and planned a complete restoration. At first glance, half the body panels would need replacing. But once I got into it, I had to embrace the harsh truth that every single body panel — floor and trunk pans, quarters, taillight panel, valances, doors, fenders, hood, outer wheelhouses, trunk lid, lower firewall, and even the roof — would need replacing with Dynacorn panels. There could be no shortcuts. It was either all or nothing. I knew it would be a lengthy process, but hoped the body and paint could be done in three months, as the car was scheduled to be displayed at the SEMA Show that fall. We had four months and needed every moment of it.
While I had done a number of restorations over the years, I had never attempted a restoration of this magnitude. What follows are the major steps involved, along with some practical tips for anyone else considering a similar restoration. Just keep in mind that reviving a classic car often requires a lot more than you might expect.
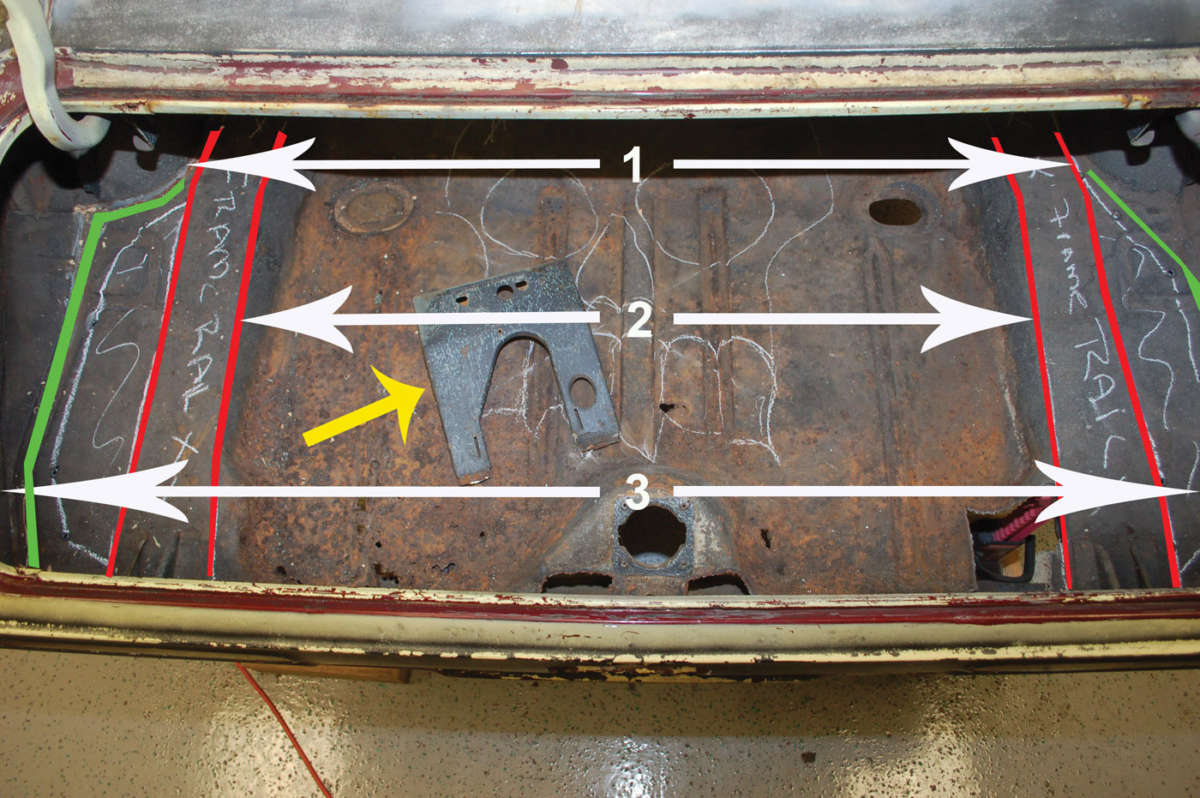

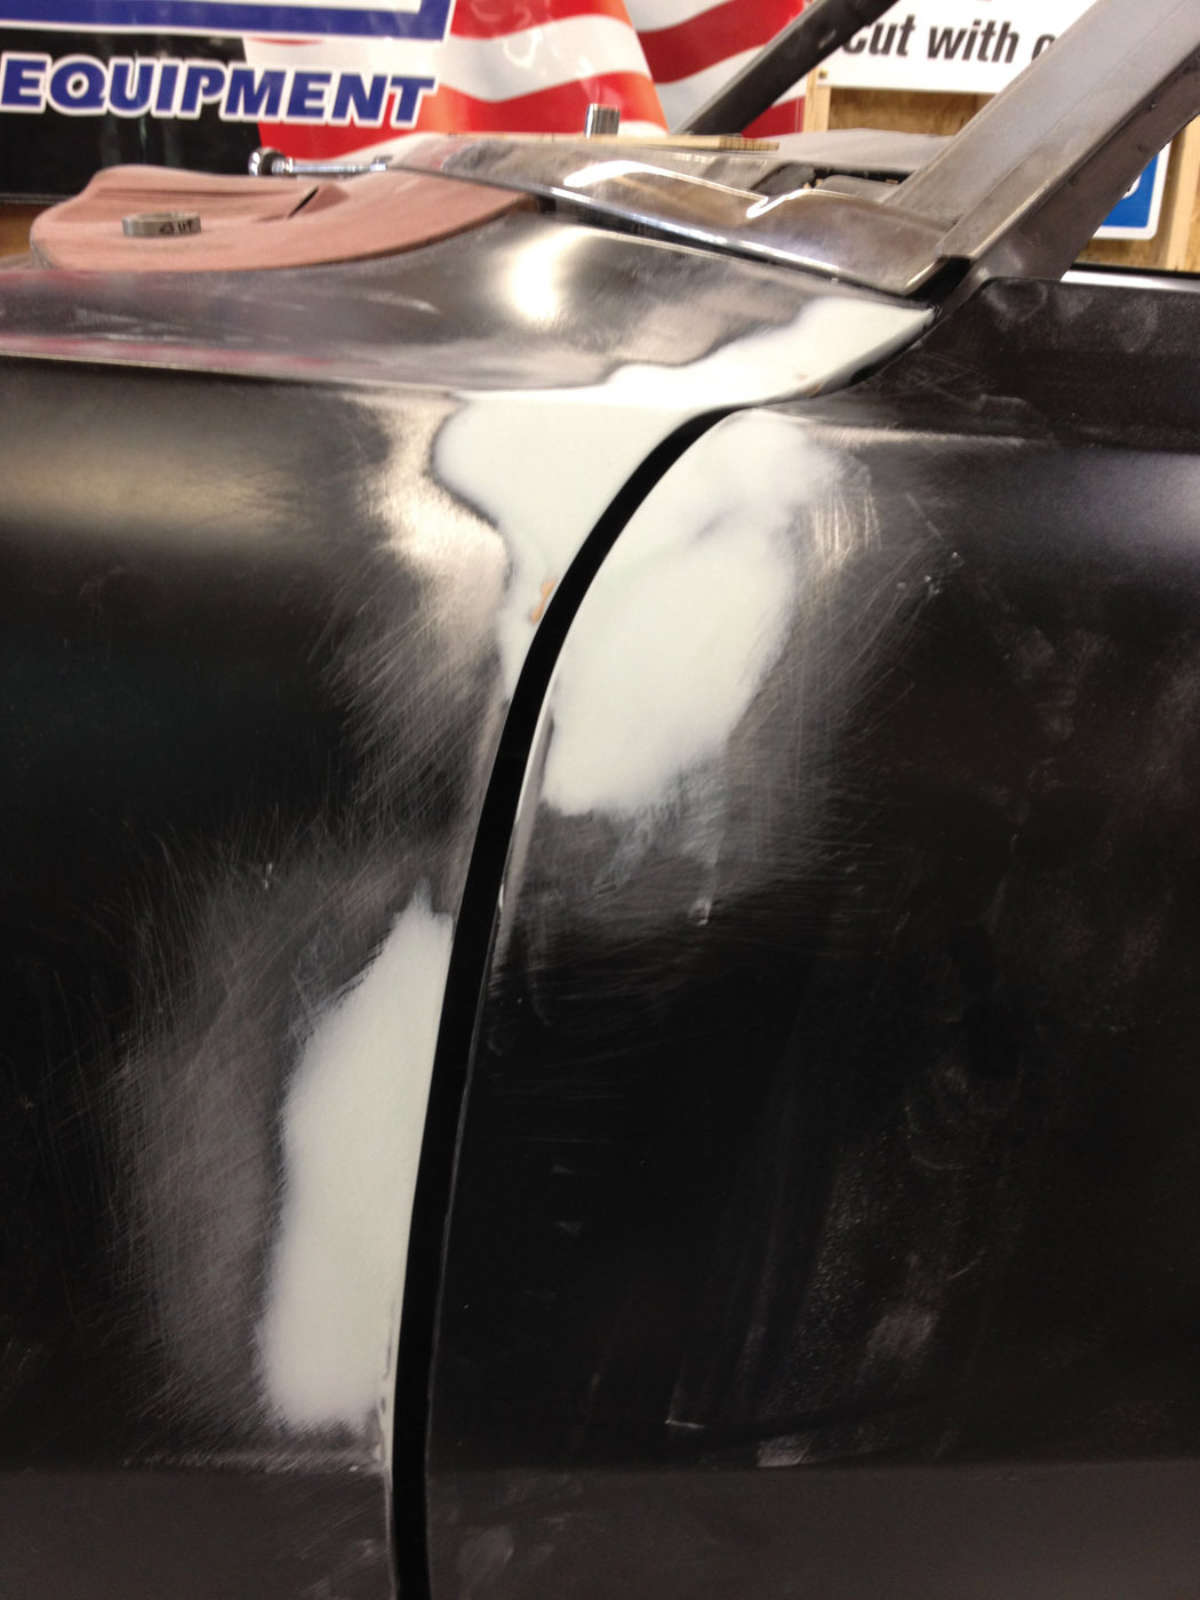
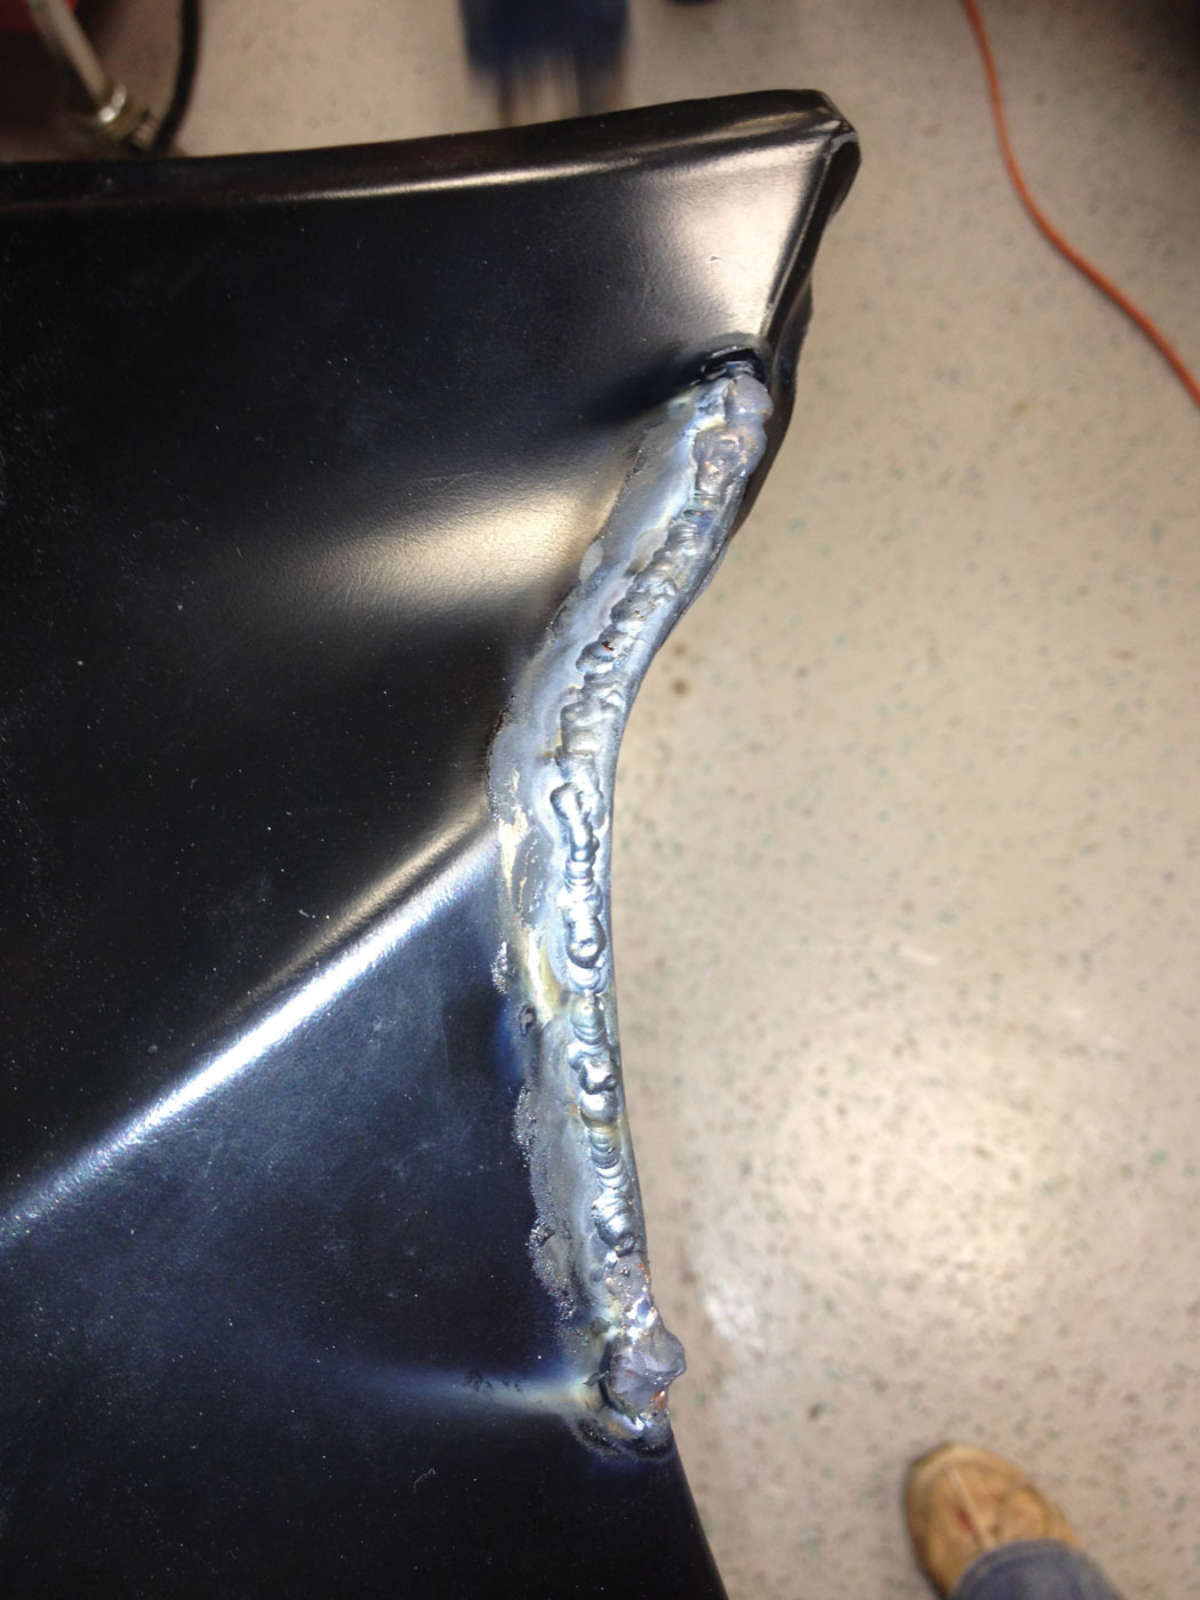
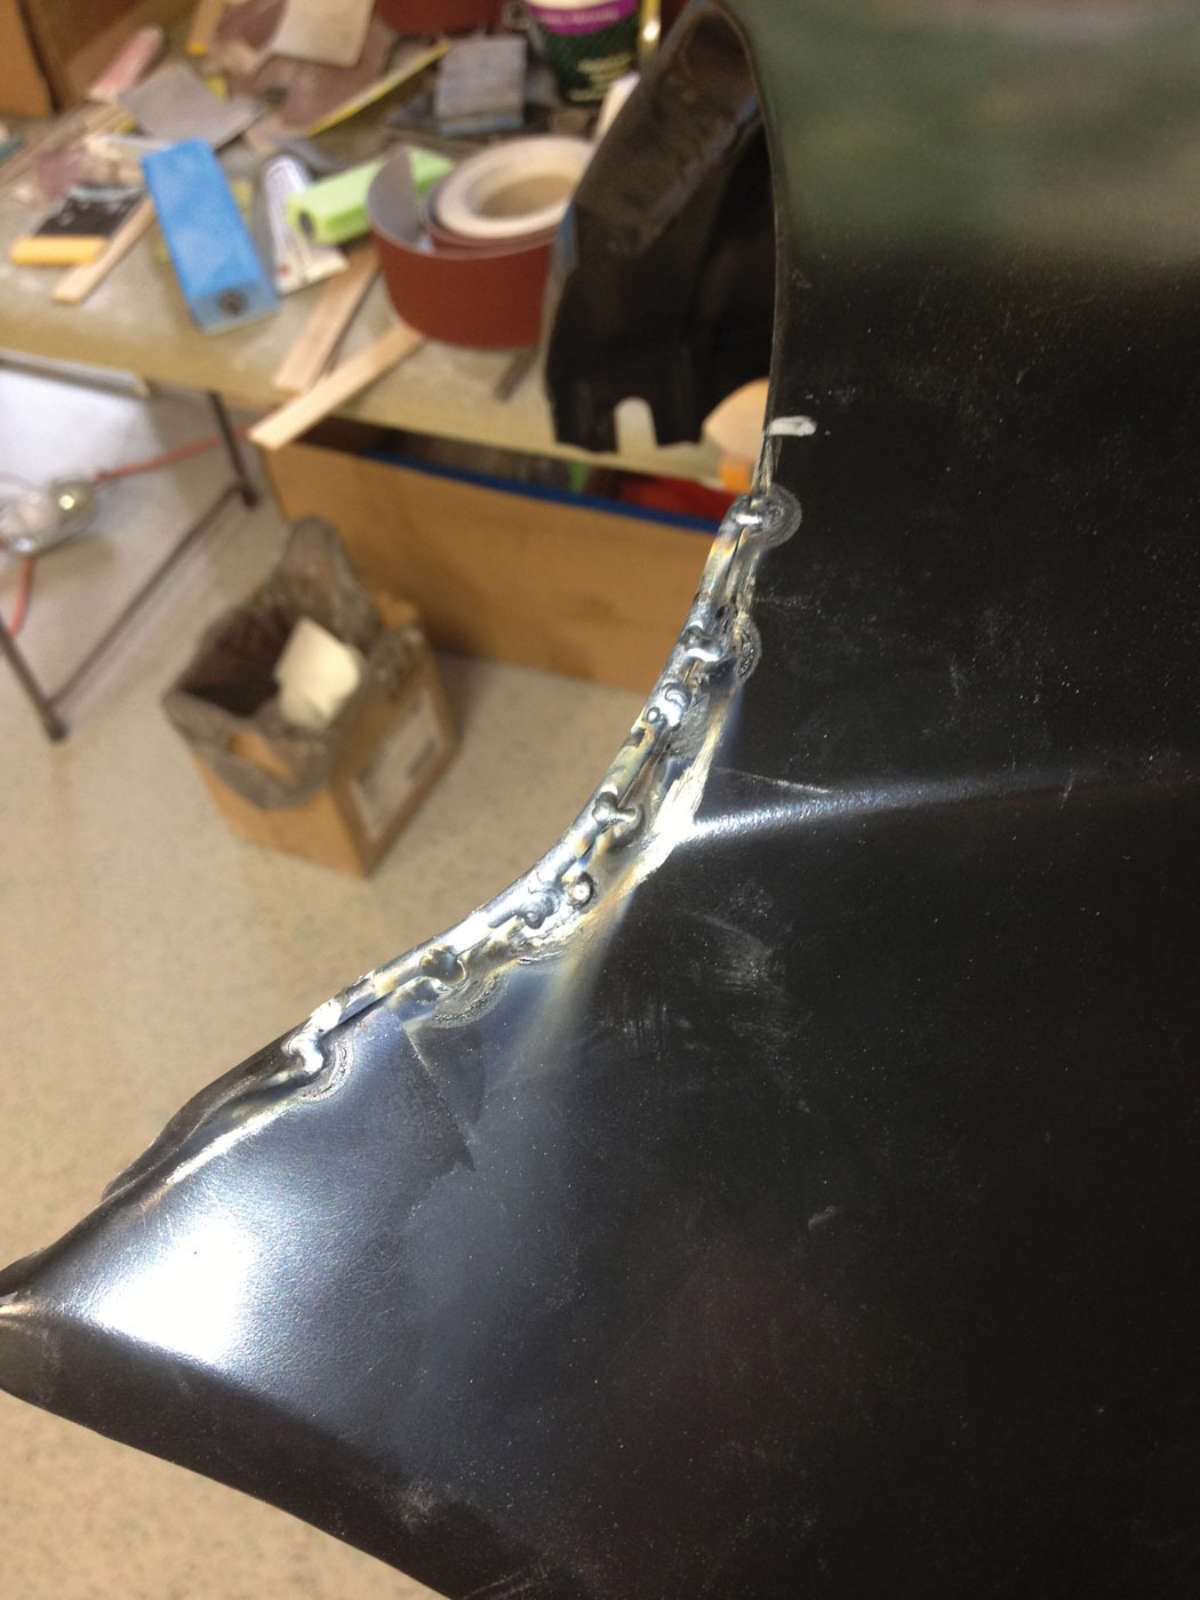
No matter which brand of panel you go with, all of them will need a little work in order for everything to fit properly. One thing to take into consideration is the fact that most of the vehicles being restored are over 40 years old. The metal bodies and panels will be changed by over 40 years’ of gravity, decay, and road wear and tear. Even if the replacement panels are perfect, the structure they are mounted on will not be. That means doors and fenders might not line up easily.
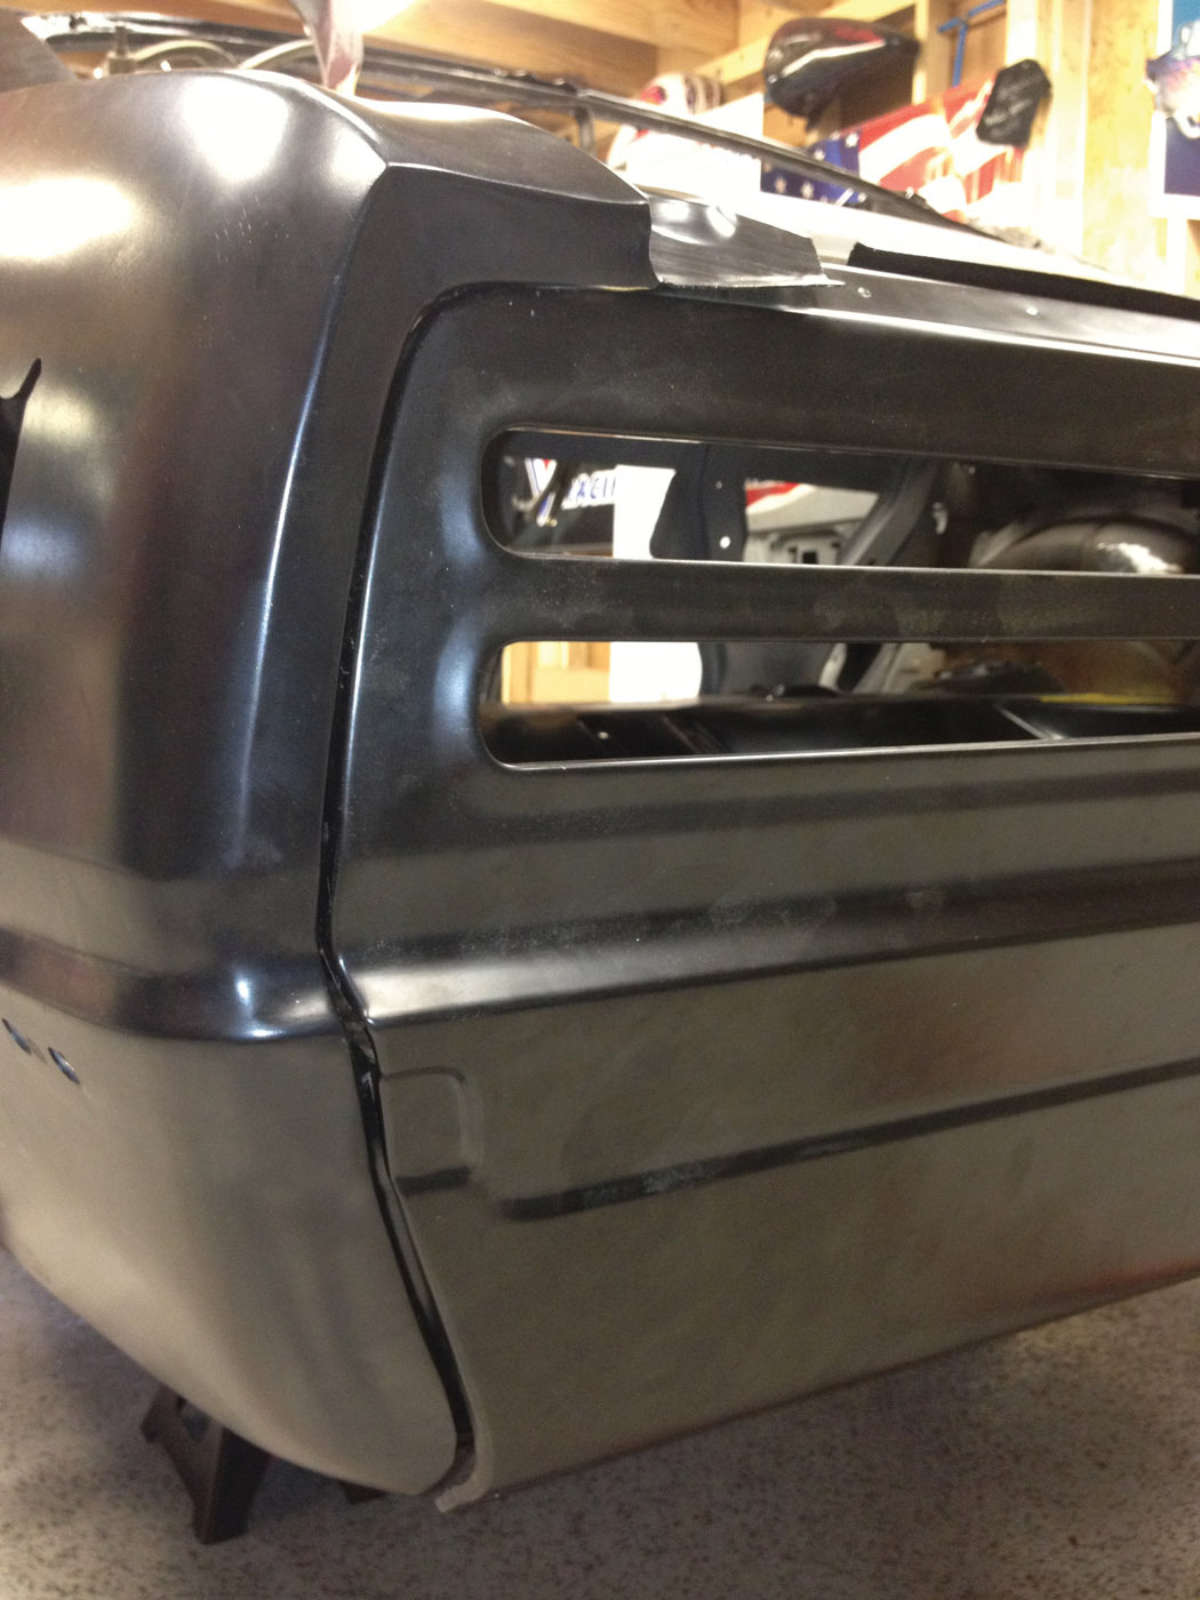

For the Firebird, we went with all Dynacorn replacement parts. Some panels fit perfectly, like the one-piece floor pan, the trunk pan, taillight panel, kick panel, roof. Others needed a little help. And OEM-brand original parts do not guarantee a perfect fit, which is something I’ve learned the hard way. Overall, I was very happy with the quality of the Dynacorn parts. And their delivery time was excellent. Of the over 40 parts we ordered, less than four were out of stock, and only one was back ordered for more than a week.


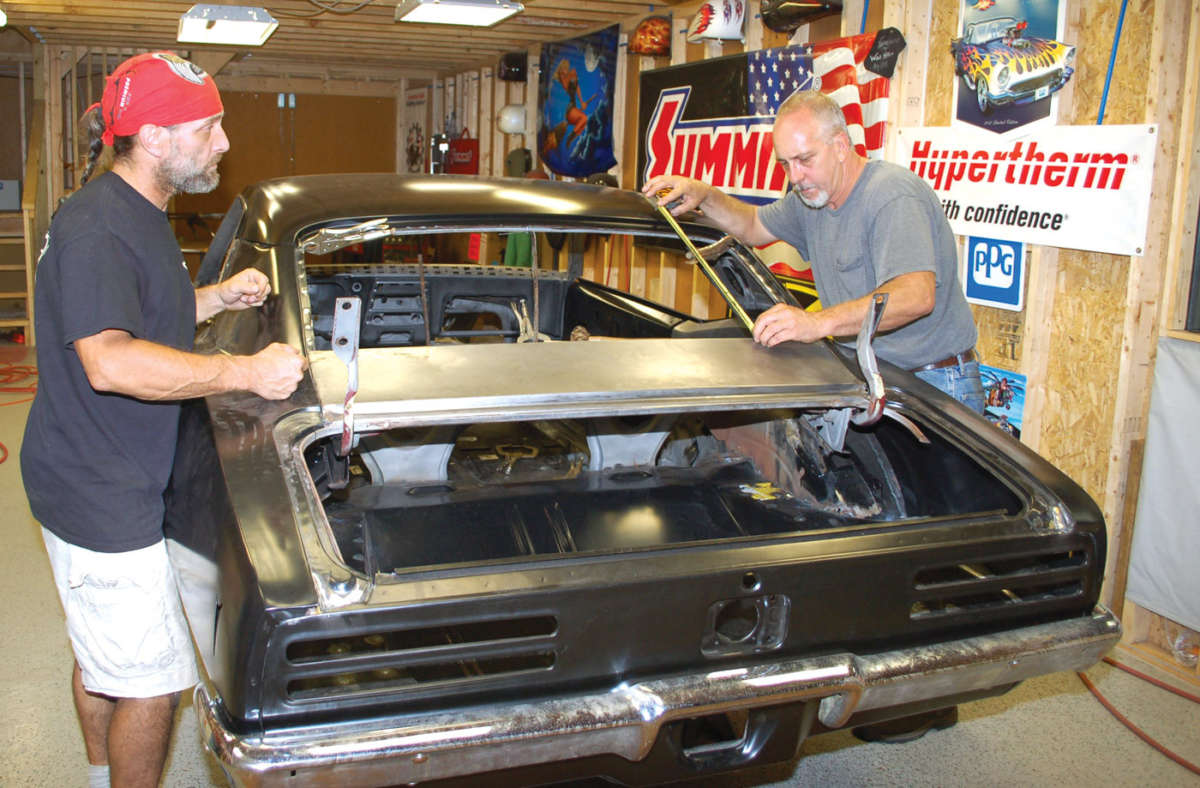
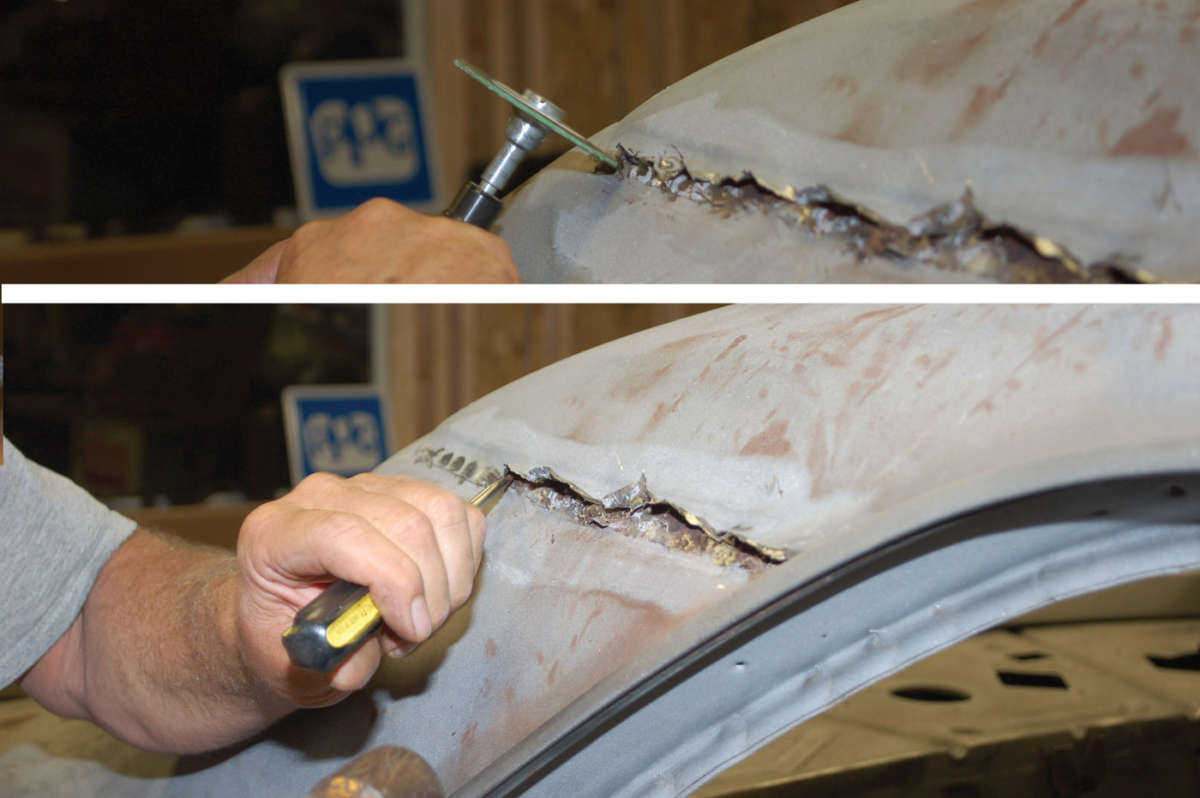
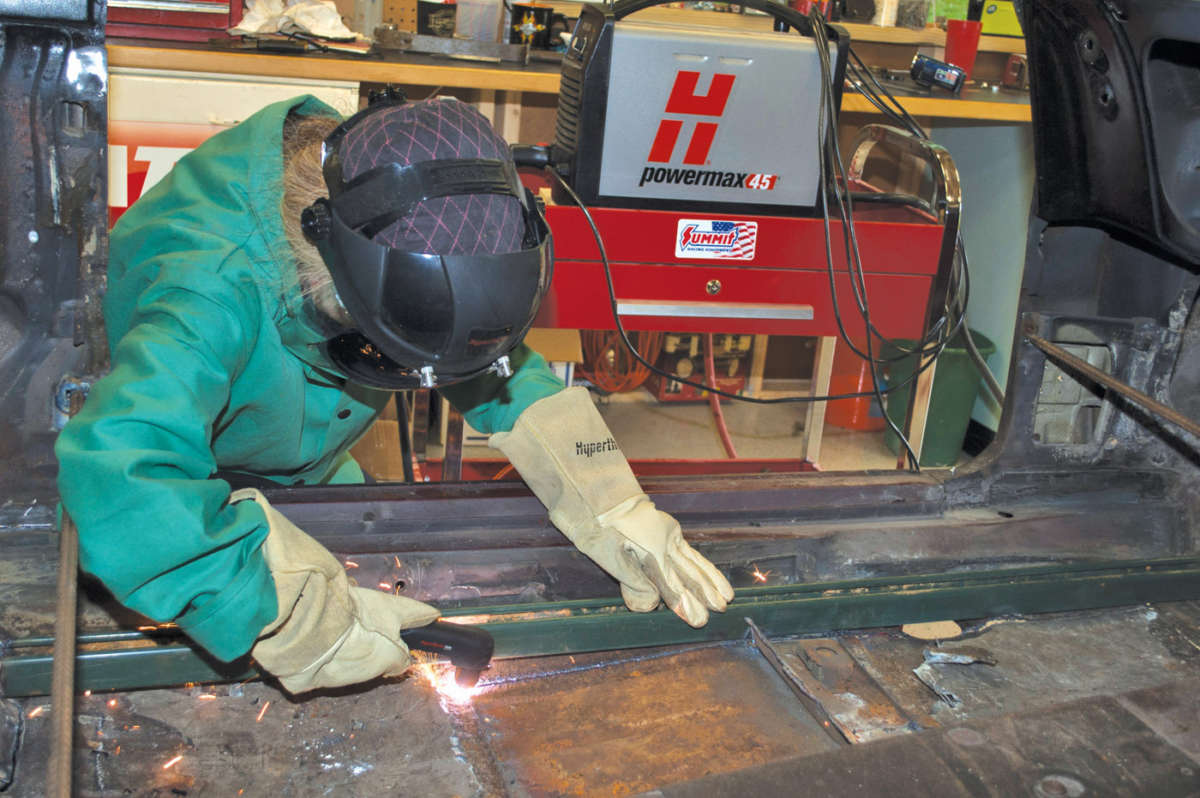
A quicker way to remove spot welds
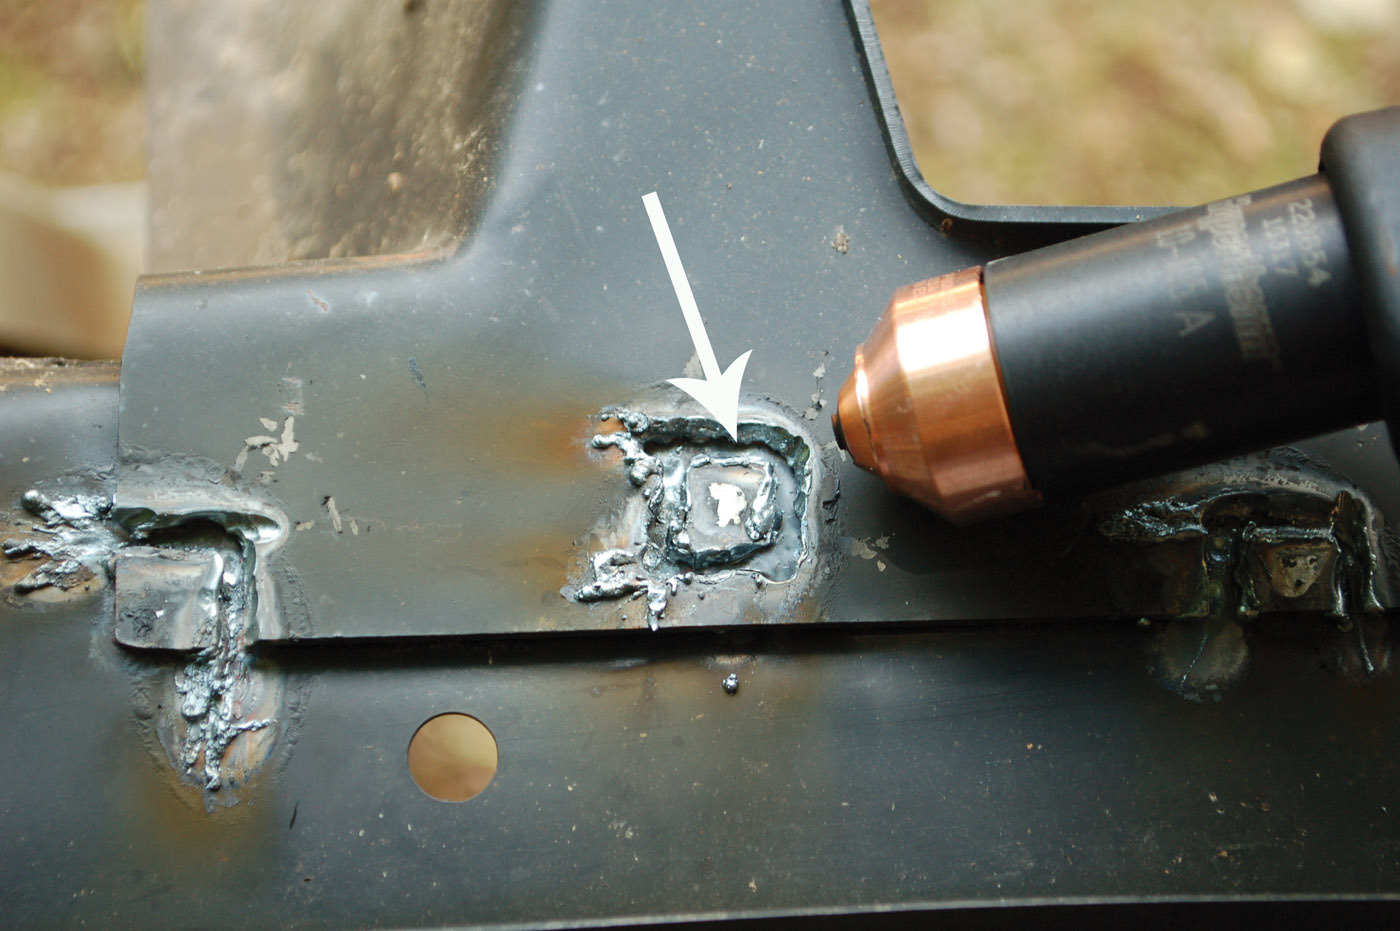
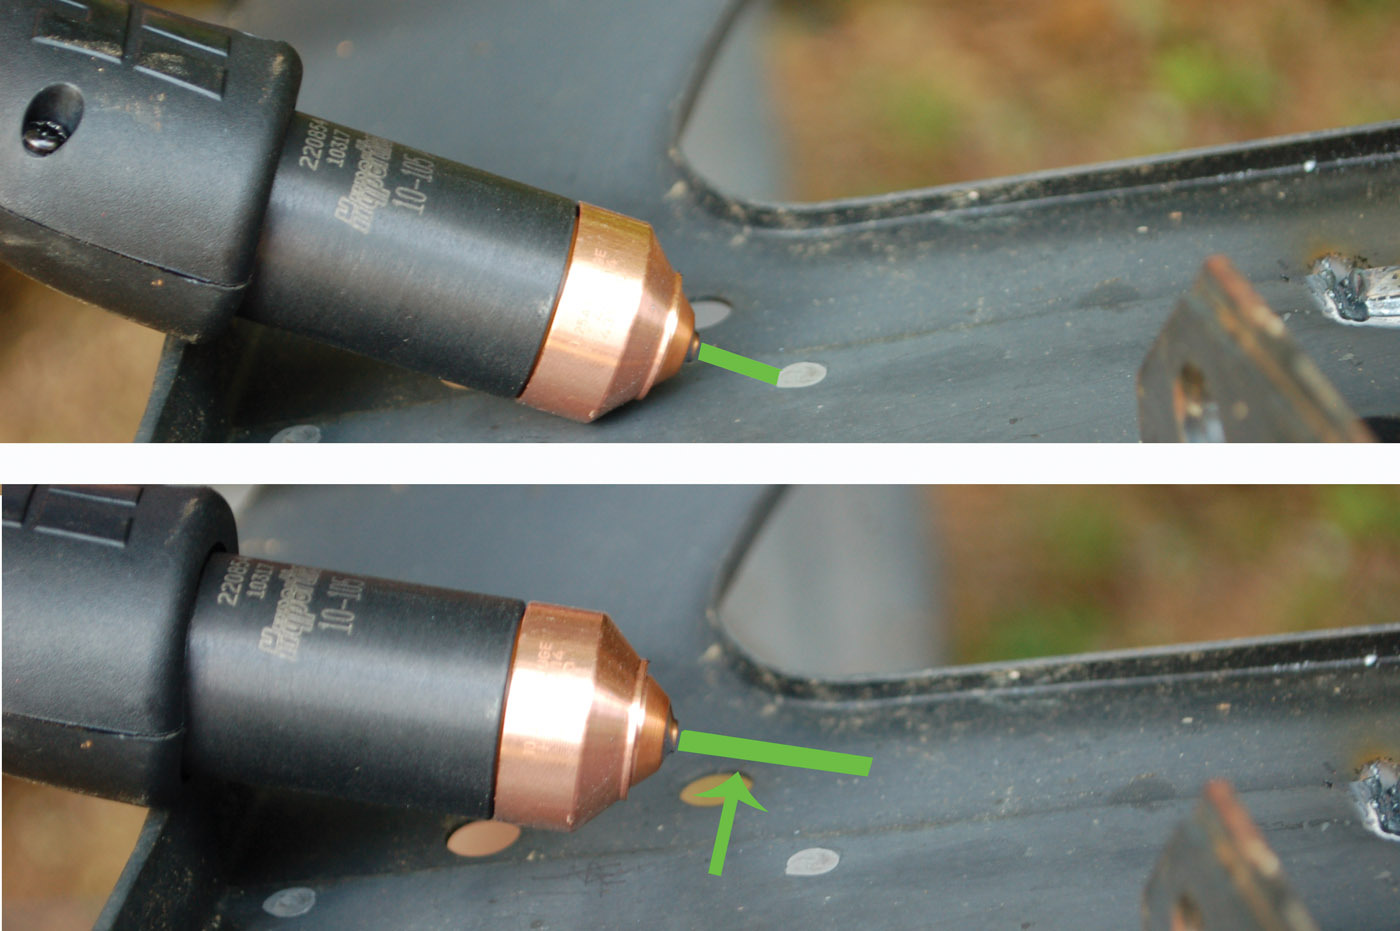
There were hundreds of spot welds that needed to be removed on this resto. Using a plasma system to gouge away the spot welds shaved countless hours off the job. The Hypertherm Powermax45 XP plasma system is set at 10 amps and the air pressure is adjusted down to the lowest it can be, and still indicate green on the front of the machine. The process is repeated on the other side of the weld.
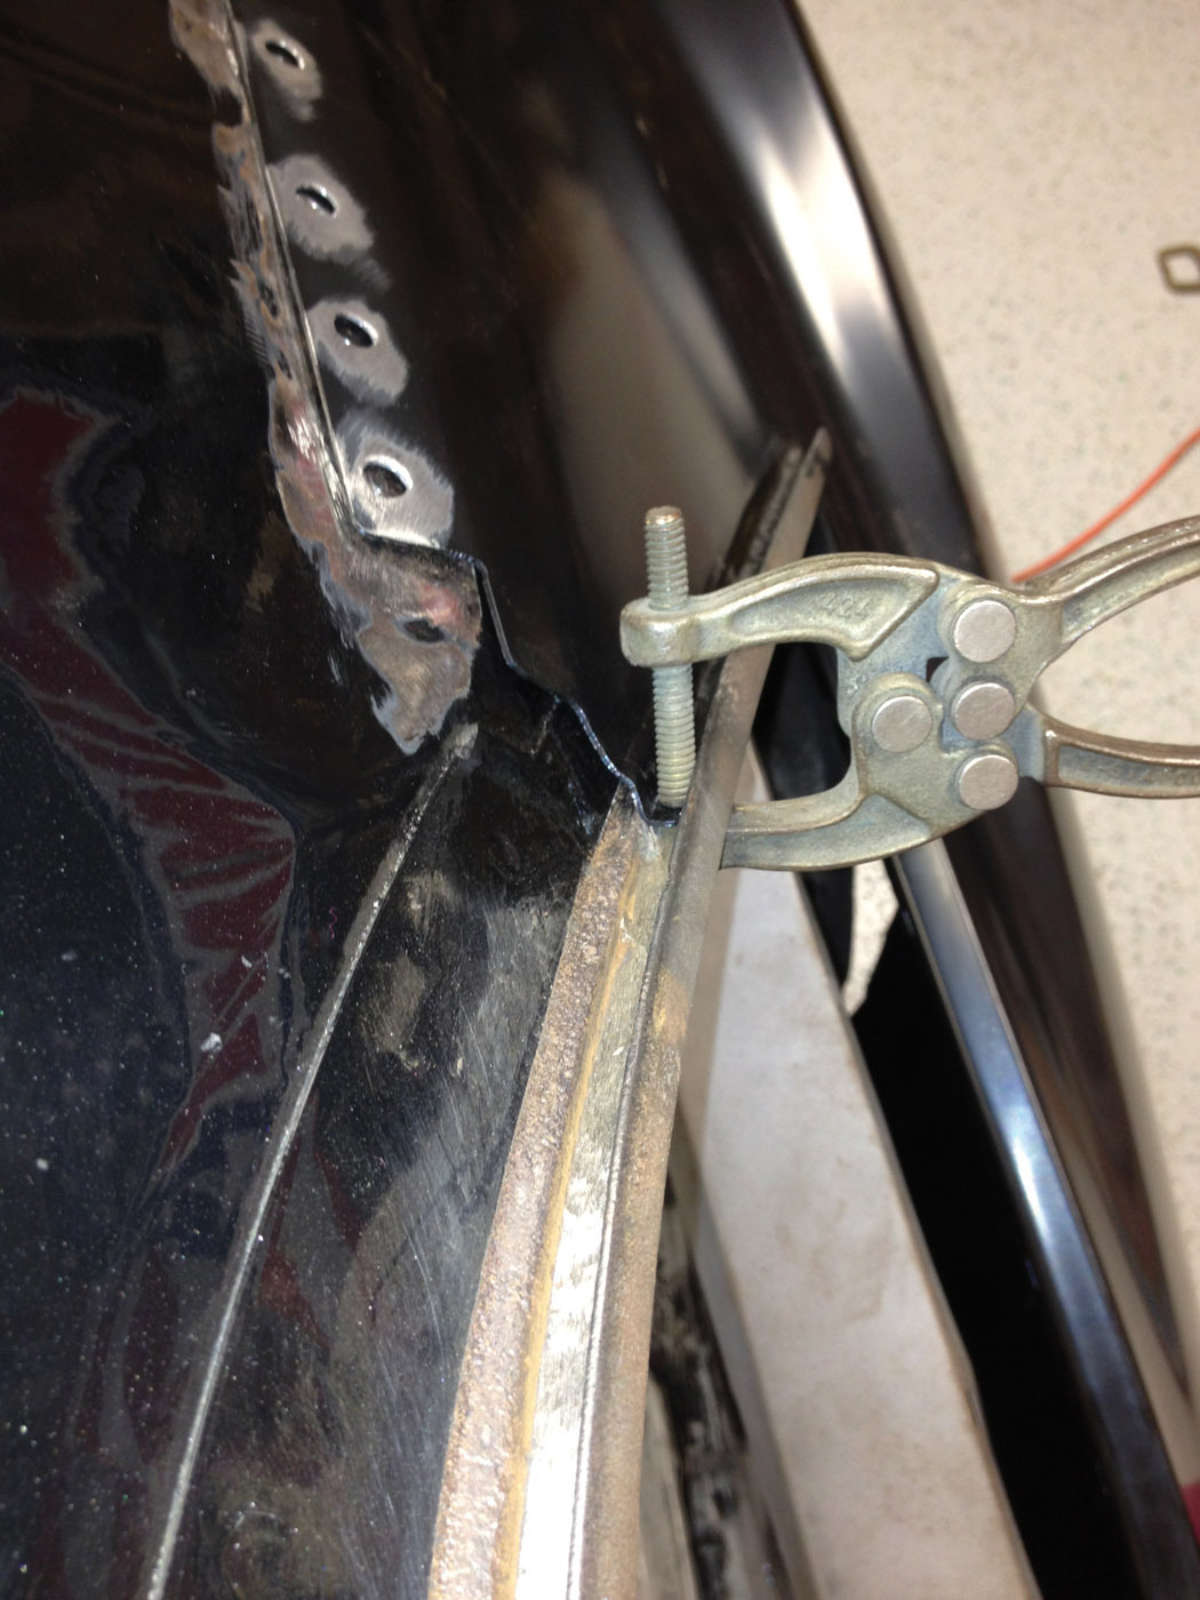
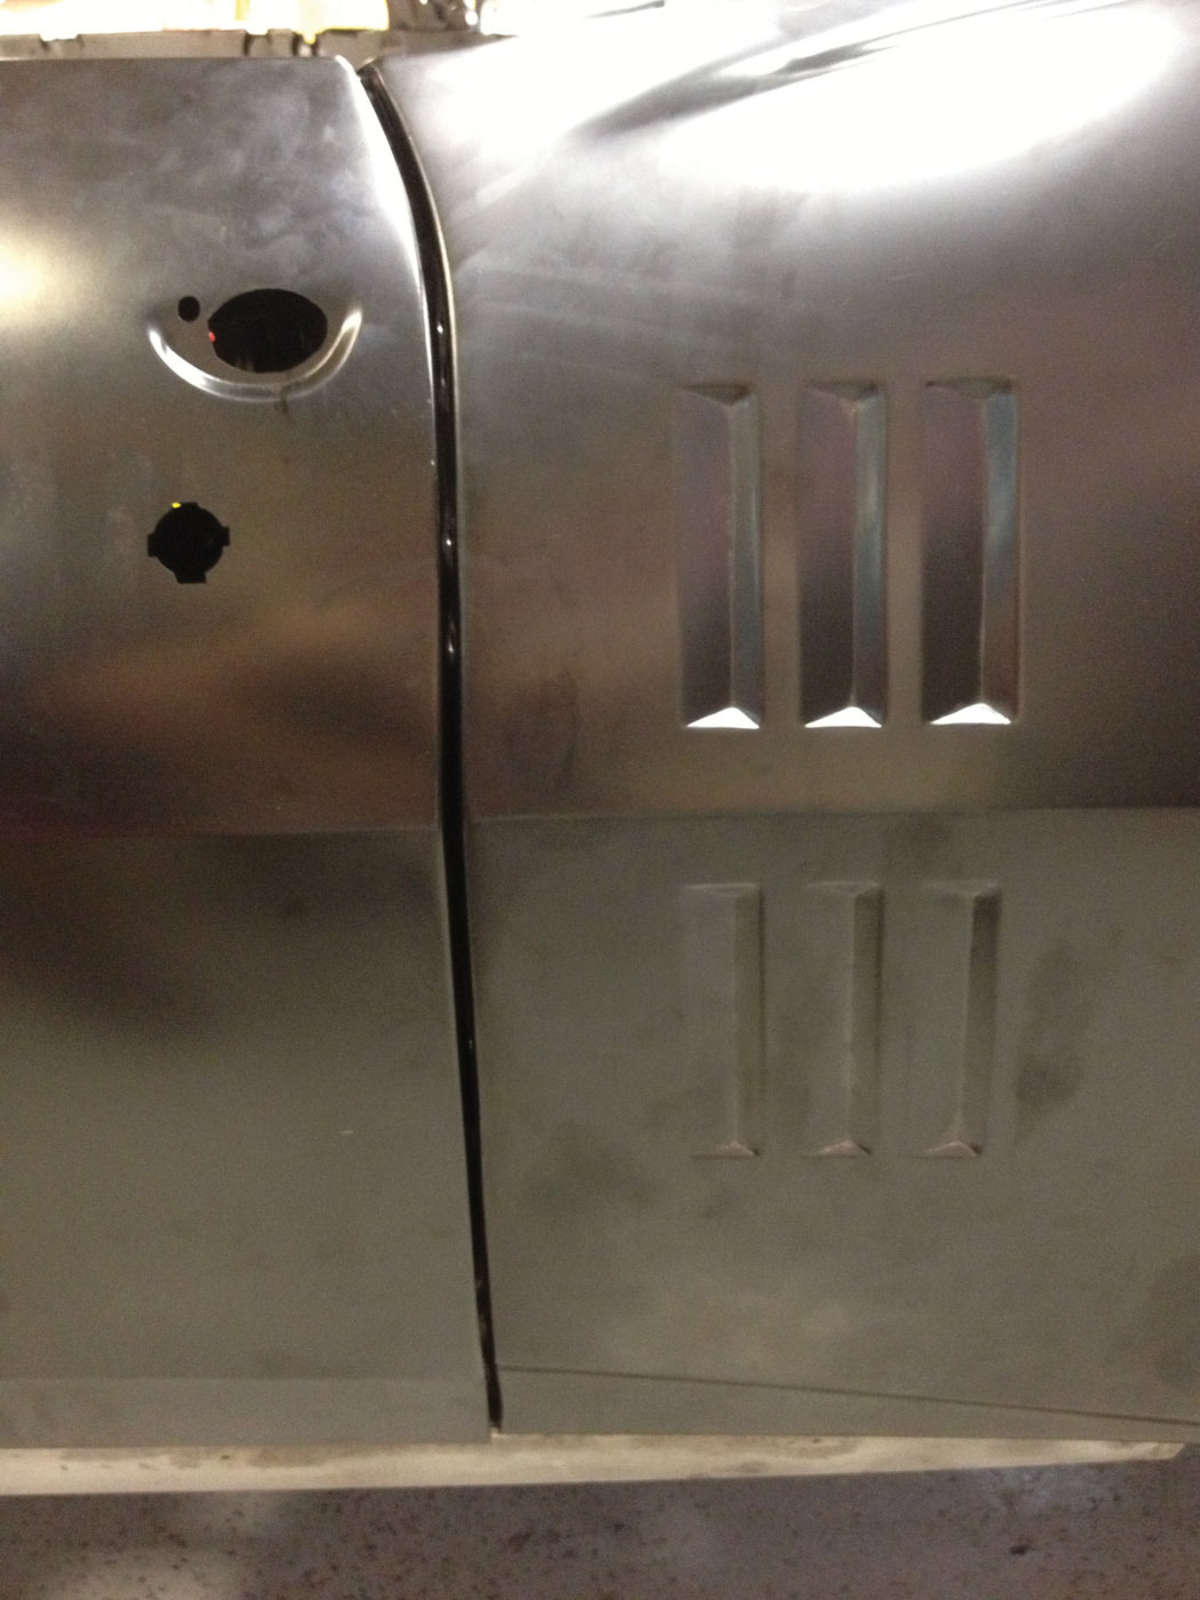
The closeup photo shows the “grooves” around the top layer of metal of spot welds on this firewall panel. The metal is thick, yet I could cleanly remove the top layer without going through the second layer. The arrow indicates where you can see the actual separation gap between the layers and how the removed metal did not wash into that gap.
Start off by placing the end of the torch just beyond the edge of the spot weld. Next push the trigger and start the arc, warming up the metal until it glows. This happens fast, in a microsecond.
Once the metal of the top layer starts to melt or burn away, flick the torch up, then back down. Watch carefully as the pressure from the arc literally “washes” away the top layer. Flick the torch up and down, pushing the molten metal down the groove you’ve created. Then move to the other side of the spot weld, and repeat the process, creating two L-shaped grooves around the spot weld.


Comments for: Phoenix Rising
comments powered by Disqus