Coachbuilder gives us a few tips for building an aluminum body at home
Story and Photos by Kris Heil
The single most important step before starting on a custom body is to have an accurate rendering of what you want to build. Coachbuilder Steve Moal uses full-scale drawings, which are easier for visualizing proportions.
I have a small work area, so I work in 1/8th scale. Because I work in a smaller scale, I also build a 1/8th scale clay model (modeling clay will do) to verify proportions in three dimensions. It also helps me to visualize areas of complex curvature. Time spent in the design stage saves me time in fabrication, because I know exactly where I’m going.
Satisfied with the shape, and having assured myself that there is sufficient room for all the mechanical elements inside the body envelope, I make a wooden buck. I use MDF (medium density fiberboard) in an egg-crate construction. By starting with the central longitudinal spine, I can ensure side-to-side symmetry.
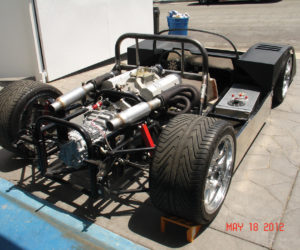
The buck can be built on or off the chassis. I worked on-chassis because the body was built in three sections: the nose, the center section and the rear. Building the bucks on the chassis gave them the support needed to ensure accurate alignment of all the sections.
When making movable sections such as the trunk lid, headrest hatch and doors, I built the supporting structure first and cut the bucks to accept them. Then the skins can be formed in place over the buck before attaching them to the support structure.
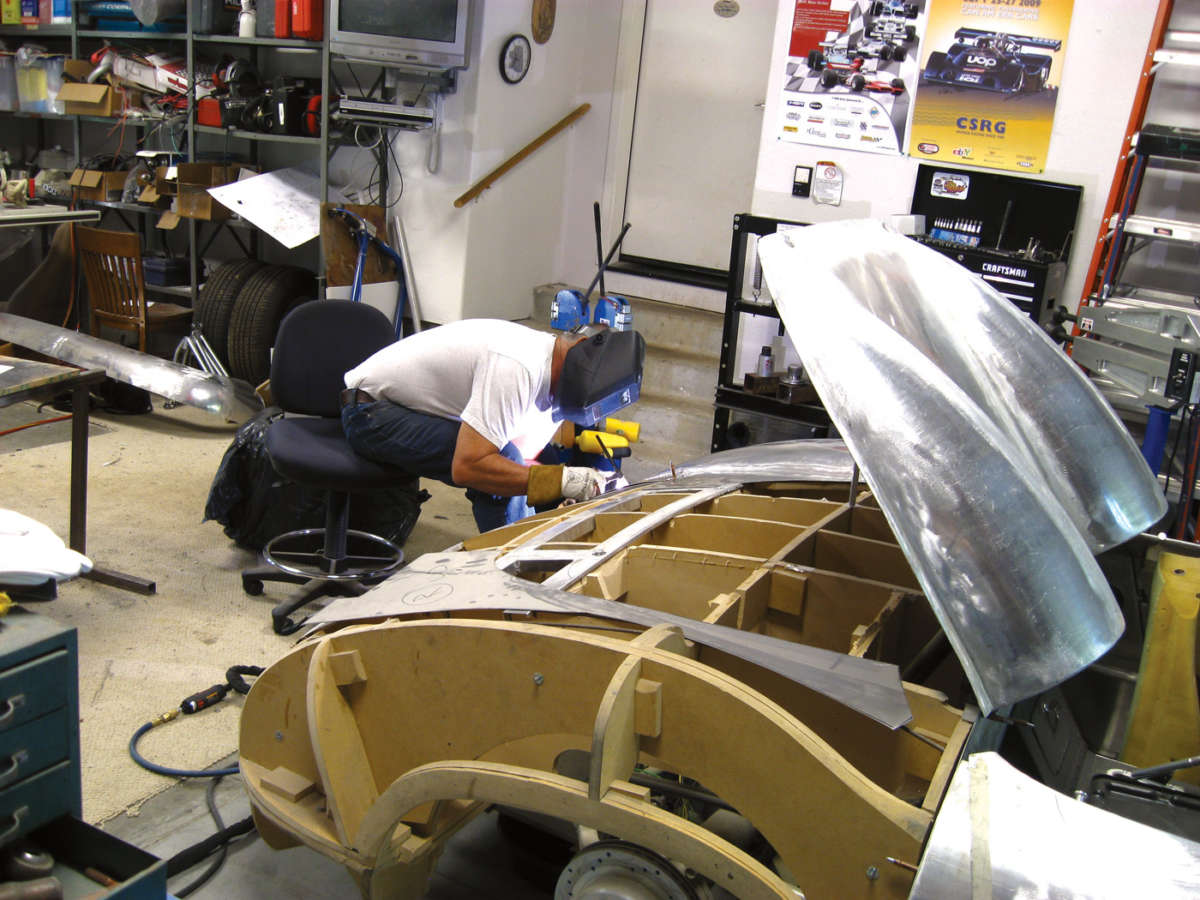
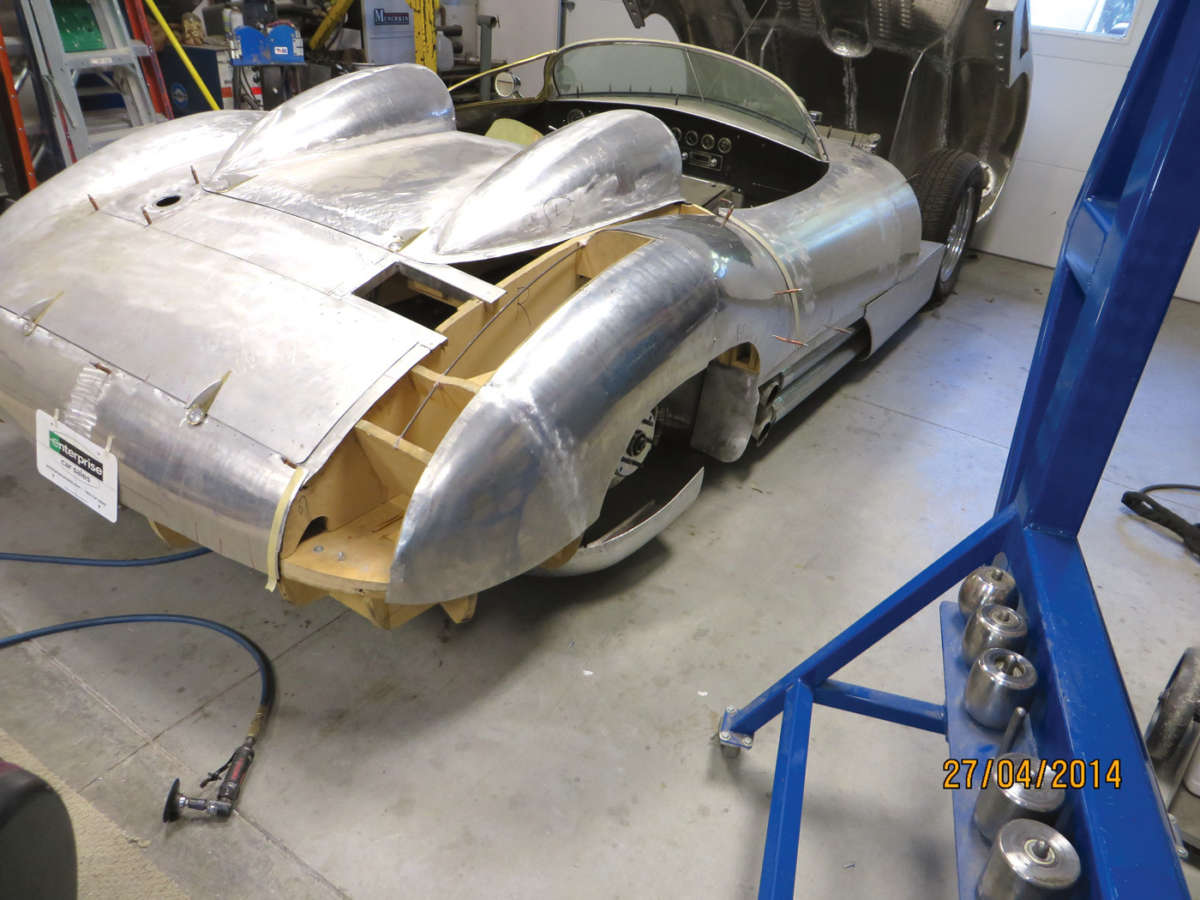
Next I decided where to start. The center, fixed section of the body was the logical beginning because it carried the windshield and the doors, and would eventually be riveted and bonded to the chassis. It also became the indexing point for the front and rear sections, which were built out from it.
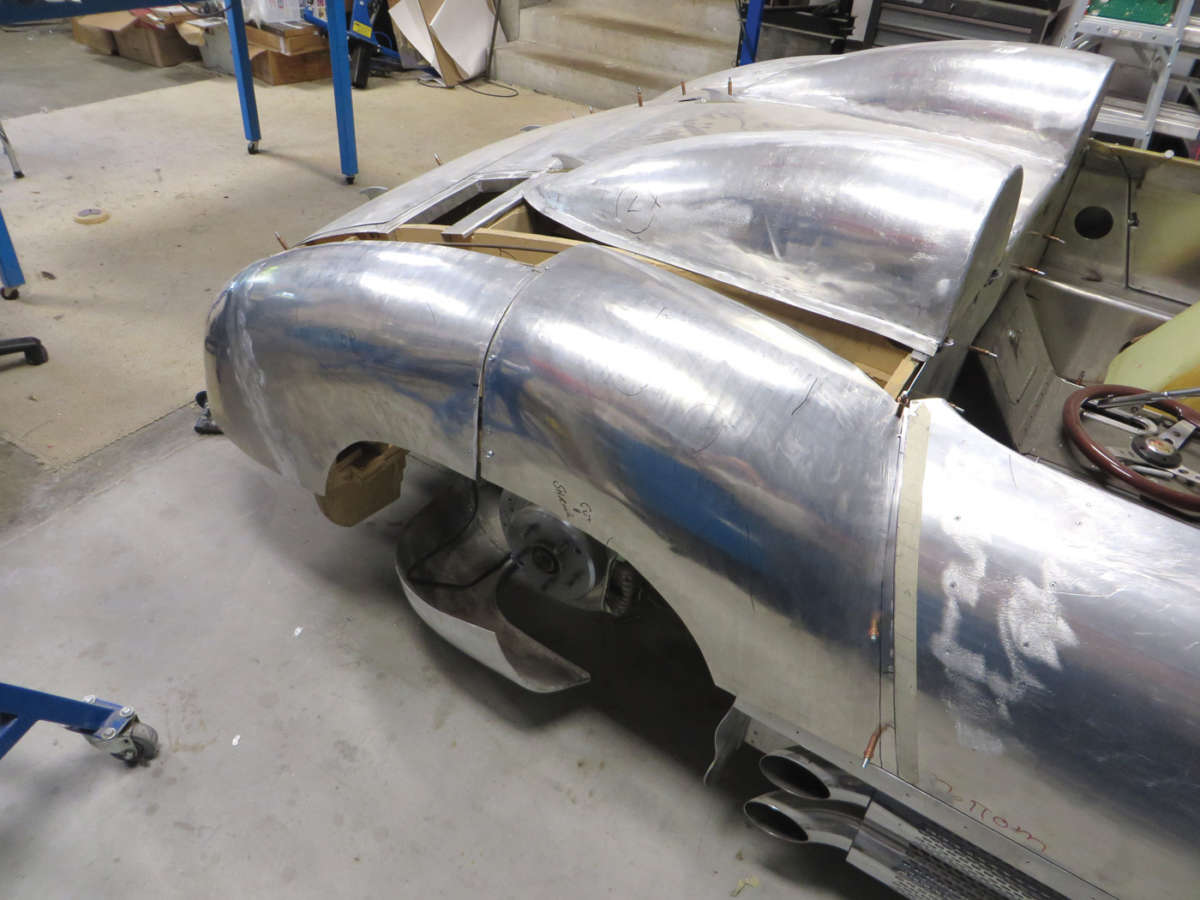
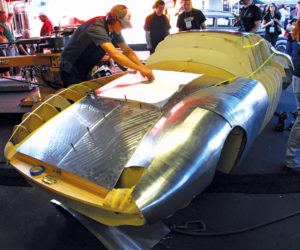
In building the actual panels it is very important to determine the size of the component panels. Too small makes for easy forming, but a lot of welding. Too big makes for complex forming but fewer joints.
I initially made the mistake of trying to form panels that were too large. My life got simpler and accuracy increased when I made more, smaller panels. I found that I could comfortably work a panel where only one dimension exceeded 18 to 24 inches. I also had to determine where riveting a panel together was a better option than welding.
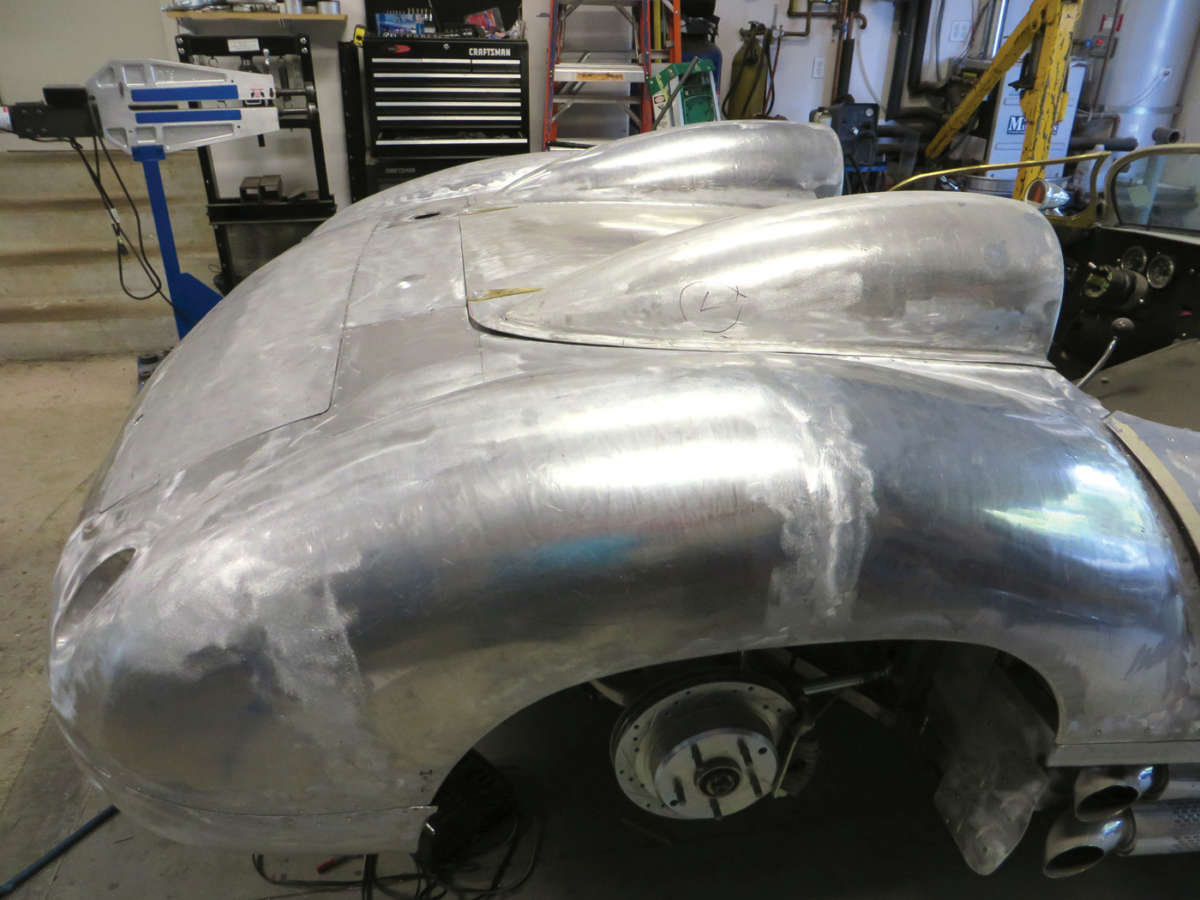
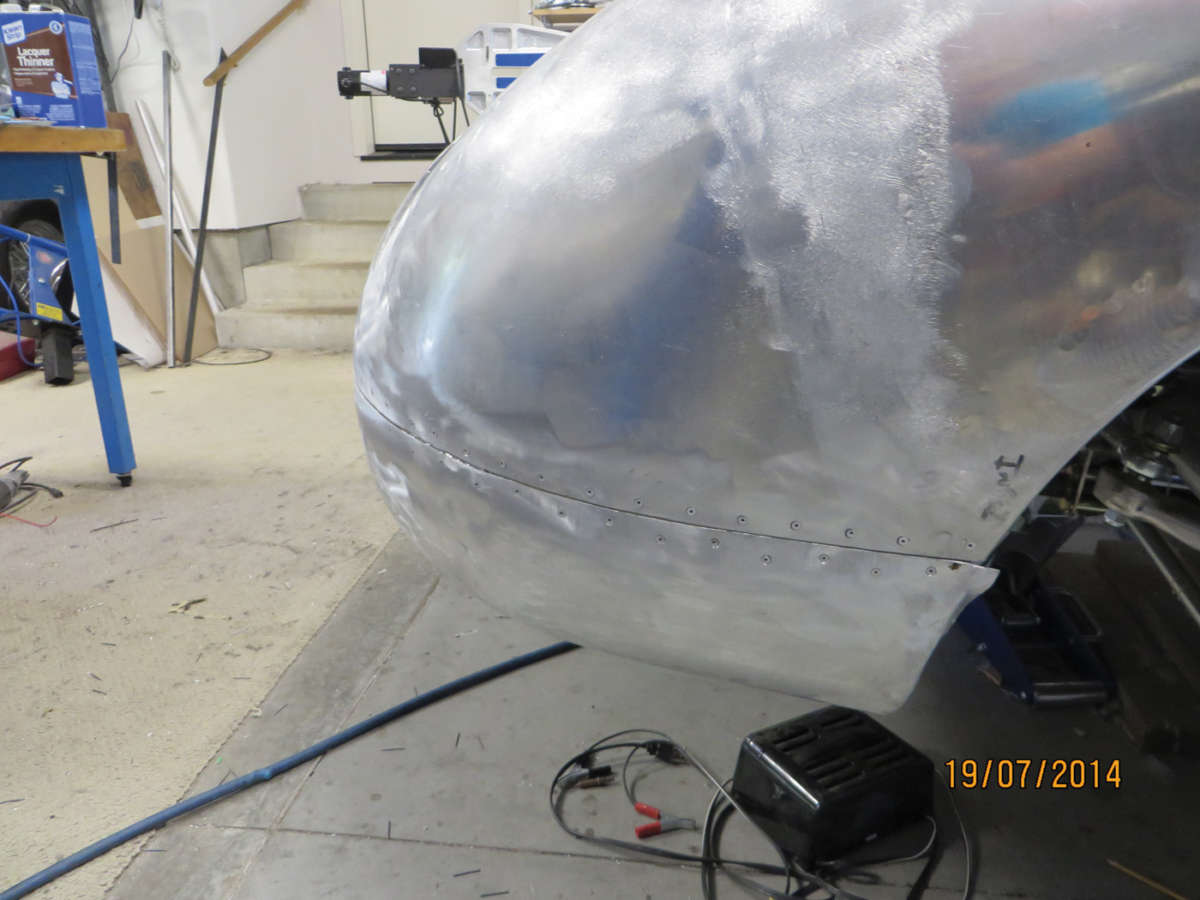
If welding made a panel so large that it could not be reasonably metal-finished, I riveted it together using a backing strip to get a flush joint. All rivet lines were epoxied and flush riveted. The epoxy is important to prevent the panels from flexing and loosening the rivets. Using a combination of welding and riveting, I was able to create very large sections with reasonable ease and accuracy.
Be aware, though, that after the project is painted, even flush rivets may eventually show through the paint as slight dimpling. This was not important to me in my project. If it’s important in your project, all joints should be welded.


When creating the individual component panels, I tried to make the panel breaks over a section of buck. I could then screw two adjoining panels to the buck for tacking. It also helped to cover over any section of buck that I was TIG welding with metallic aluminum tape (available at most hardware stores). This limited off-gassing from the MDF that might contaminate the weld during tacking.
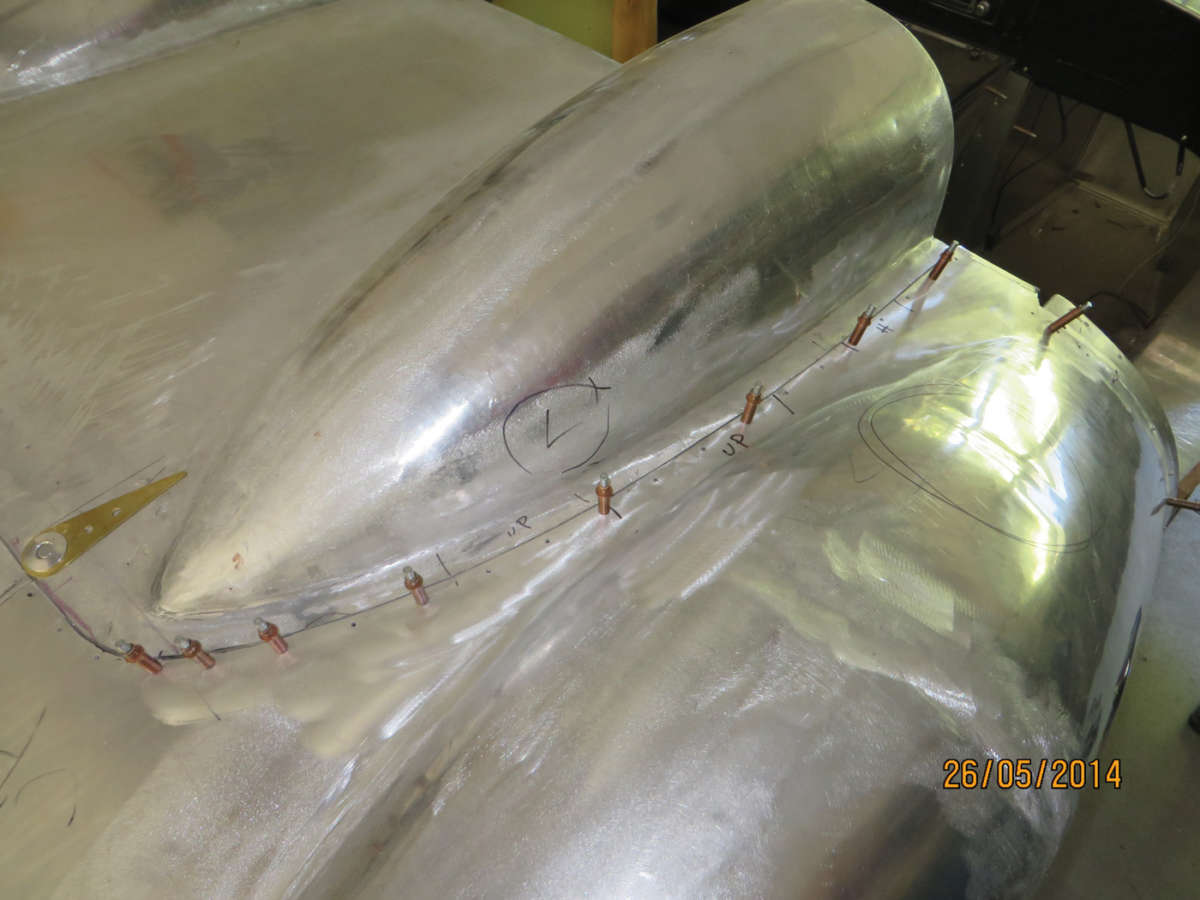
Where panel joints came together over air, I used a metal backing strip and Cleco fasteners to align the joints and keep them stable during trial fitting and tacking. This method also ensured that the panel went back in the correct position after massaging. It is much easier to weld up Cleco holes than to correct a misaligned panel. Once tacked, the panels can be removed from the buck for final welding.
Choosing material is important only insofar as the final shapes required. Deep curvatures require a softer alloy such as one from the 1100 Series. Low crown shapes can use a harder one. Most automotive panels can easily be formed of 3003 H14. It is most easily worked in the heat-treated condition and only needs to be annealed for the most tightly curved, complex sections. I chose .063 thickness because it is a good combination of formability, weldability and strength.
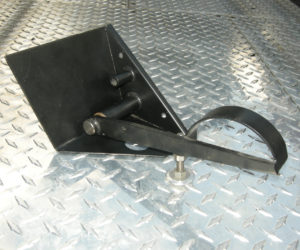
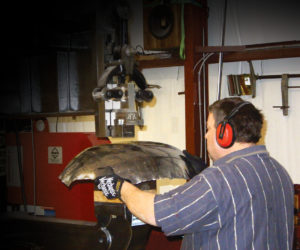
My body was fairly complex, but I used only simple tools. An English wheel, and shrinker and stretcher tools were essential. It was handy to have a 4-foot box and pan brake, and a leather shot bag. I used a hand-held Kett shear for roughing out panels, but all final trimming was done with Weiss aviation snips. Before starting your first project, I would strongly recommend viewing the excellent instructional DVDs by Ron Covell. They saved me many hours of learning by trial and error. Attending his classes in person is simply inspirational.


Comments for: Custom Coachwork
comments powered by Disqus