Three Quick Tips to Get Better Photos of Your Ride
By Dean Larson
Where other people might have photos of their family or their dog on their camera roll, we have cars. I’d say it’s a safe bet that 90 percent of the photos on my phone are of something with an engine, and I’m willing to bet that you’re much the same. Maybe it’s shot of a major step in the build, or the first trip with a brand new set of wheels. Or maybe you walk out of the gas station and the light’s hitting the car just right. If you’re like me, the phone comes out immediately and three nearly identical photos get taken, of which only one should be kept, but obviously all three end up existing forever.
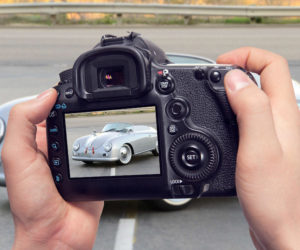
Idiosyncratic car guy habits aside, we want to help you make all those camera roll photos of your ride just a little better. You really don’t need a pricey DSLR camera to get the job done either, as most current cell phones can get you decent trouble-free results. So to prove the point, all the photos in this guide will be taken on my phone — an iPhone XS.
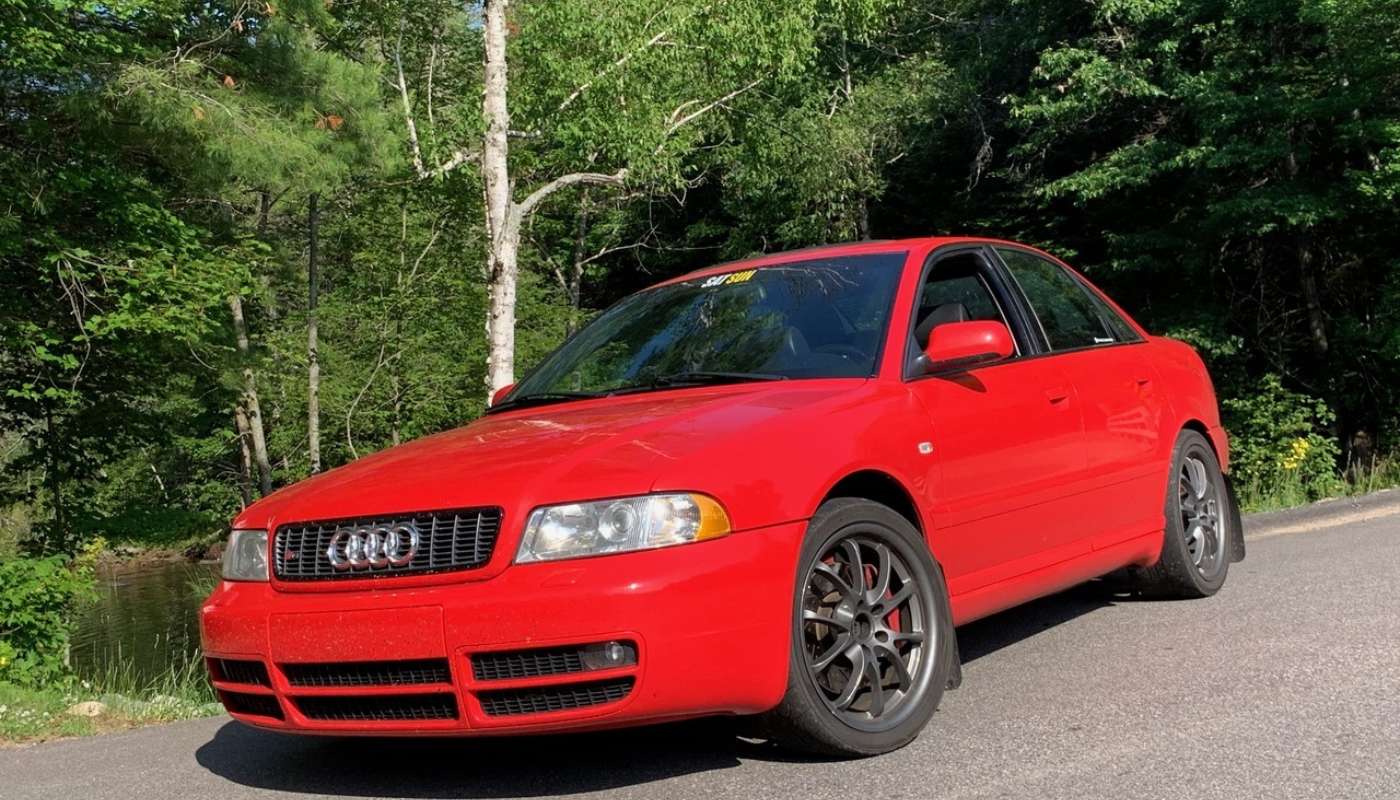
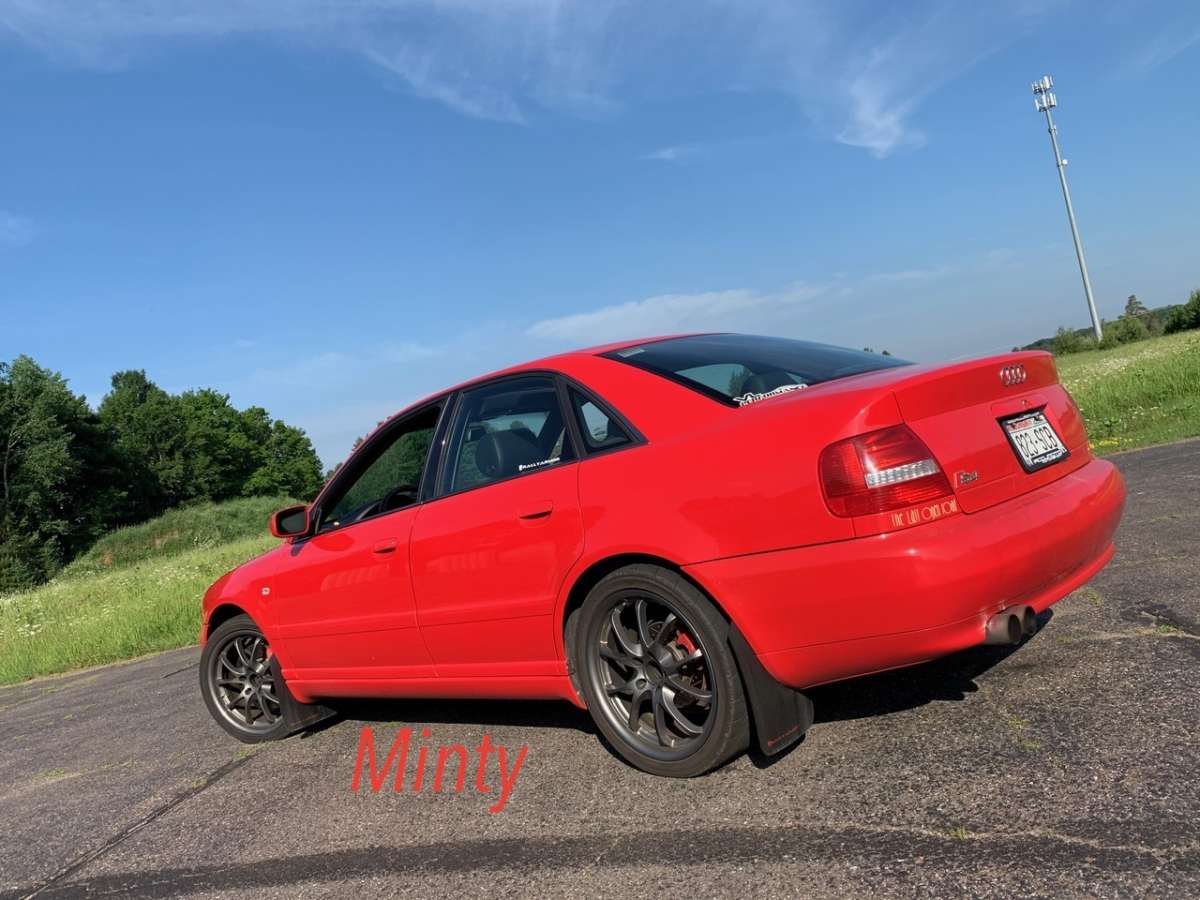
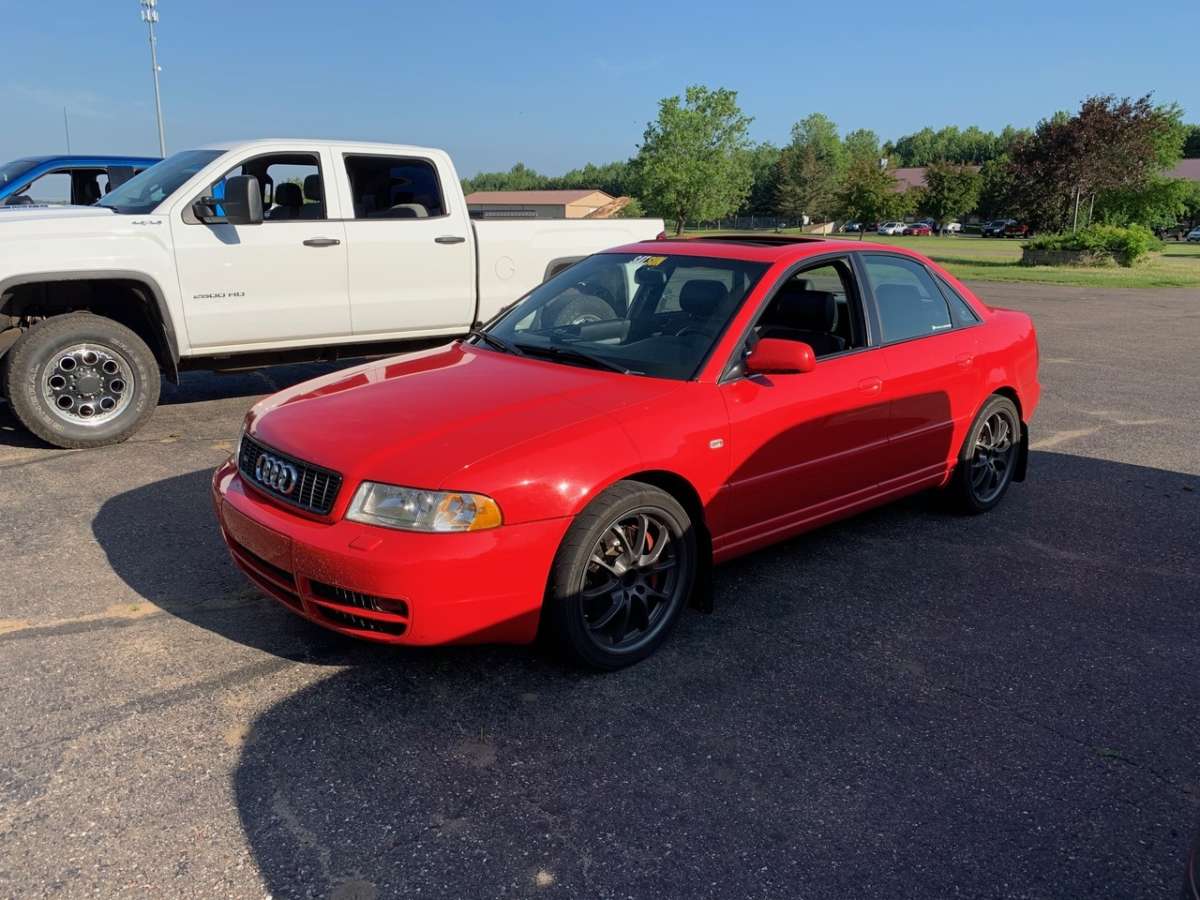
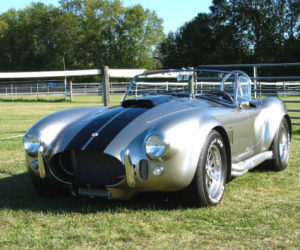
As for our subject today, we’ll have to make do with John’s Audi B5 S4, since my Ferrari’s still in the shop (LOL). I couldn’t get him to spring for a car wash just for the sake of this article, so try to ignore the insect graveyard on the front bumper. So to start, here's a photo of the car exactly as it sits in the parking lot. Something you might simply point and shoot if someone asked for a photo. It's bad on several levels, and hopefully we can show how to get a better result step by step.
1. Setting and Placement
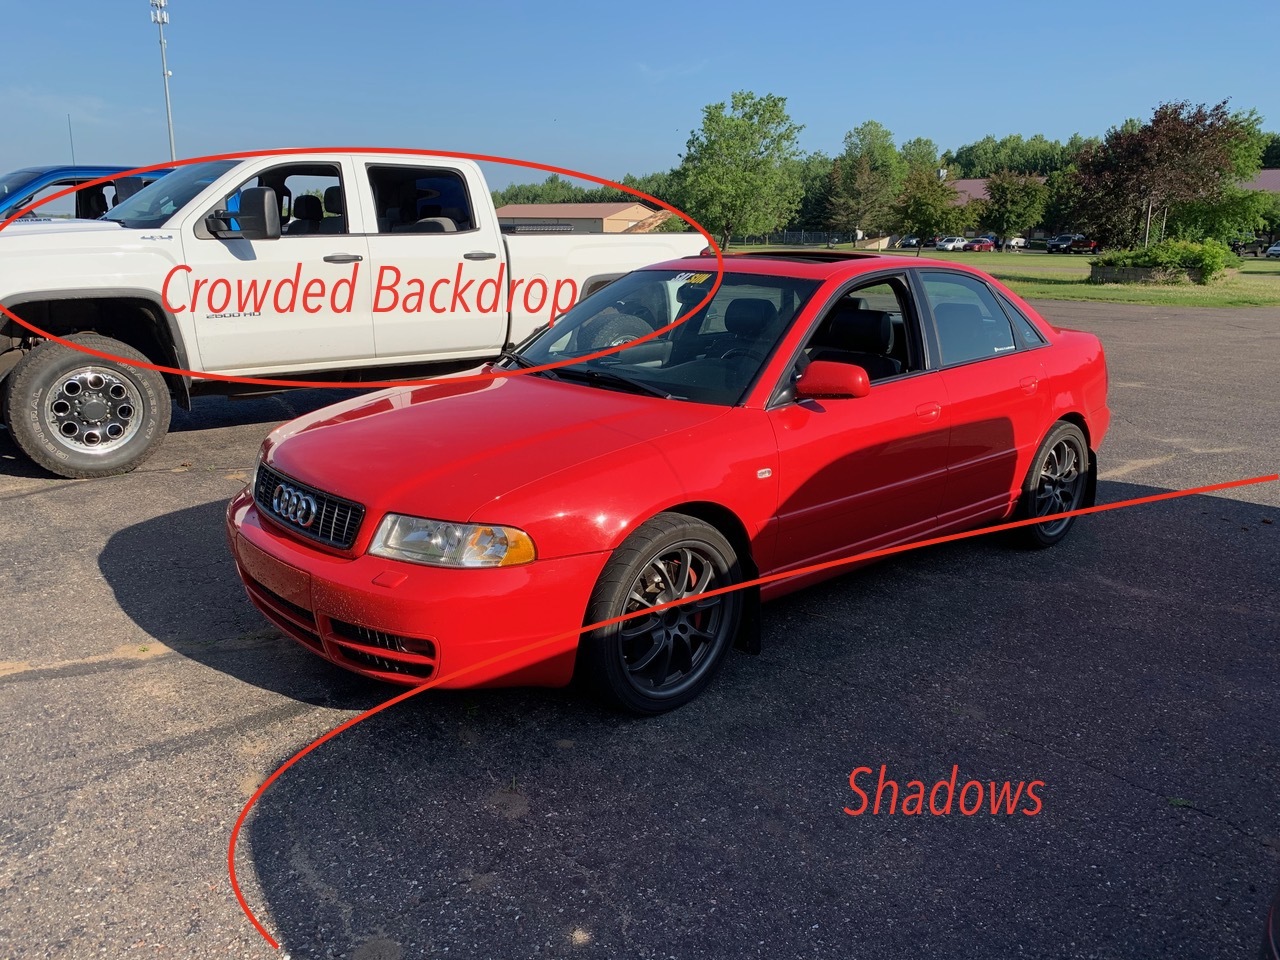
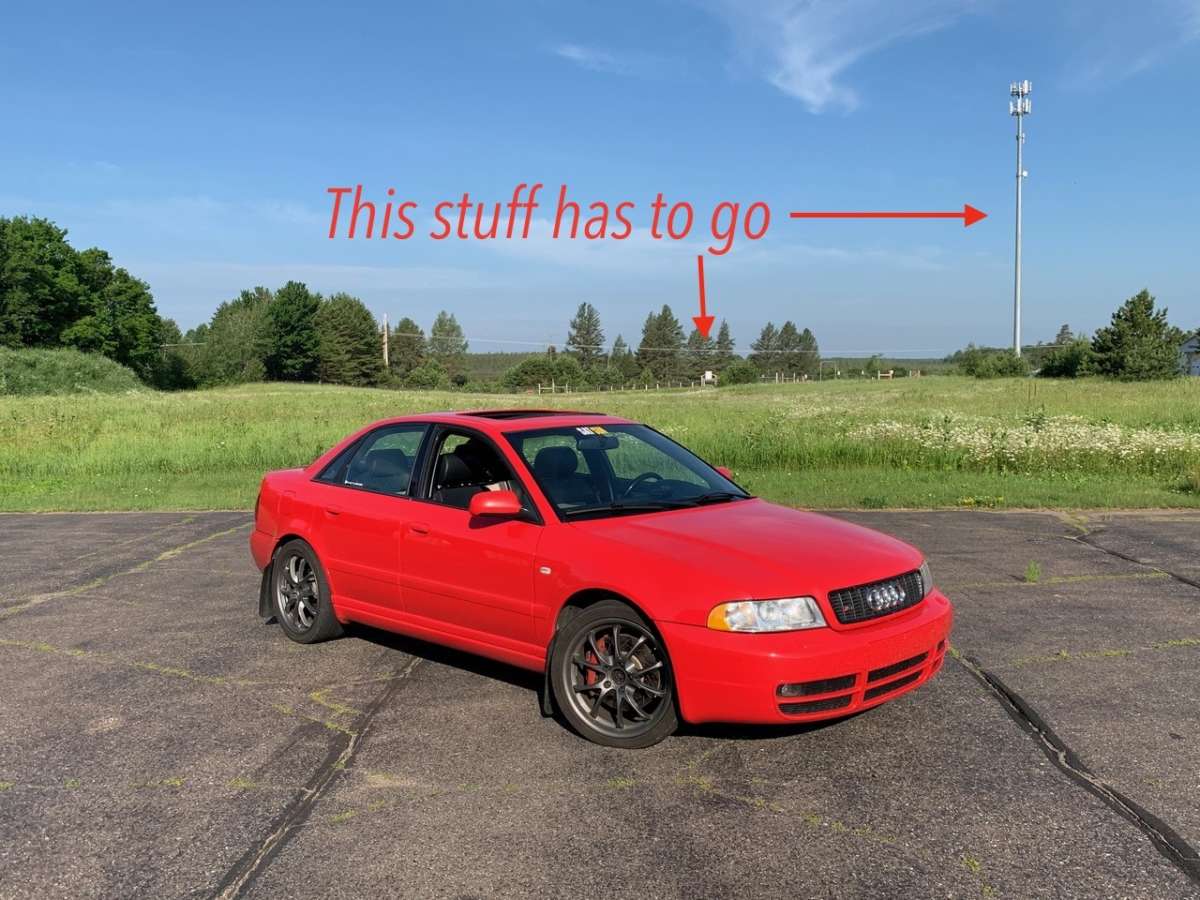
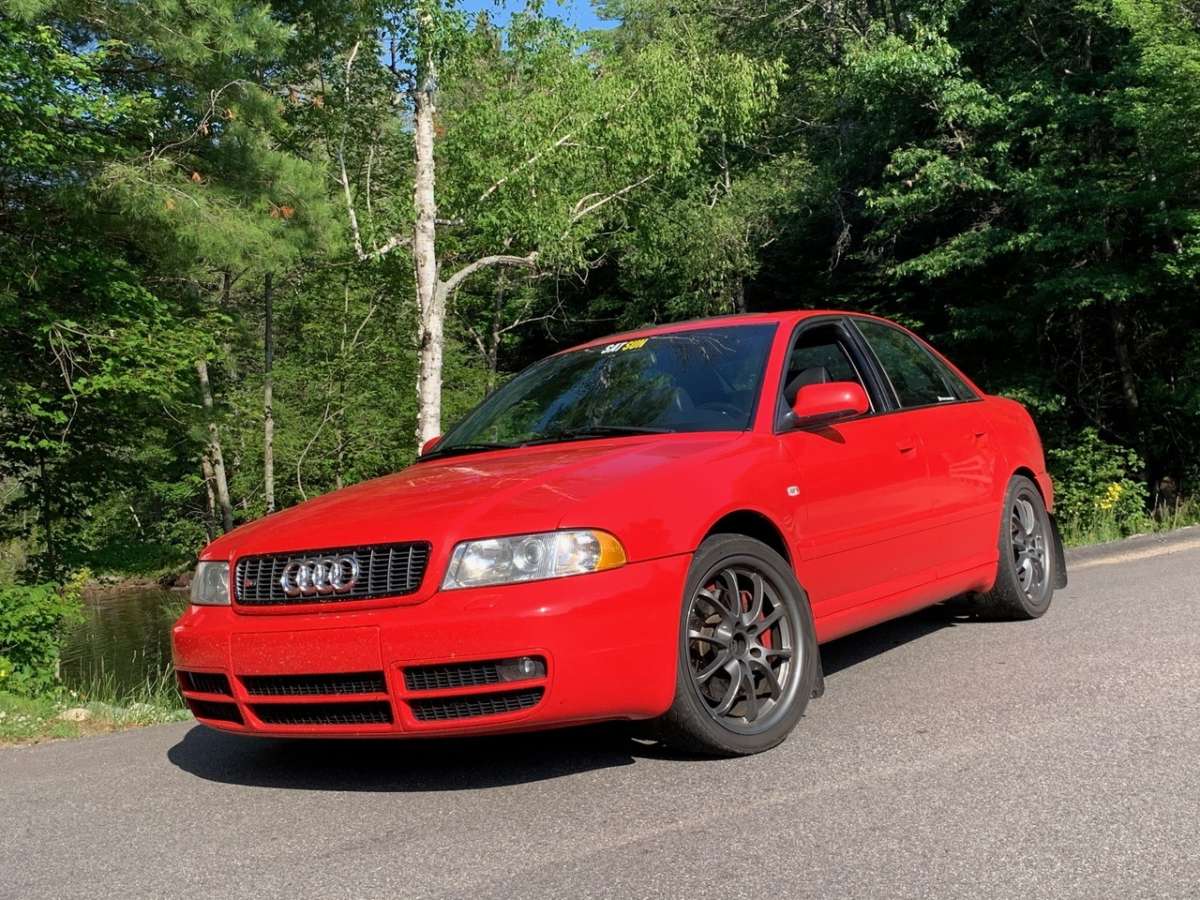
I’m going to keep things brief on the subject of setting, because it’s pretty easy to go overboard. But for today’s topic, I want to focus on the immediate surroundings and locating your car in the space. Pick a space that affords you some room to work in, and generally an interrupted backdrop works best — something with as few distractions as possible. Most of the time you’ll also want to be sure you car is on blacktop. Other surfaces like grass can work, but you often end up with grass blades sticking out in front of the tire sidewall.
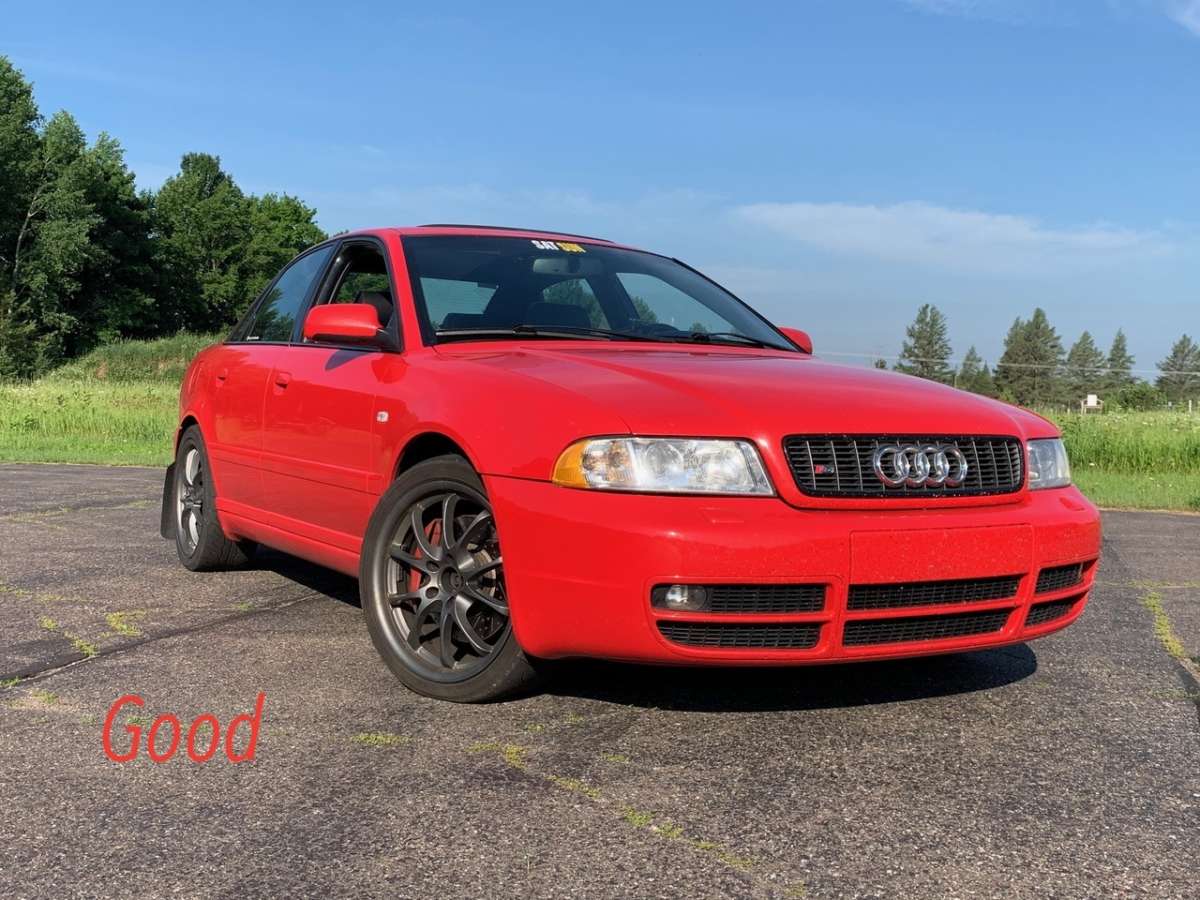
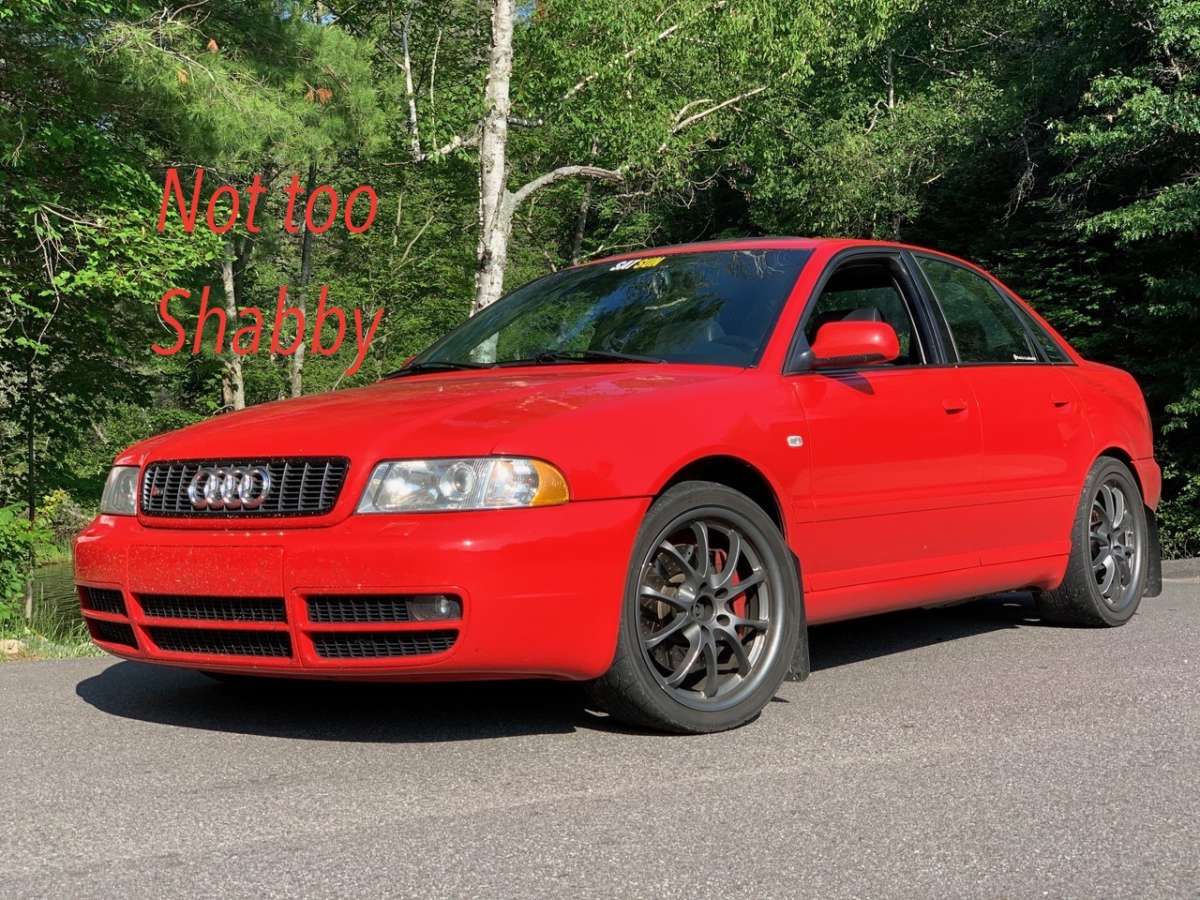
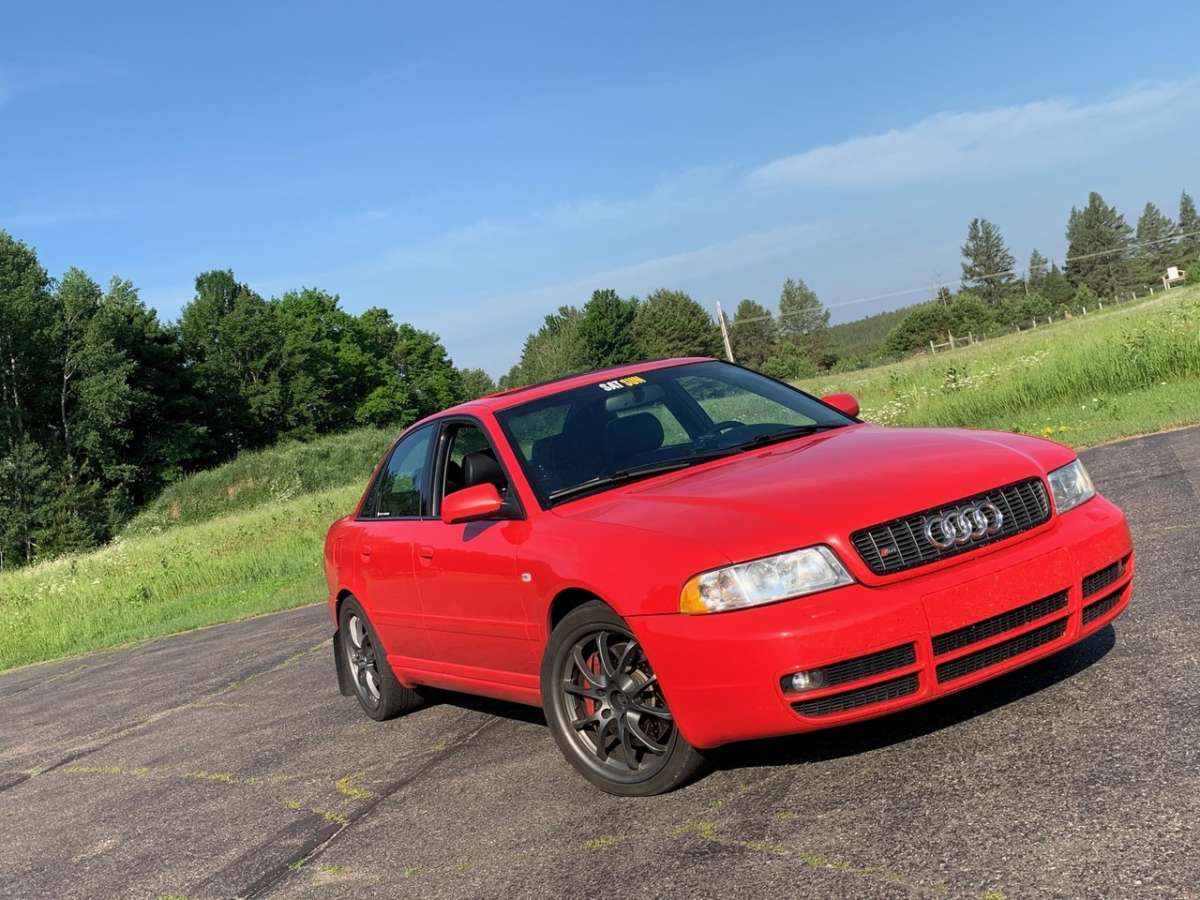
Next, think of the angle you want to the car to be on. Straight on shots from the side, front and back can definitely work, but mastering the front and rear quarter angles will bump your photo game up a notch. Position the car so it works with the backdrop (and your lighting), but more on that point later.
If you’re shooting a quarter-view shot, turning the front wheels can make for a much more dramatic result. Just remember, you generally want to turn them so that the wheel face comes into the shot, not the tire. Play with the wheel angle, as different cars require a different amount of steering to get the right look.


2. Frame it in
We talked about locating your vehicle in the photo space in the previous point, and now I want to address how you frame the photo, mainly in respect to camera positioning, angle and zoom.
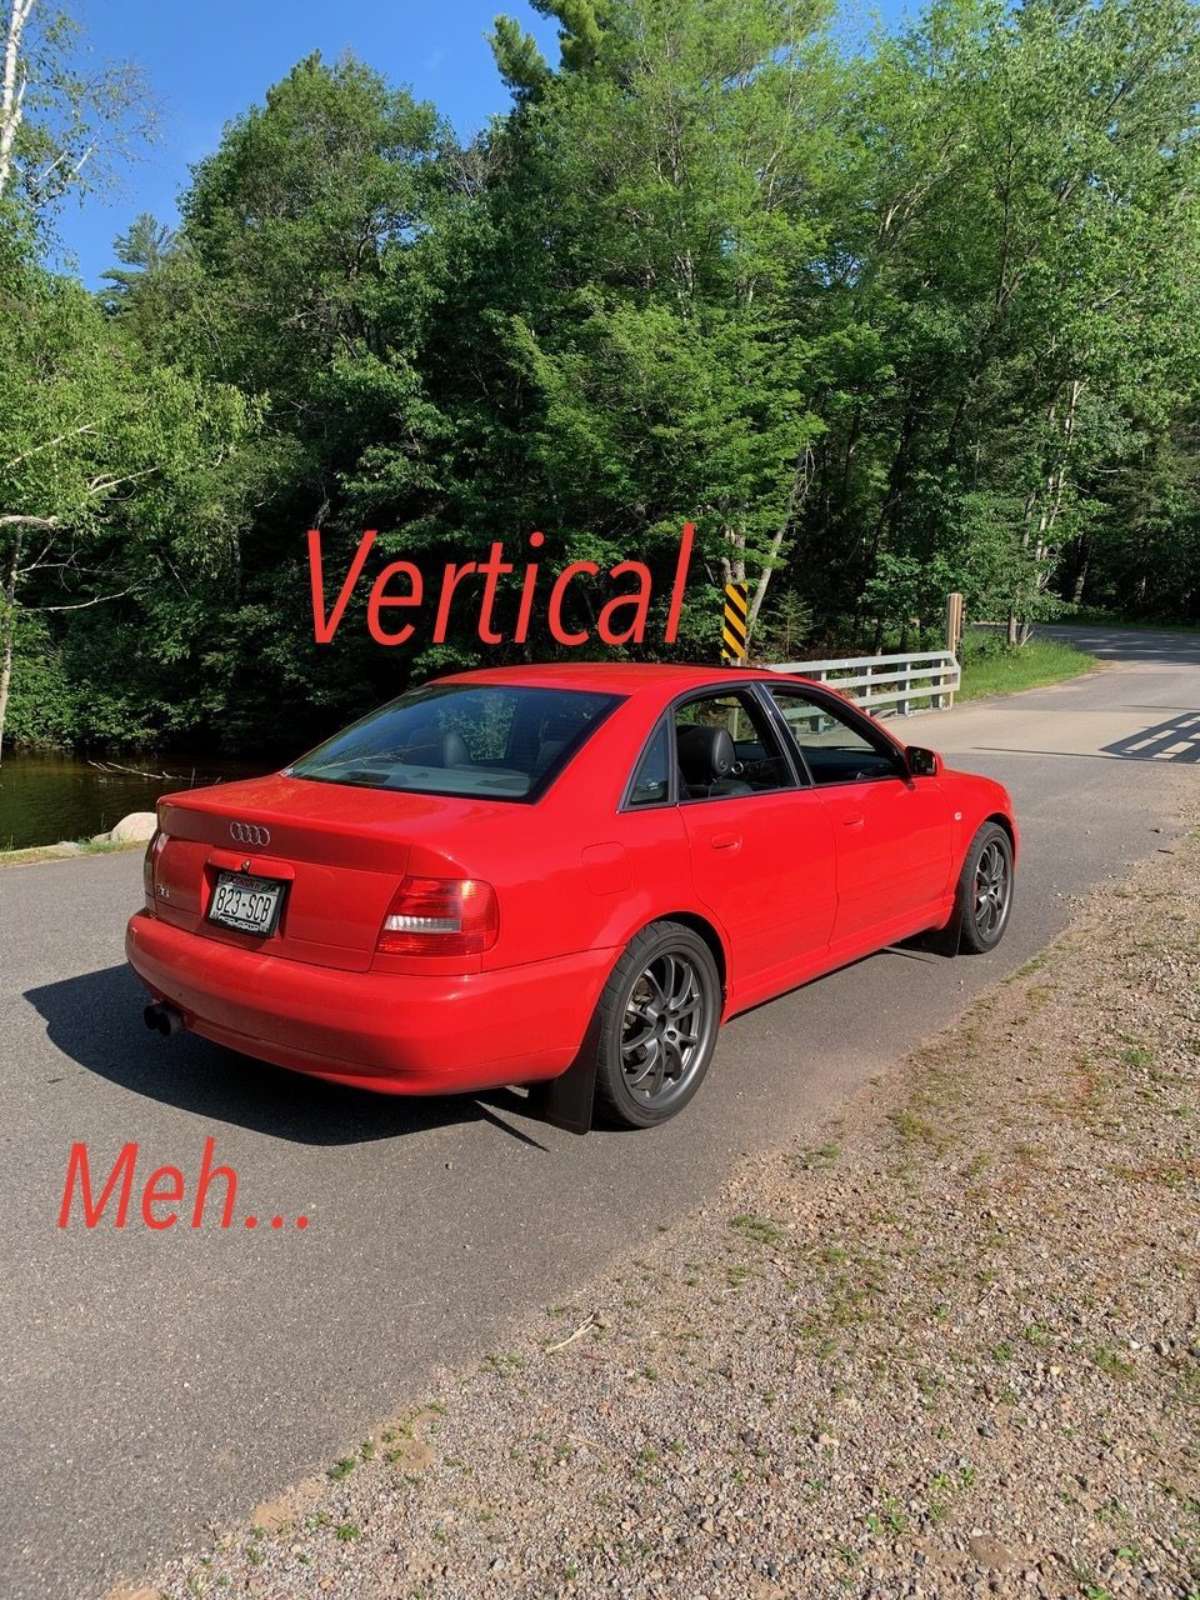
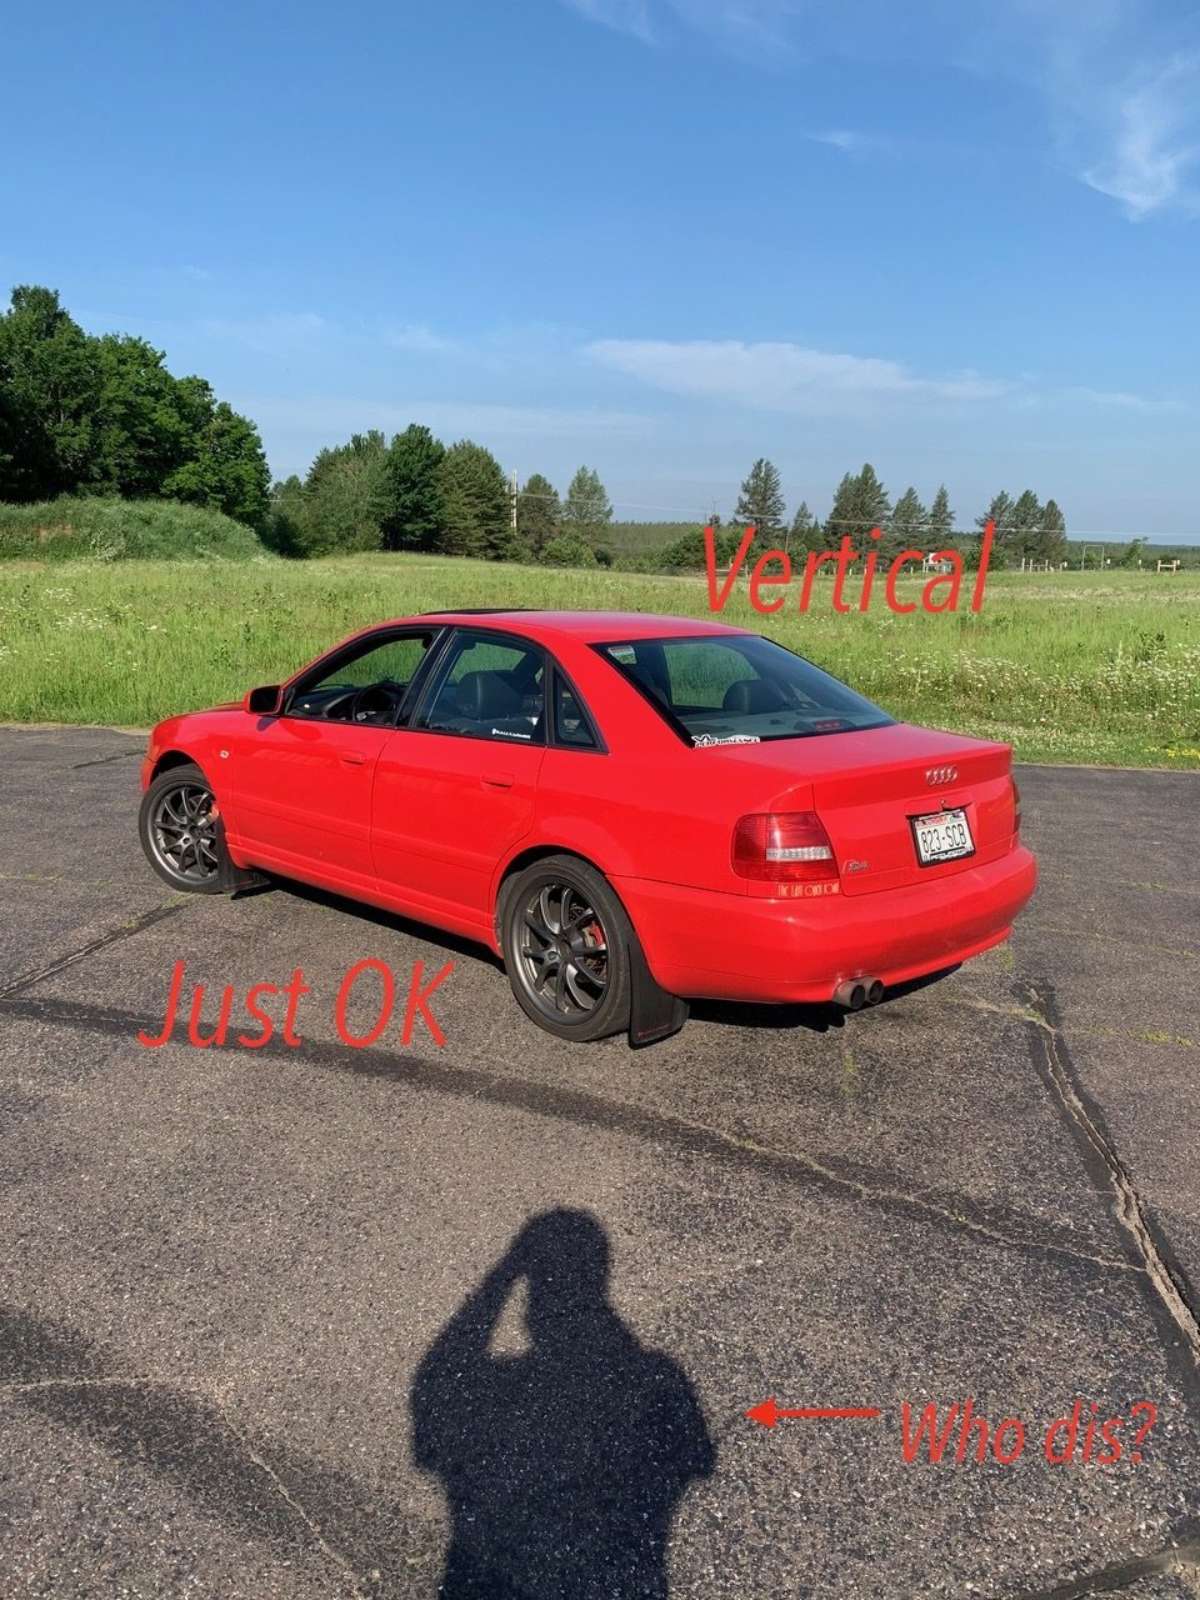
First of all, we should address that there are very few instances when you should be taking horizontal photos. It works for detail shots, some social media stuff and we use vertical shots for magazine covers, but in general, you’re going to get better glamor shots shooting horizontal.
Finding the right angle to shoot at is mostly just a matter of determining which angles are the most photogenic, and that’s going to vary from vehicle to vehicle. Then there’s the matters of camera height and angle, which makes for more dramatic photos.
Often I find that crouching and getting down on the car’s level makes for a better looking, more contemporary photo, and it often better highlights the car’s lines as well. From there, you can start playing with the camera angle itself to add drama to the photo.


3. Lighting
It sounds simple, but it’s not when you really dig in. Lighting and reflections can make or break a photo and there’s a whole science to the use of light reflectors and soft light sources. But we’ll keep it simple for today’s purpose and talk about two factors — sunlight and shadows.
If possible, you want to aim for the golden hour when shooting your car, which is shortly before sunrise and before sunset. During this time, the sunlight is softer and redder, as opposed to the harsh overhead sun in the middle of the day. When the sun is overhead, it tends to cast a bright reflection in your paint and can make colors appear lighter or washed out. Chasing the golden hour doesn’t always work in reality, but you’re sure to get better results if you aim for the early morning, or early evening. An overcast day eliminates trouble from the sun, but can make for a drearier photo if you’re not a pro.
Next, you want to be sure the sunlight is directed at the part of the car you’re shooting. If you’re shooting the front quarter angle, you’ll want to have the sun facing it, casting light on the grille and side of the car. You want to avoid shooting into the sun, obviously, as you’ll end up with all the wrong kind of light and shadows on the car.
I’ll admit that we didn’t nail the lighting in our shots, as the sunlight was already getting a little harsh when I was shooting these at 8:30 am. I guess I’ll have to chalk that up to it being a cloudless day in late June. But you'll notice there's few, if any, harsh sun spots in the photos, and a single bright sun reflection on chrome and paintwork can trash a whole photo.


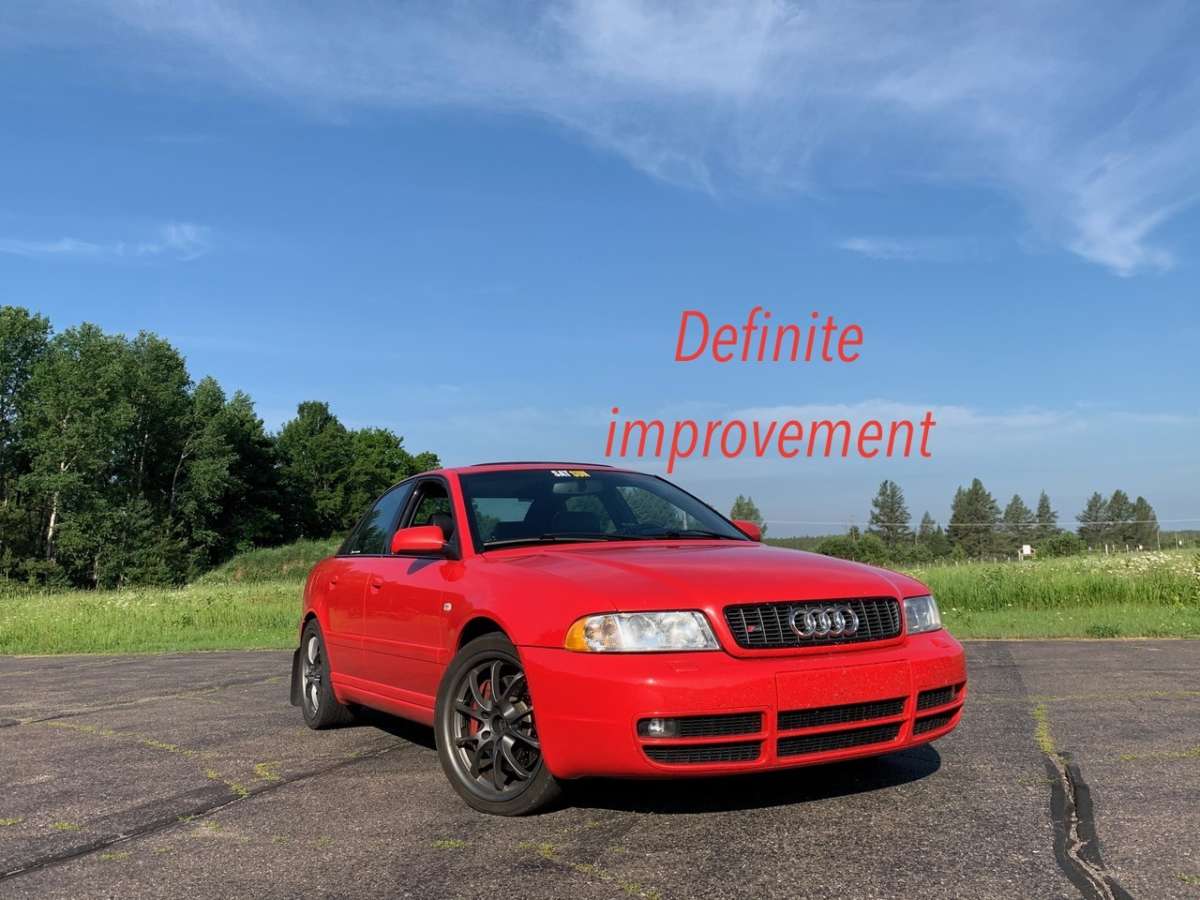
Comparing our initial shot to some of our finished photos, I think the extra work obviously shows. I'm not saying these shots are ready to grace a print magazine cover, and the my iPhone XS won't quite replace the DSLR when we need perfection, but you're sure to get better reactions from these three simple steps.


Comments for: Three Quick Tips to Get Better Photos of Your Ride
comments powered by Disqus