BUILDING A KELLISON GT40K IN THE ’70S: Part Two
**The following is a story about building a Kellison GT40 kit back in the 1970s utilizing a Corvair Corsa donor. The author is very thorough and there are few photos, but the account is an excellent view of what it was like building kit cars in the early days. The original text from this three-part story was taken with permission from www.kellisoncars.com.**
Story and Photos by Tom Piantanida
Chapter Two: Bodywork
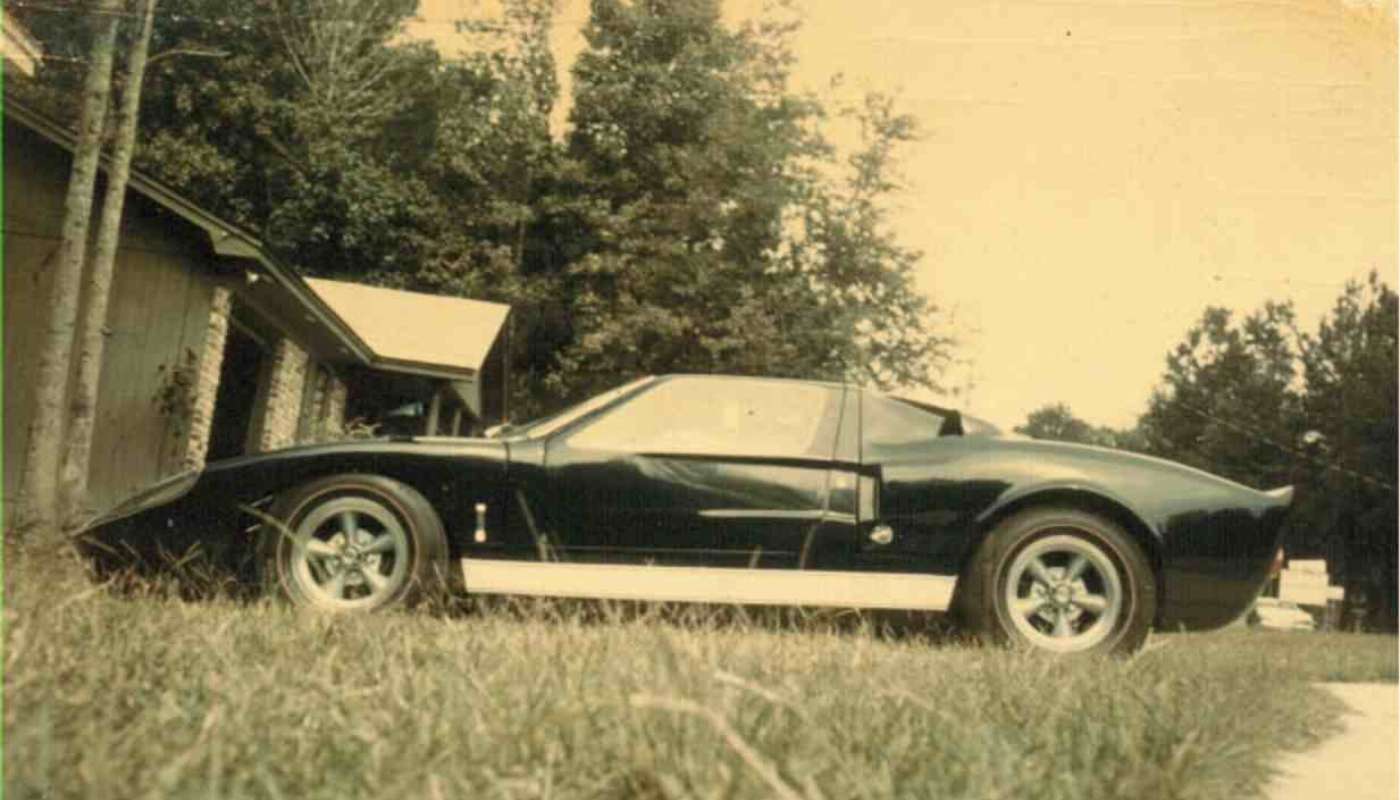
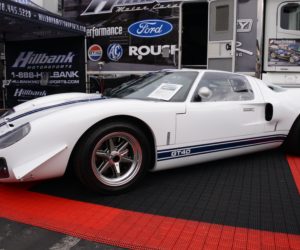
Jim Kellison took some liberties in designing his Ford GT40 replica, the GT40K. Perhaps he anticipated that Ford would make the Le Mans nose (which Ford tested at that circuit in 1965) standard on the GT40. Regardless, the GT40K had a longer nose than any of the GT40 variants. Like the Le Mans nose, the Plexiglas headlight covers start at the leading edge, rather than a few inches back, as on the standard GT40 nose. The extra expanse of unbroken fiberglass made the nose of the GT40K seem disproportionately long. The car also lacked the removable hood found on the original, which included the distinctive cooling outlets.
As I examined the body, I became aware that the left and right doors were slightly different; the right door had a cast-in relief where the Plexiglas window would be set into it, but the left door didn't. Correspondence with other owners of GT40Ks revealed that there were probably two types of doors, those with reliefs, and those without. Other owners reported getting mismatched doors, as I had. I eventually routed a recess into the left door, and increased the depth of the recess in the right door. But that was not the only problem with the doors.
Because I had not purchased my GT40K body from Kellison directly, I had no way of knowing whether the following problem that I experienced was due to factory "tolerance," or to subsequent mistreatment by the previous owner. The problem was that when the doors were installed on the body, the roof panels angled up a few degrees, so they would not align with the roof. The solution, after much soul searching, was to remove a wedge from the inside of the doors just above the window, bend the door tops down, and reglass them. Then they fit snugly.
My drivetrain choice also necessitated some creative bodywork. The track of the Corvair is wider than that of the VW, and thus wider then the GT40K, which was designed to fit the VW. This was not unanticipated, and in fact, it provoked much research into the styles of flares on Ford GT40s. By 1965, most of the GT40s had shed their original wire wheels in favor of distinctive magnesium pin-drives. With the pin-drives, came a wider track, which required flaring the fenders on most GT40s.
I modeled the flares for the Kellison on those used on the 1965 Sebring Ford GT40s, which I considered the most beautiful of all the many designs. The flares had to be fared into the body sills to ensure a good fit between the fender arches (which would be part of the hinged rear body) and the fared-in body sills. For that reason, I bonded the rear body to the sills.
Using the tires that I planned to install on the car as a pattern, I radiused the wheel openings and formed a new ledge that stuck out from the body to cover the tires. This would eventually be the lip of the new flares. Fiberglass strips were laid from the fender to the lip and wrapped over, actually under, the lip. Layer by layer the flares were built up, until they were structurally sound and could be blended into the original fenders and body sills.
I used plastic body filler as a blending medium, and when the contours resembled those of the 1965 Sebring GT40, I separated the rear body section form the body sills by sawing along the tops of the sills. The interior of the flares was then cut away, leaving about an inch lip in the wheel wells, which now covered the tires nicely.
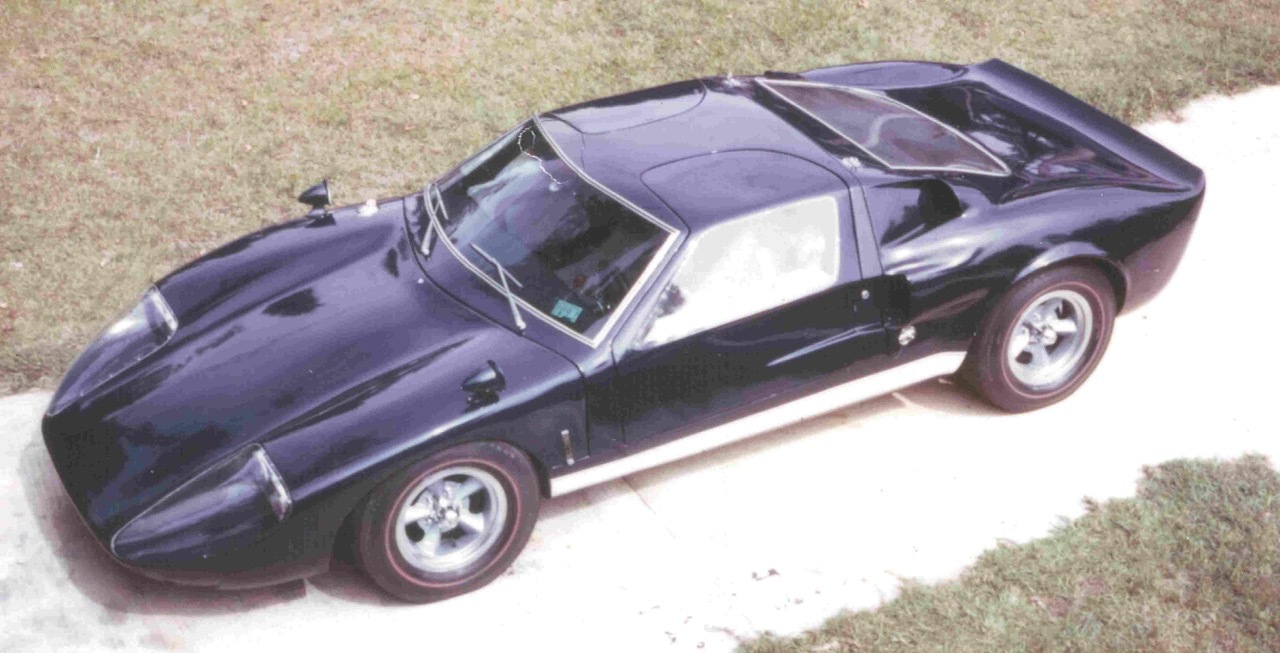
I also used the 1965 Sebring car as a model when correcting the shape of the MkI upper air inlets, which none of the kit car companies seemed to get right. The sensual contours of the air intakes proved to be too difficult for me to mold, so I did the next best thing; I covered them. Some of the GT40s racing in 1966 were fit with a hood over the upper air inlets. I duplicated these by making a plug from expanded metal, body filler and Saran Wrap, and casting the hoods in the female molds taken from the plug. These "scoops" were bonded and blended into the roof and fender lines, where they effectively concealed the less than perfect air inlets. I sometimes think that these air scoops enhanced the appearance of the GT40s that were referred to in retrospect as MkIs.
In 1971, the powers that be ruled that only round headlights could be used on American cars. Mildly rounded rectangular headlights were available, but could not be used in a car that was destined for the street. Single headlights looked lost in the wide fender of the GT40K, and even the Plexiglas cover couldn't disguise that appearance. So, I opted for four round headlights surrounded by a chrome bezel from a '64 Pontiac Le Mans. The headlight assembly didn't look half-bad with the Plexiglas covers on.
The doors of the GT40K were already rather heavy, so I chose to mount the latch assembly on the body, with only the striker plate and post mounted on the doors. This allowed me to open the doors from the outside by turning a key in the door lock on the B-pillar.
Both the front and rear body panels were hinged to open as they would on the GT40, and like many kit cars of the era, the body latches were rescued from a Triumph Spitfire. I didn't like the large "M" that was cast into the Triumph release lever, so I made brass replicas and had them chromed. They were different enough from the stock Spitfire units that other car builders asked me to manufacture them, but the stock Spitfire latches were so inexpensive that there really wasn't any market for custom latches.
My GT40K kit came with the fiberglass GT seats. From what I've been able to gather, there were several other optional seat designs available from Kellison. The GT seats had wide bolsters that would provide good lateral support, but the seats were so wide that I would have been sliding around in them rather than fitting snuggly into them. To narrow the seats, I split them down the middle and removed wedge-shaped segments from the thigh-support area and the shoulder-bolster area. Metal reinforcements were riveted to the seats, which were then further reinforced with fiberglass. The seat bases and backs were then trimmed to conform to the rear bulkhead. Seat adjustments? Forget it; this GT40K was made to fit me.
Narrowing the seats left room for a console that ran from the footwall to the bulkhead. This would house the shifter and the emergency-brake lever while disguising the VW center hump. A rectangular recess in the upper surface of the console provided a home for a modified VW emergency brake handle. The shifter was affixed to the VW pan with a lever protruding through the console.
Because the shifting rod exited the Corvair transaxle to the rear, rather than facing forward as it had in the Corvair, I needed to fabricate an entirely new shifter mechanism. Also, in order to keep the same H-pattern, the shifter must use third-class levers, where the direction of the force applied to the shift knob was the same as the direction that the transaxle shift rod had to be moved. (Most shift linkages move the shifting arms opposite the direction that the shift knob is moved.) Likewise, the shift rod in the transaxle needed to rotate in the same direction as the shift knob, again, just the opposite of most shift assemblies.
Many mid-engine racecars solve this problem by having the shift lever pivot about its base. The shift rod that goes back to the transaxle attaches midway up the shift lever, so it moves in the same direction as the shift knob is moved, but less than the shift knob moves. Rotating the shift knob left and right likewise rotates the shift rod in the same direction. But the Corvair transaxle is not a race item; it required much more linear and rotational motion than a racecar transaxle does. The racecar setup didn't work in the GT40K.
What did work was a shifter that, like the racecar setup, pivoted the shift lever at its base, so that the shift rod and the shift knob would move in the same direction. But, unlike the racecar design, the bottom of the shift lever slid in a slot so that the shift rod could be rotated much more than if the bottom of the shift lever was fixed in position. This additional rotation allowed the transaxle rod to engage all of the gears. It all sounds so simple, but it wasn't.
Because I had affixed the seats to the rear bulkhead, it would have been impossible for me to reach the dashboard while constrained by a four-point seat harness. The solution was to install an overhead console with switches for the ignition, fuel pumps, headlights, starter, windshield wipers, etc. Because many of the circuits that controlled these items would carry considerable amperage, the overhead switches would normally have been large and bulky. But instead, I used miniature switches that controlled relays that handled the high current load. The overhead console, as well as the console between the seats, was upholstered in the same gray, leather-grained vinyl that was used to upholster the rest of the interior.
As you might expect, several minor mishaps occurred during the construction of my GT40K. The only major one involved installation of the windshield. When it finally came time to install the Corvair windshield that I had been storing in my bedroom for months, I cleaned the windshield frame thoroughly and carefully lined the frame with the rope of GM butyl windshield adhesive. A friend helped me place the windshield in position, and when we had it just right: we applied uniform pressure on the windshield to squish the butyl rope. We learned that it is virtually impossible for two amateurs to apply uniform pressure to a windshield: a crack propagated from the top to the bottom of the windshield!
The smart thing to do would have been to have a glass shop install a new windshield, but I did the inexpensive thing. I found another Corvair windshield at wrecking yard, and carefully removed it, not a simple task. Then, instead of using the butyl adhesive rope, I ran a bead of black RTV adhesive around the windshield frame and laid the windshield onto this bed of adhesive. I needed to put a spacer at the bottom of the windshield to keep it centered in the frame. I added beads of RTV in several layers until the gap around the windshield was completely filled.
J.C. Whitney supplied the ideal material for framing the windshield and backlight. It was black vinyl side molding with a vacuum-metallized chrome strip in its center. The molding, which came in rolls, was designed to conform to a ridge on the side of a car, so it was hinged along its centerline. It was flexible enough to follow the curvature of the windshield and backlight, and it could be mitered to form tight corners at the top and bottom edges of both.
Next time we'll take up the saga of obtaining title and registering a "Specially Constructed Vehicle."


Comments for: BUILDING A KELLISON GT40K IN THE ’70S: Part Two
comments powered by Disqus