Assembling a GT40 Kit from Start to Finish
By Dean Larson
Photos by Cory Dellenbach and John Kendall
It’s always been a dream of yours to buy and build a component car at home, and you’re finally ready to take the plunge. Well, we’re with you! We wanted to show our readers how enjoyable and rewarding it can be to build a car at home and knew there was only one way to do that. Buy a kit and assemble it ourselves, documenting the entire process to show how the build progressed and how we overcame different challenges.
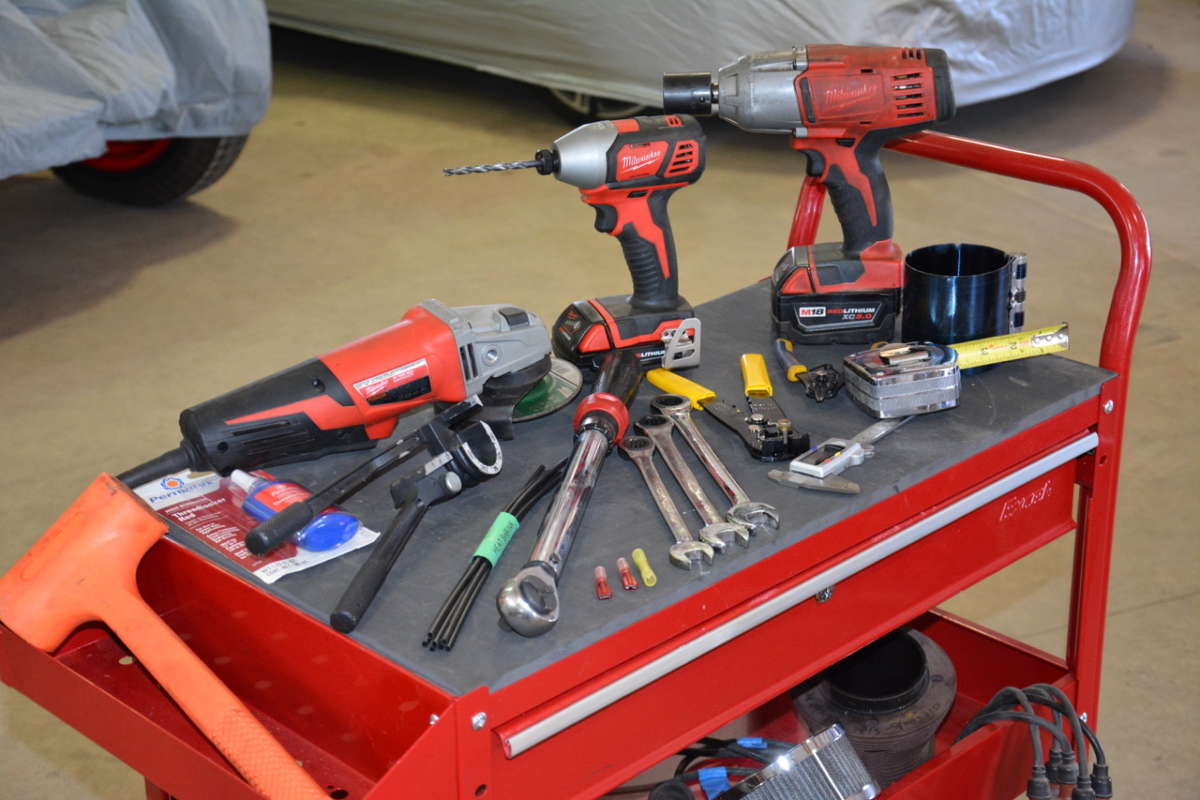
Once you’ve decided to start your first build, and have the necessary time and space, it’s time to get down to some serious research. Not every kit is built the same. Some manufacturers may produce a better quality product than others and some cars and brands are naturally easier to build than others, so it’s important to take a good honest look at your resources and skills.

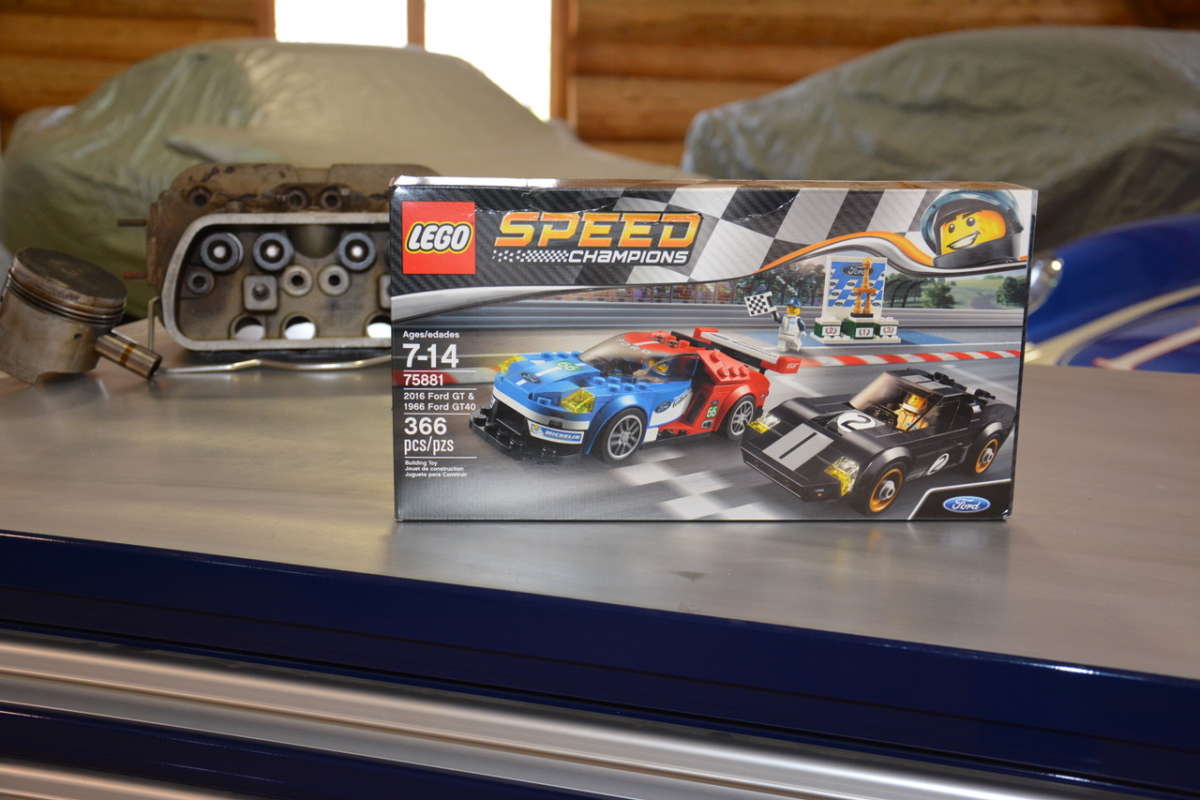
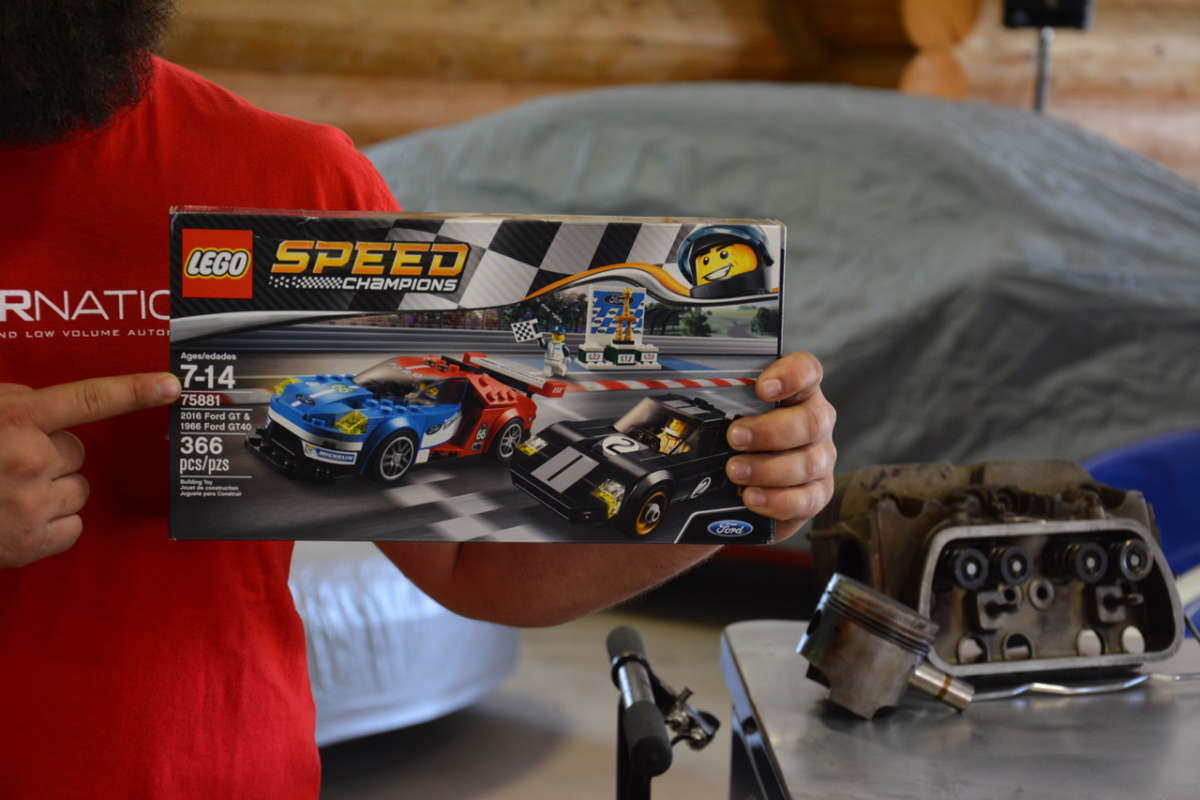
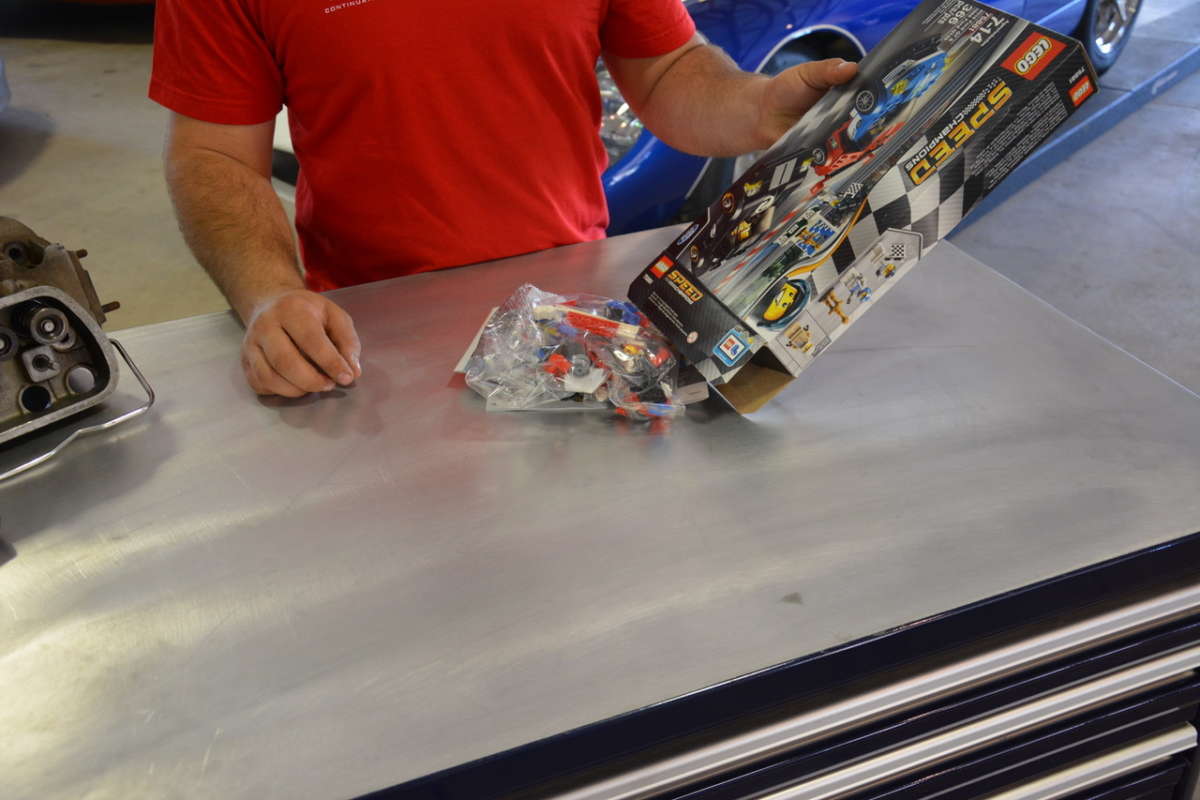

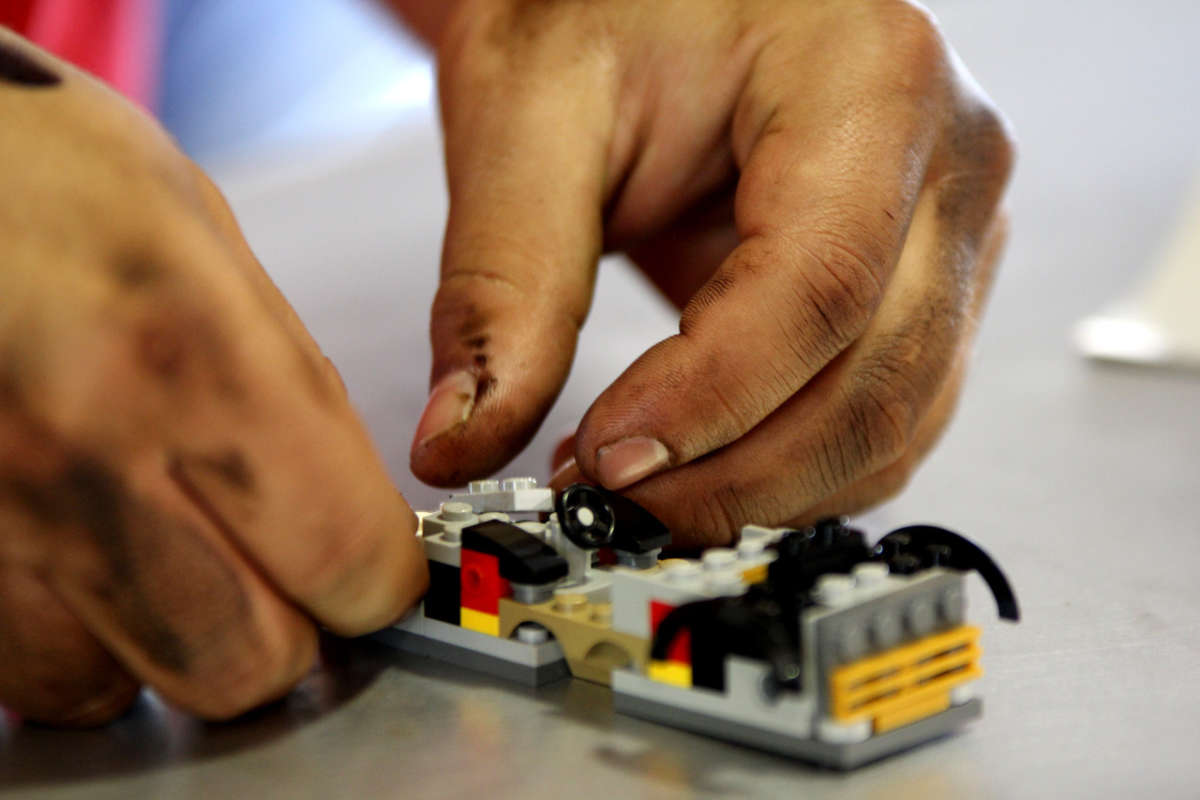
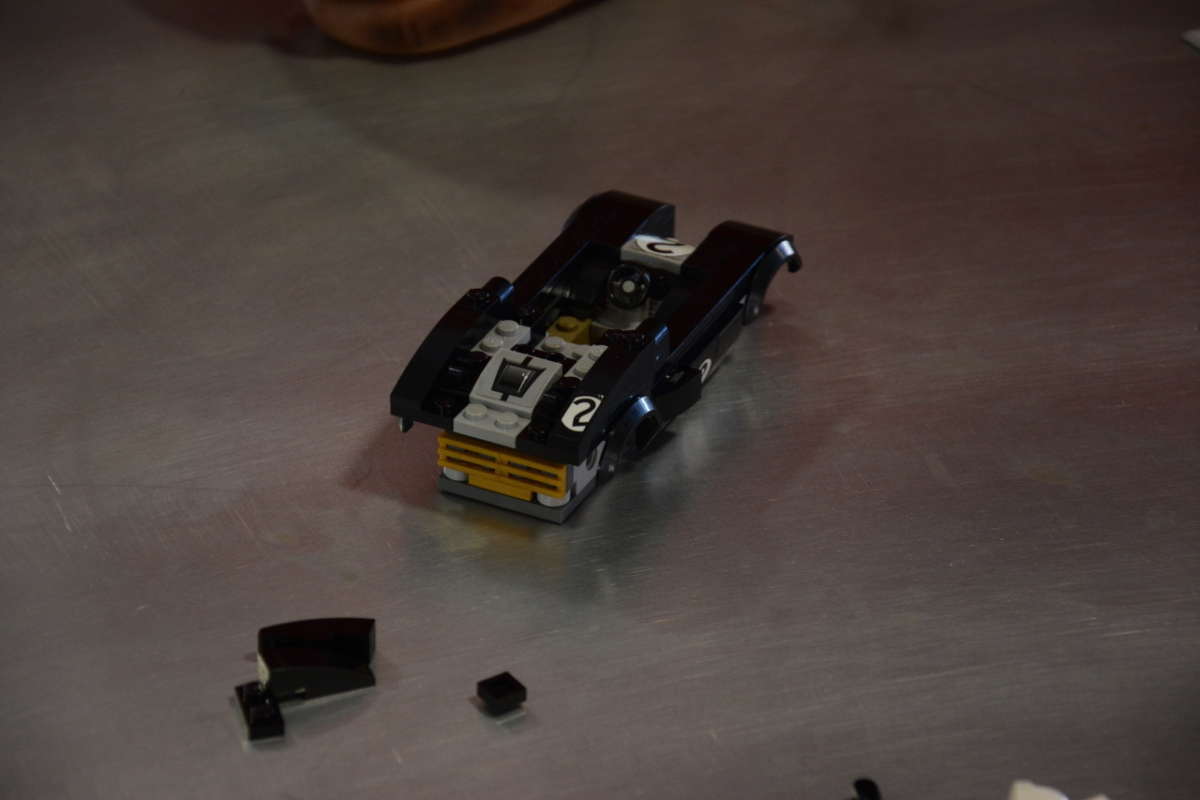
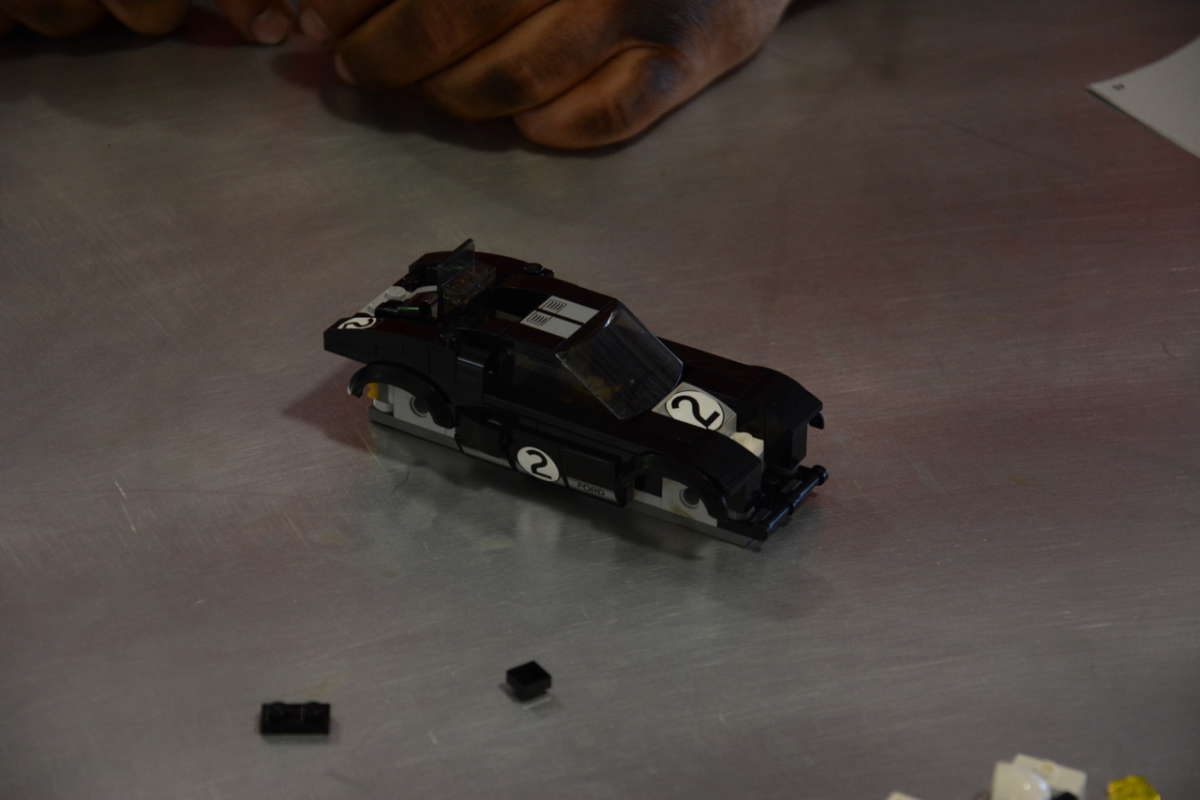
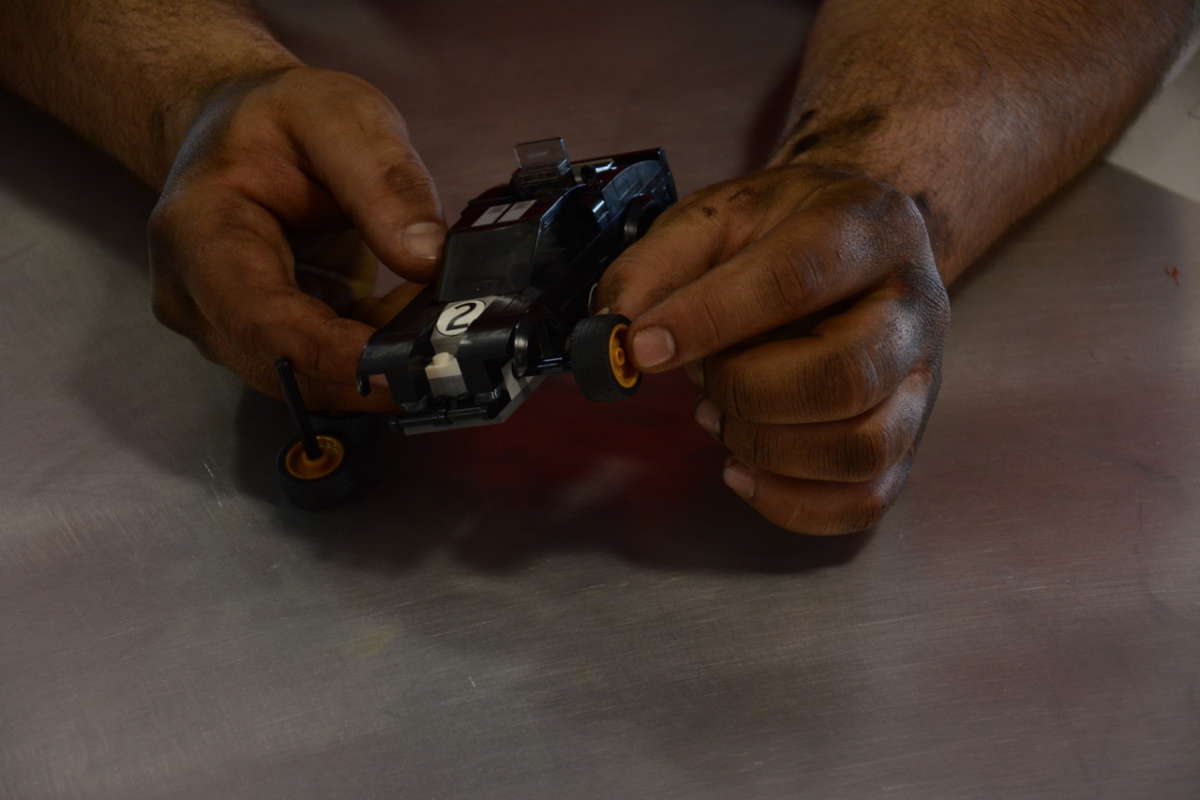
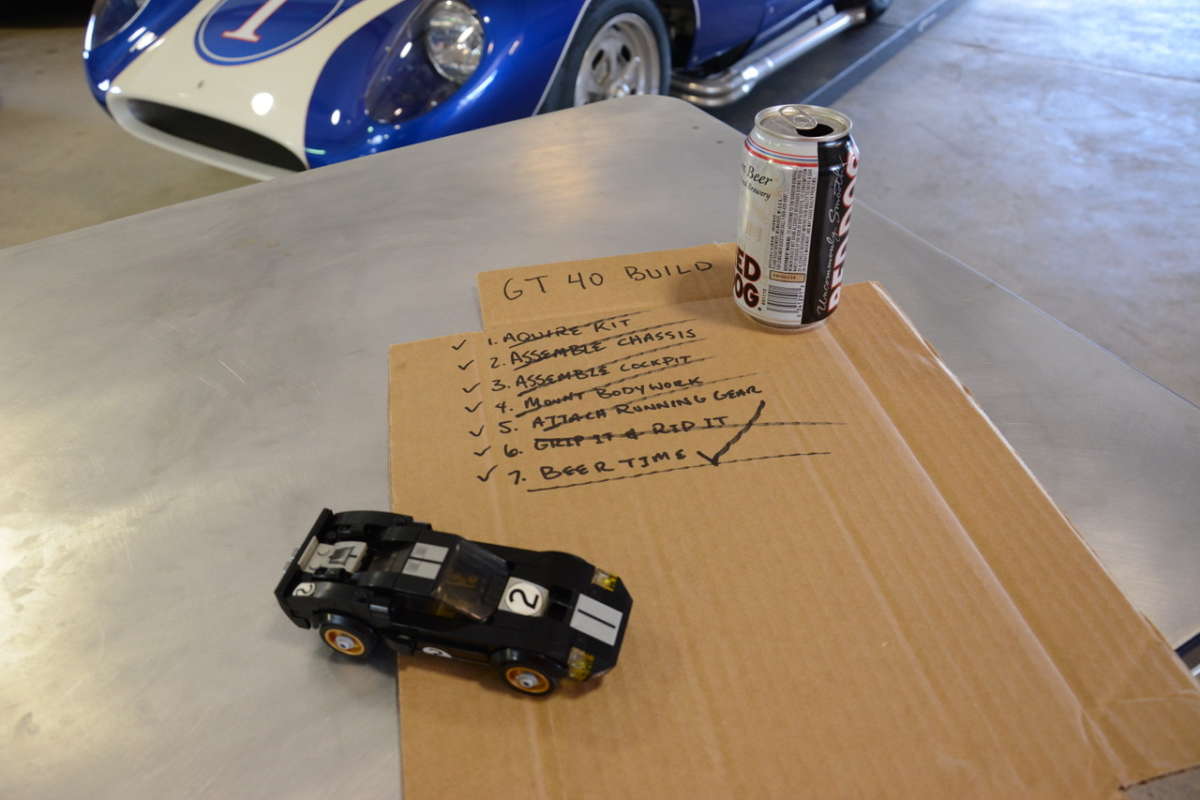
We had our sights set high on a Ford GT40 replica, not necessarily a simple build if you’re a first timer, so keep that in mind. It was important that we do as much of the assembly, finish work and tuning ourselves as possible, so no rollers or turnkey-minus cars here. While this eliminated some great offerings from companies like Superformance and Shelby American, there were still a handful of options for DIY builds. We came very close to ordering a MkI GT40 kit from Race Car Replicas, complete with trick aluminum suspension, but eventually decided on the new MkII GT kit from Lego, as it best suited our budget, timeline and performance goals for the build.
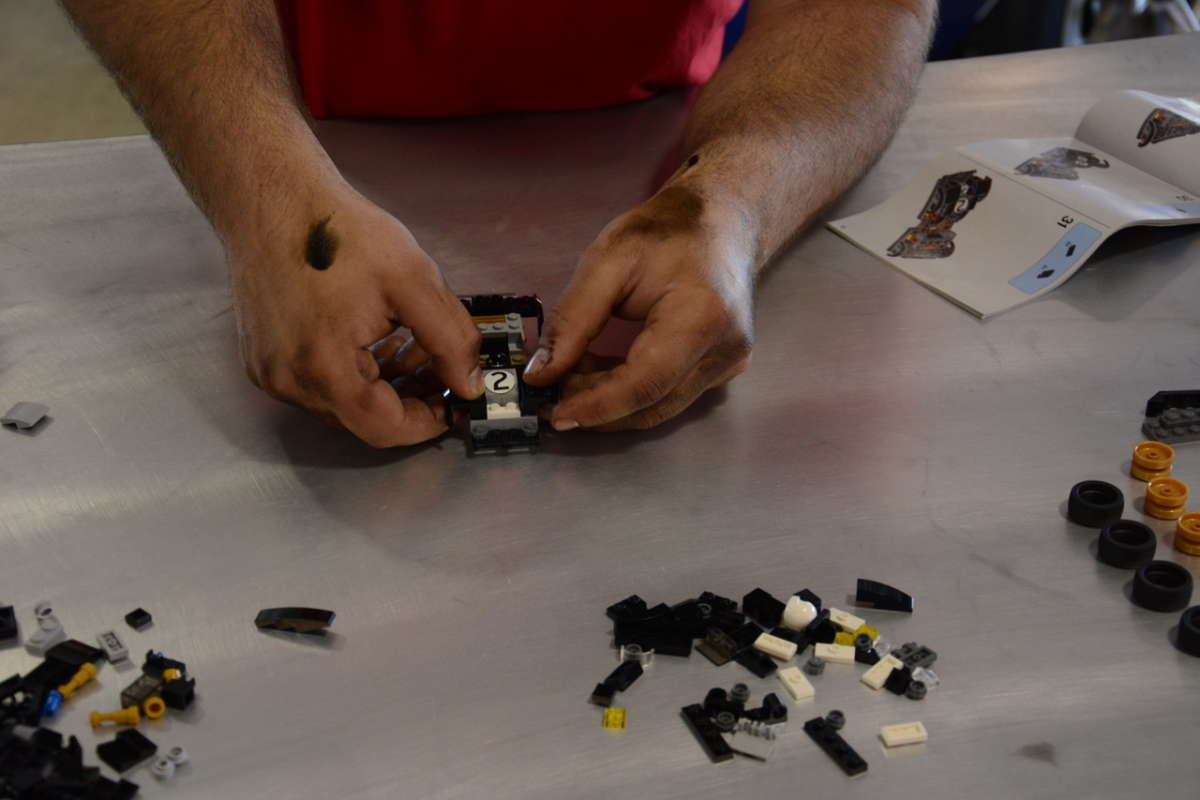


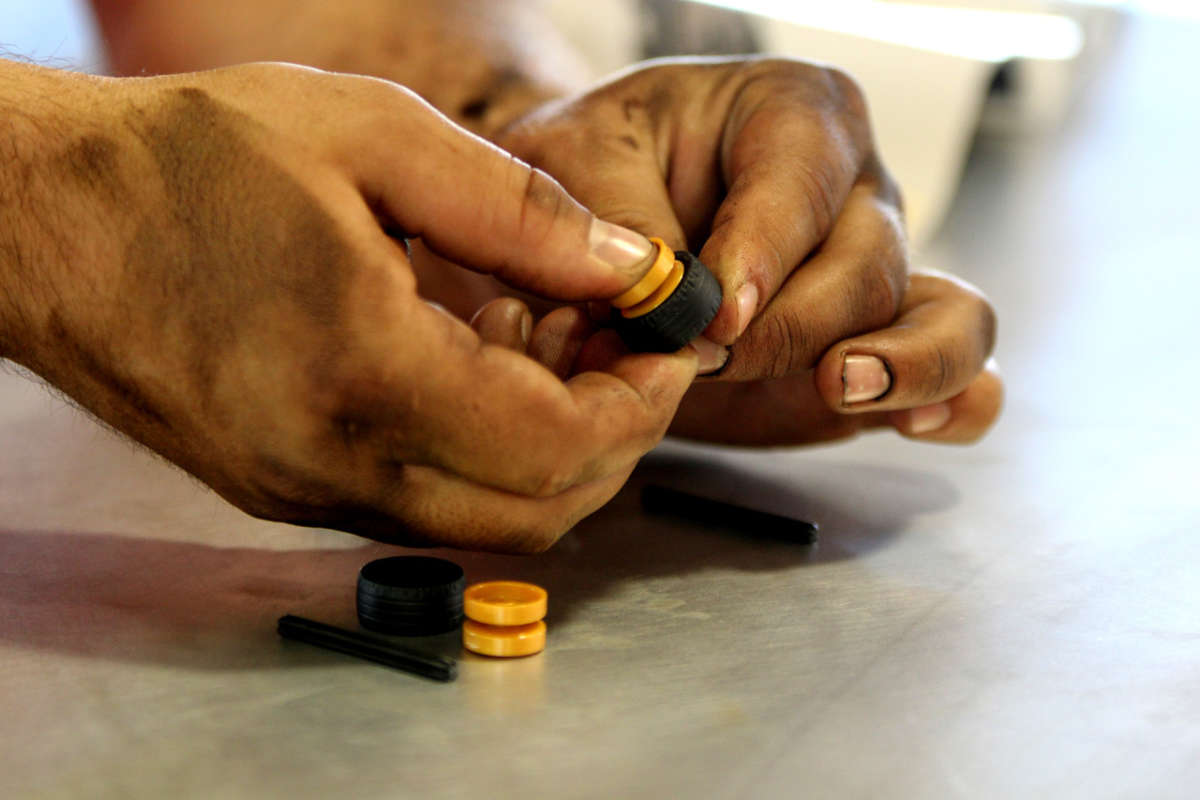
With some manufacturers, it can take months to take delivery of a new kit, so we appreciated Lego’s cool delivery time of three to five business days — I guess selling component vehicles for almost 70 years affords Lego a few advantages over the competitors. We were also pleasantly surprised with the simplicity of the Lego kit, as our GT required far less components for the full build than the competition, talk about efficiency!
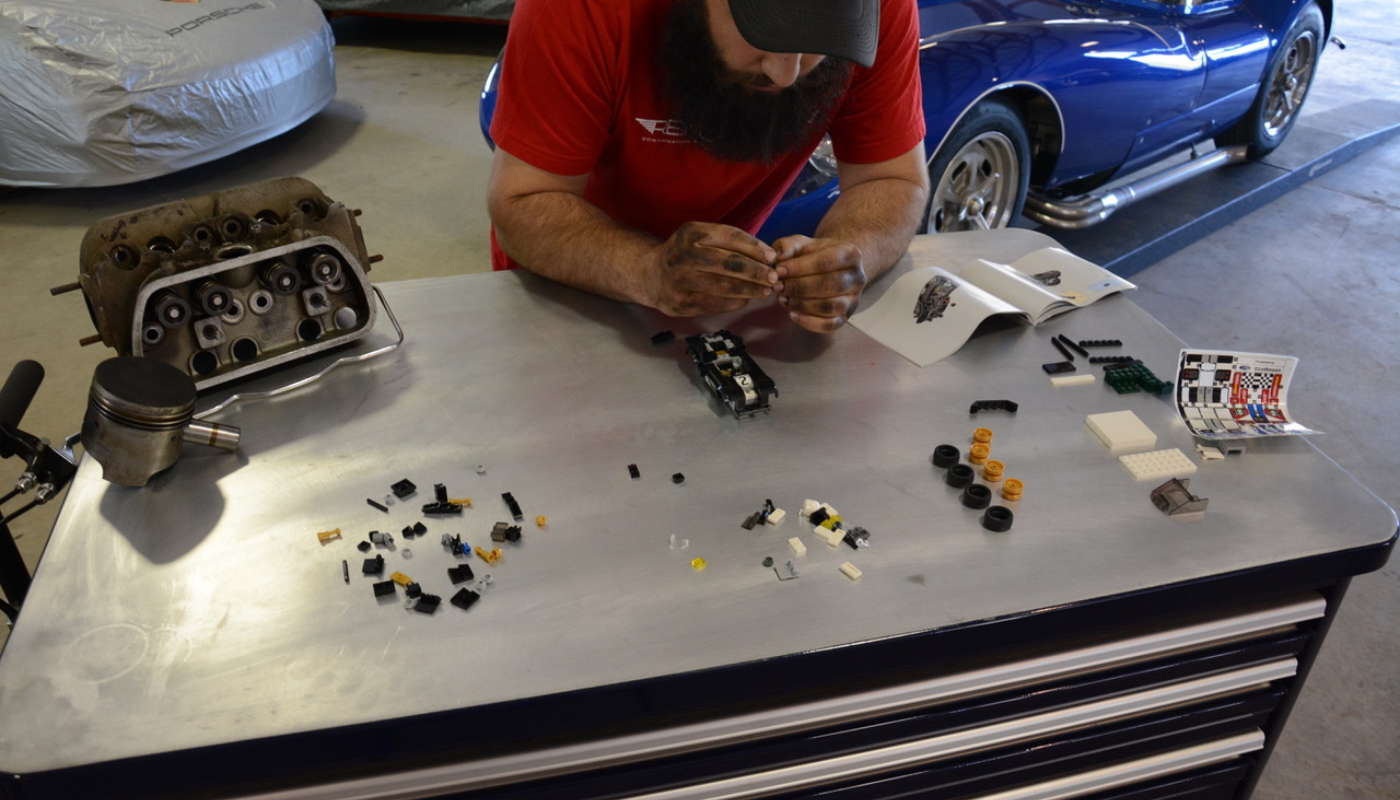
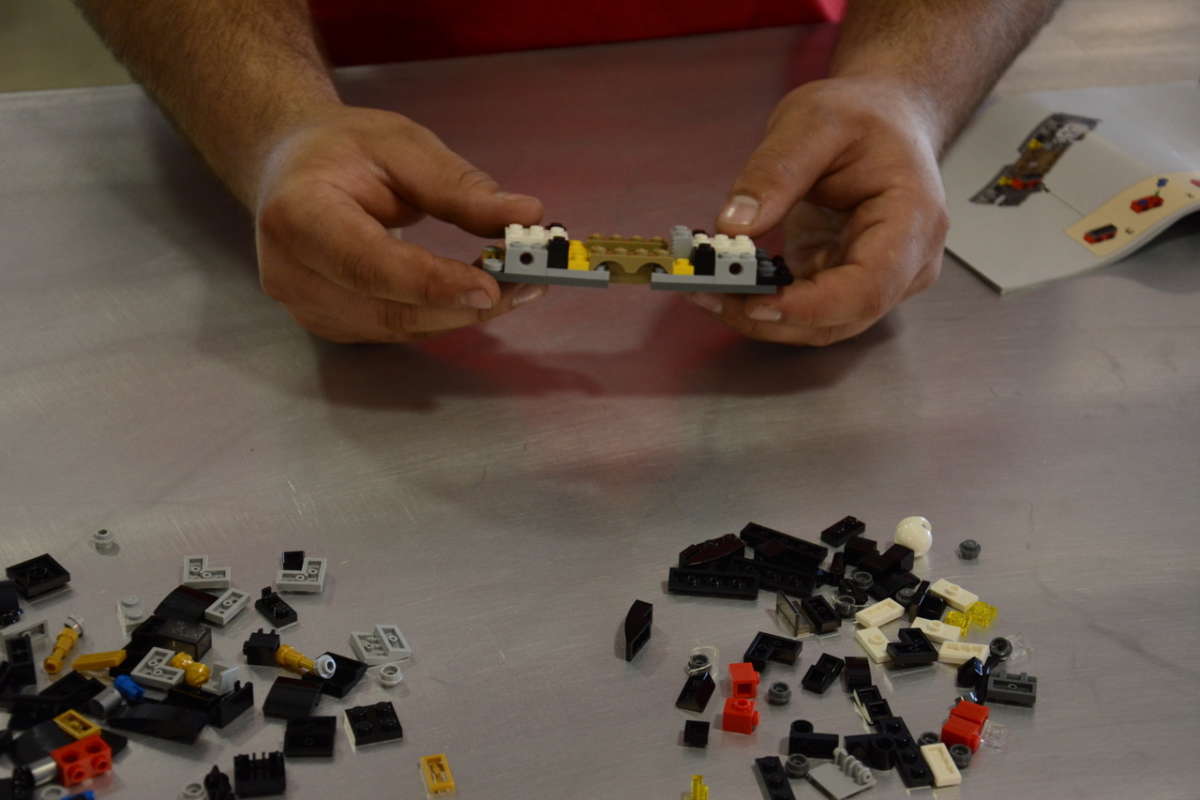
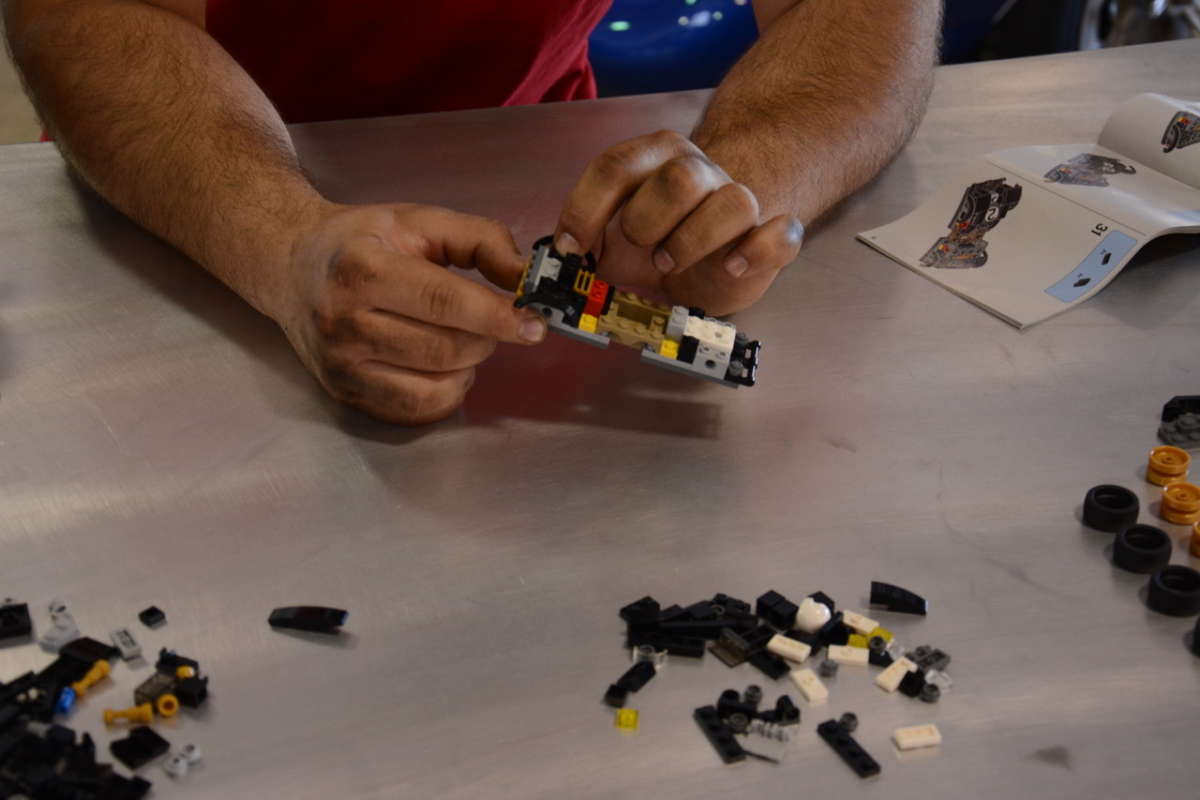
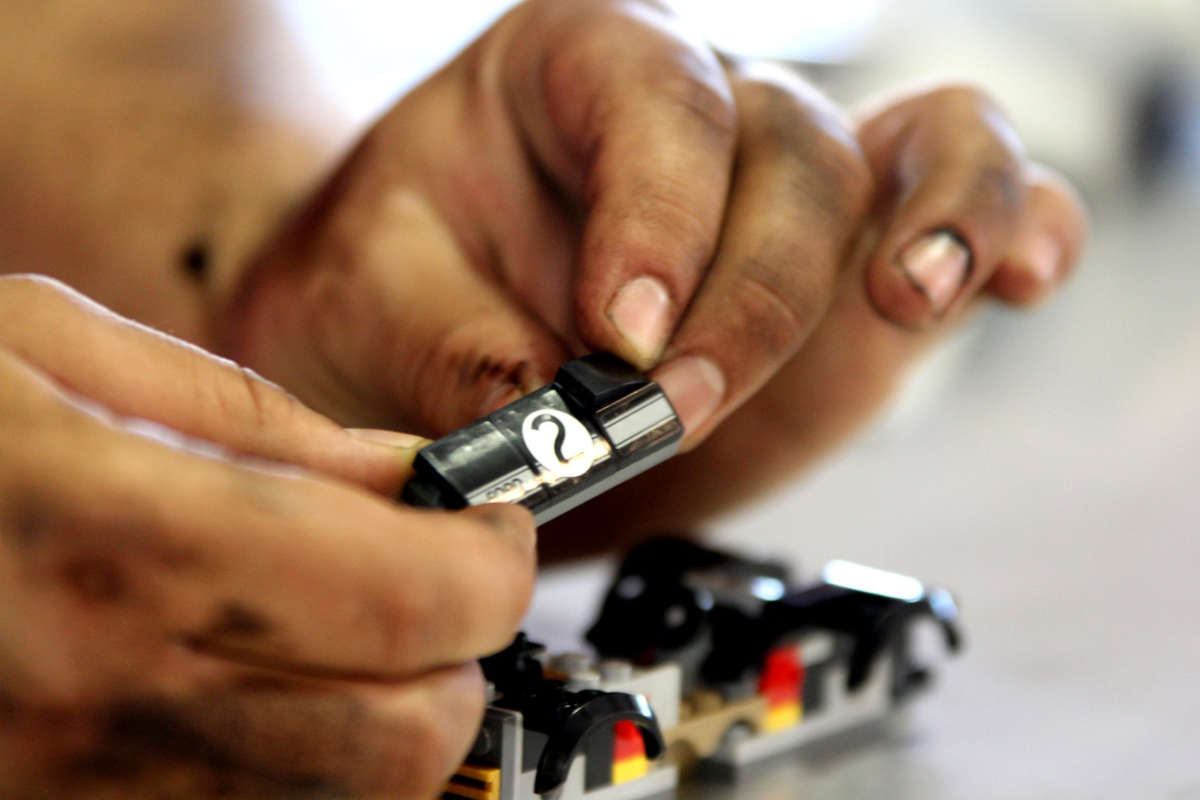
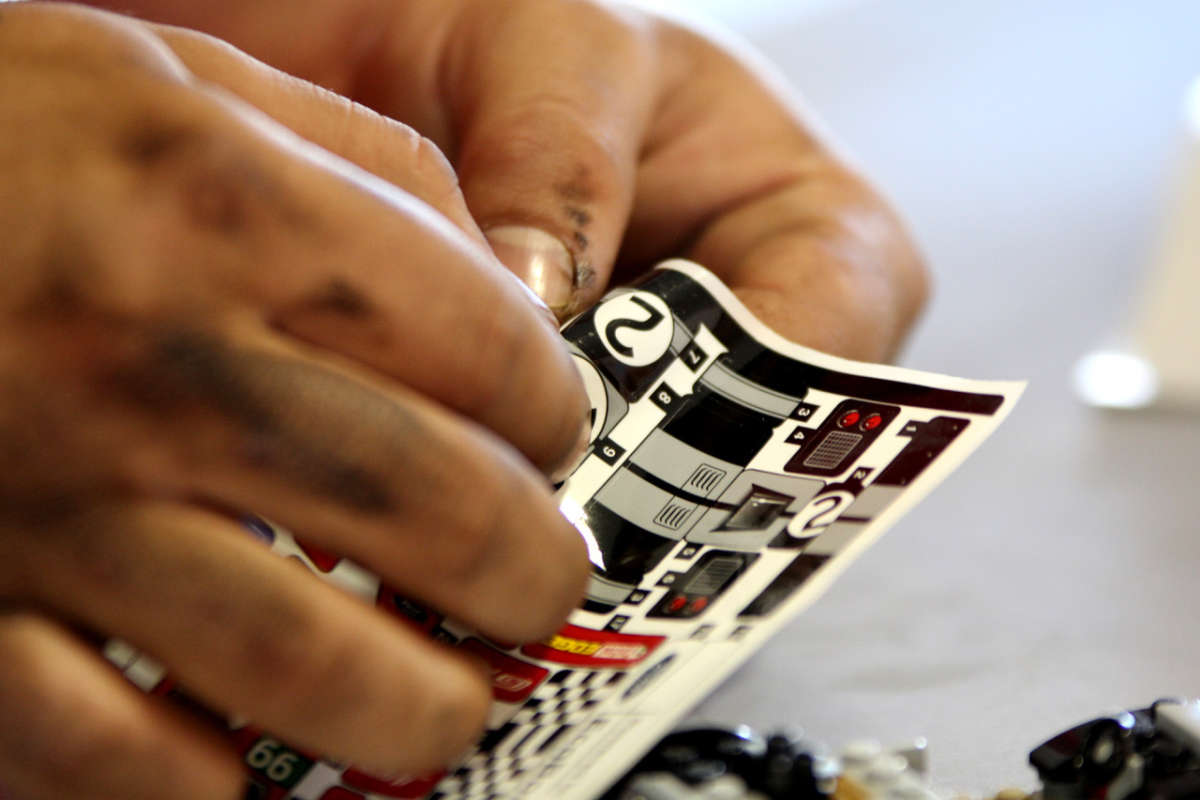
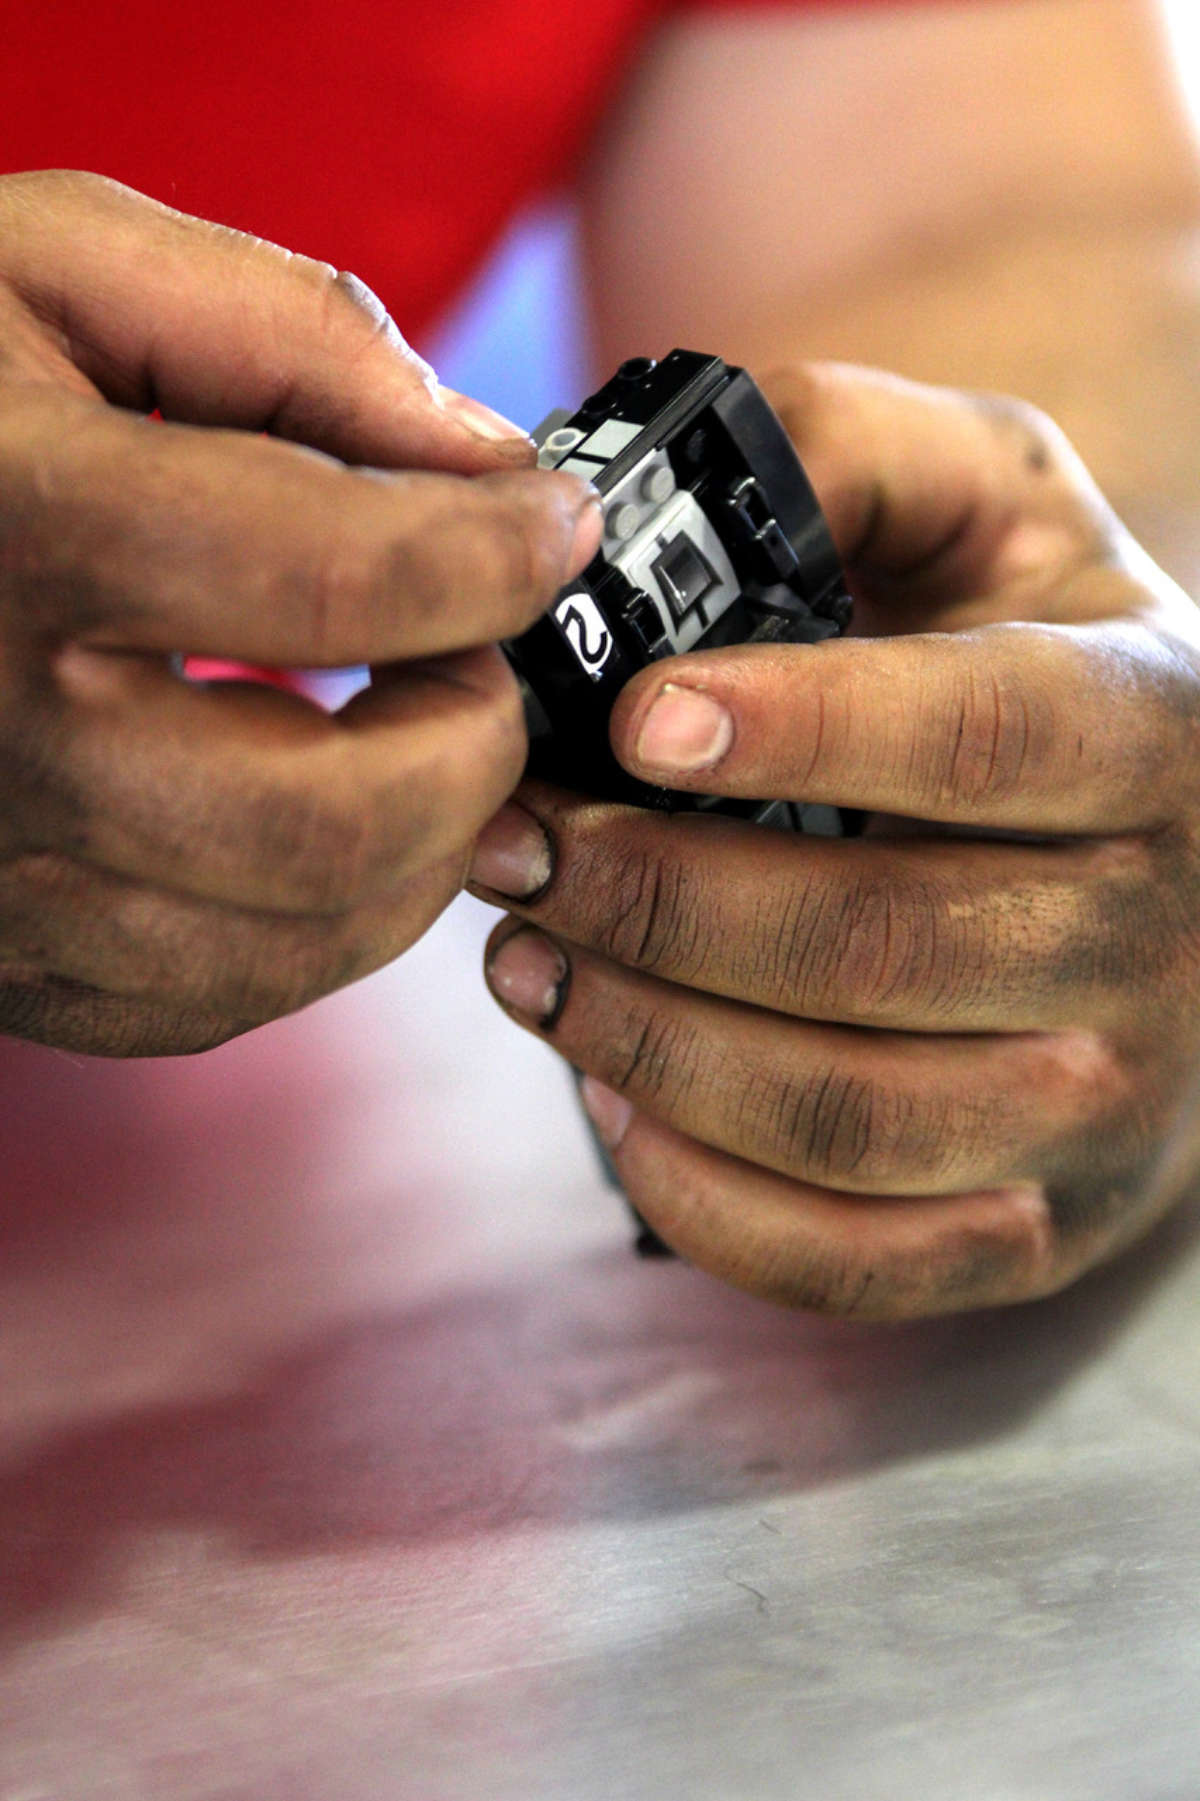
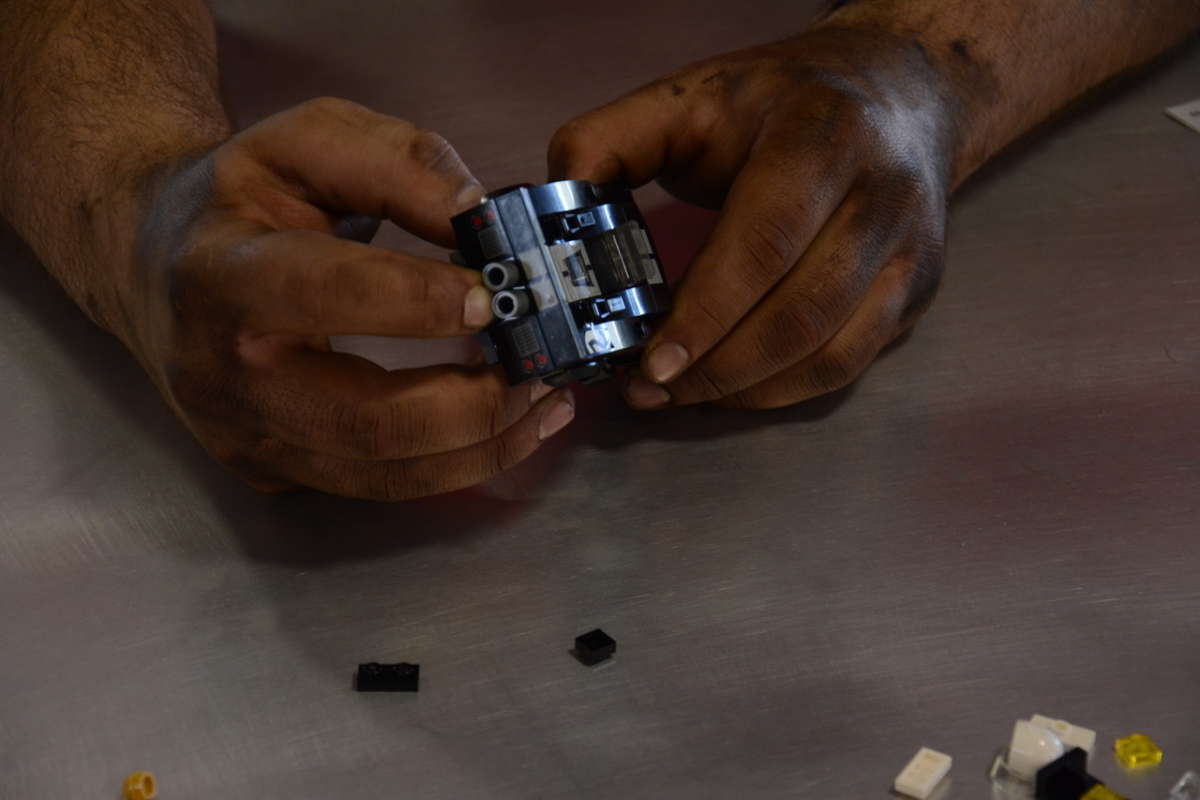
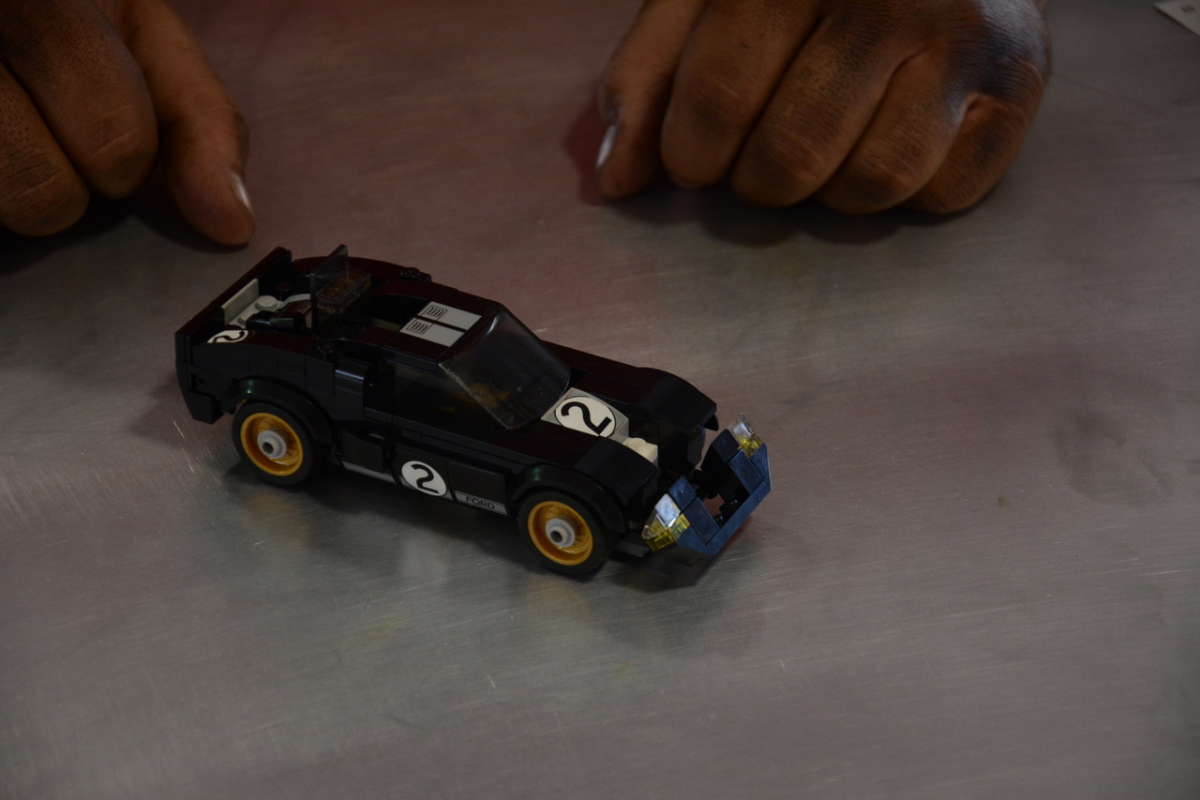
Despite the relative simplicity of our kit, we definitely encountered our fair share of hurdles along the way. We lost a few more pieces than we care to admit, resulting in numerous delays while we tore the shop apart to find them. We also ran into a couple issues with our vinyl decal set, which forced us to remove and refit the sections — it definitely pays to have patience here.
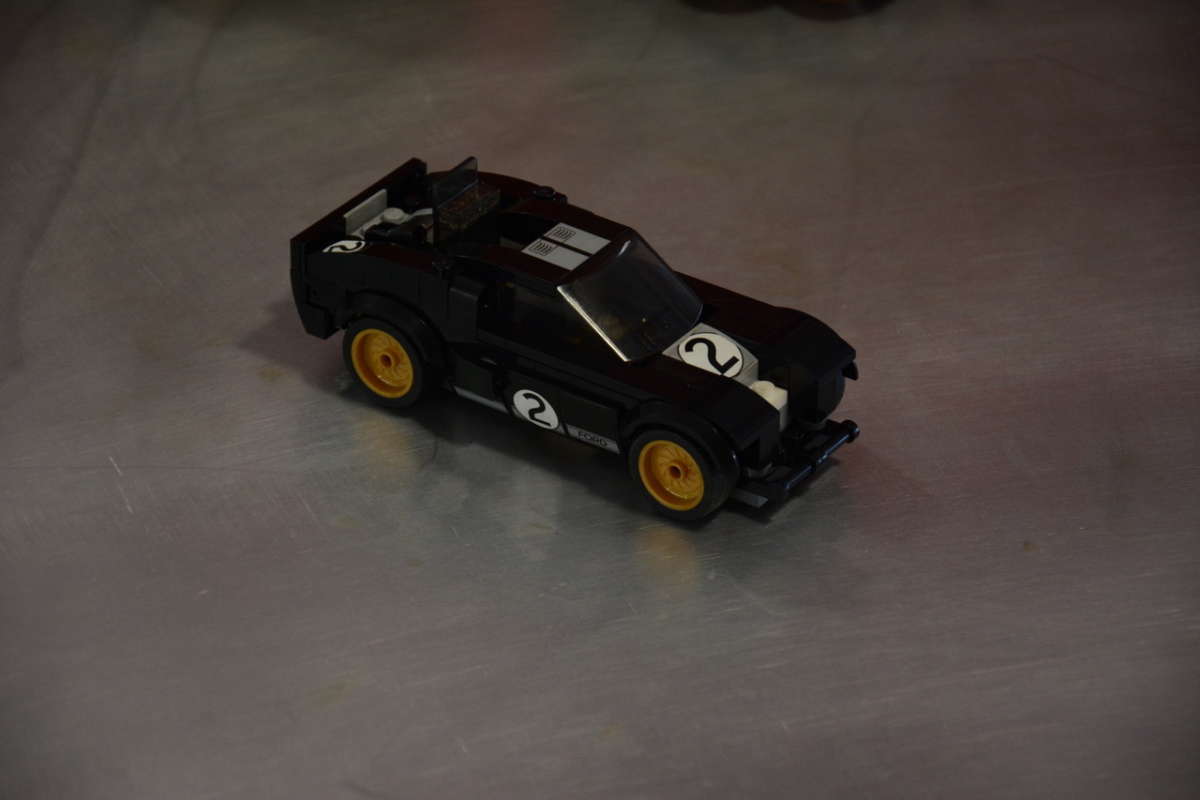
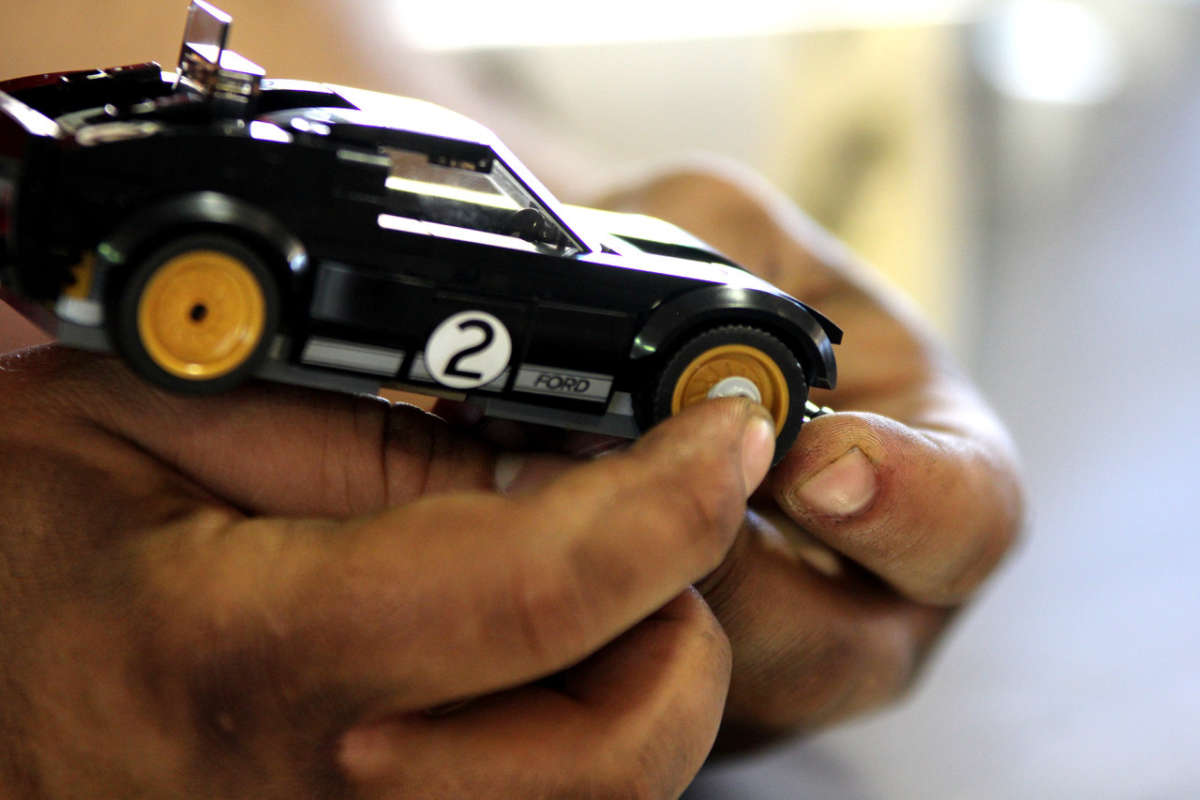
Overall, we couldn’t be happier with our final product. From the huge MkII air scoops on the rear to the minutest details on the front valence, our GT's exterior is spot on. Like any project car, you’re never really done with it, but Lego’s GT40 kit is simple to disassemble and easier to work on than most. We had plans of letting our GT circulate around the office, with everyone getting a chance to see what it's all about, but I think I'll be hanging onto it for a while. My coworkers would probably just take it apart and lose the pieces anyhow.


Comments for: Assembling a GT40 Kit from Start to Finish
comments powered by Disqus