Cobra Hawk 289
As Told by Stuart Clarke Photos by Rob Hawkins
Editor’s Note: When Stuart Clarke decided to build a Cobra replica, his car-building knowledge was non-existent, but his self-taught skills led to a degree in automotive systems engineering. Here’s how he made it all happen.
I’ve always had an interest in cars and as a child I had many posters on my walls, displaying vehicles well beyond my means. Cars that I could only hope to see, let alone own. I enjoyed the shapes and forms, and often spent time drawing them. I had a picture of a blue Cobra on my wall that, along with the Lamborghinis and Porsches, was something that I deemed to be what only the very wealthy could aspire to.
My first car was an R-reg Mini Clubman. It was a wreck, and every year come MOT inspection, it cost me a fortune at the local garage. At the time, my automotive skills stretched to filling it with petrol and sponging out the water that collected in the footwells that caused the windows to constantly fog up. So all in all, I’m not exactly the type of person that would consider rebuilding an engine, let alone build a car.
I have done a fair bit of traveling, and it was on a trip to Croatia that I was discussing cars and Cobras in particular with a fellow traveller over a couple of pints. I explained that I wasn’t that keen on the 427 Cobras that you so often see. He replied, “What about 289s?”
What are they, I asked? “Those are the original Cobras in the early Sixties that often had wire wheels (I remembered that the picture on my wall as a young lad had wire wheels). Hawk cars do a replica.”
When I got home I did some research and sent a couple of emails to Gerry Hawkridge and started hatching a plan. Gerry advised that I would need an MGB as a donor car, so I started looking for a suitable example. It just so happened that on one Saturday evening back in September 2009, I found an MGB that a guy had planned to refurbish but, owing to health reasons, he hadn’t managed to get there. It must have been fate as the MG was only 30 miles away. I phoned him on the Sunday morning and drove over to have a look. It was just what I needed, so did the deal for £180 ($256). Only problem was, I didn’t have a garage or even a driveway where I could store it for that matter.
A couple of frantic calls during the week to some friends in the local area and it turned out that a friend of a friend had a small workshop that he was prepared to rent out and even had a car trailer that I could borrow. There was one small issue—it was up a narrow side street, up a steep hill and there wasn’t space to turn a car around! So I, being a trailer novice, had to reverse all the way up there! Thankfully my other half has a lot more patience than I have and knows exactly how to deal with me when I get “grumpy.”
I ordered an MGB Haynes manual and started to plan how to dismantle the donor car. I needed the rear axle (which turned out to be a wire wheel axle with Rostyle hubs and spacers fitted), the front suspension, handbrake lever and steering rack.
As already intimated, my car skills were pretty non-existent and the one thing that this taught me is that stripping a 45-year old car is damn hard work! A couple of weeks in, the friend of my friend also told me that he’d sold the workshop and I’d have to be out within a fortnight. So in two weeks I pretty much stripped the MGB totally, sold most of the parts I didn’t need and the remainder were piled up in my small shed and greenhouse at home. These were then sold over the next couple of months. I even made a small profit of £500 ($712)!
This little episode had taught me quite a bit about cars and how they were put together. So much so that I thought I’d expand my knowledge in that field and started studying a part-time degree in automotive systems engineering.
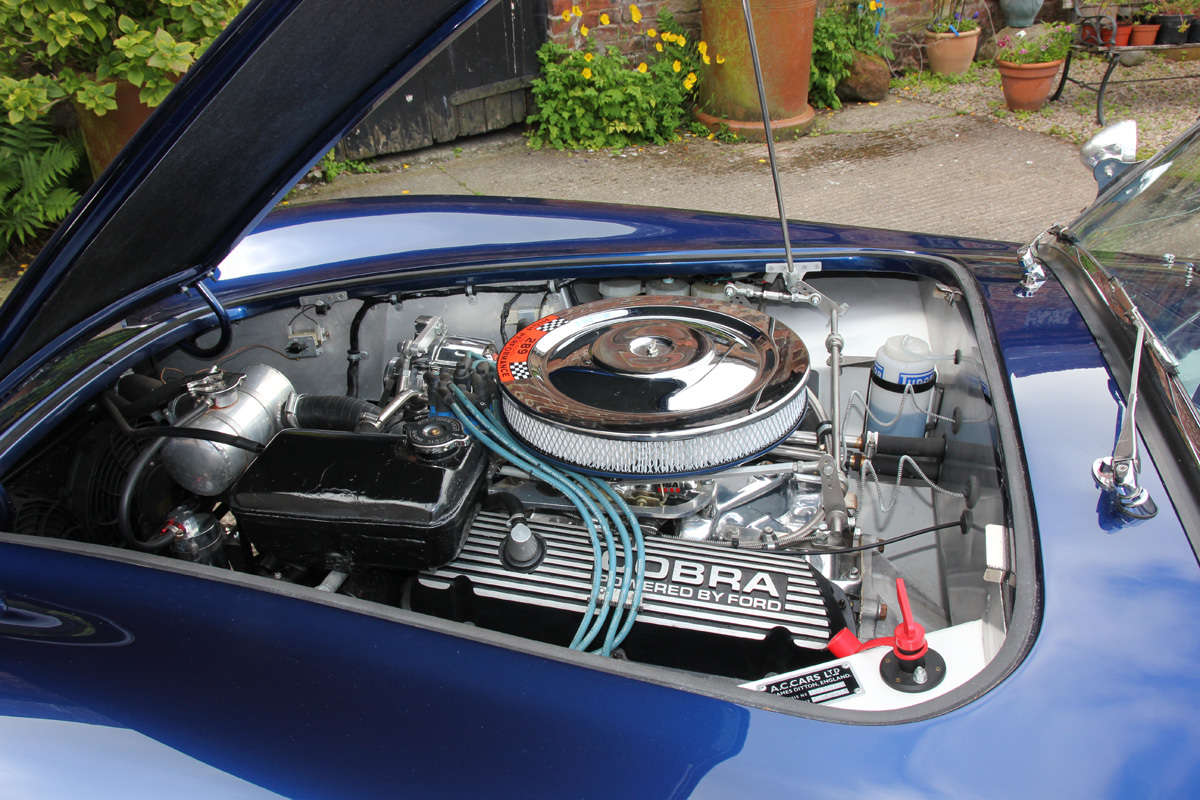
The next stage was to look at sourcing an engine, and after further discussions with Gerry, I decided on a Ford 289, which was originally fitted into the 289 Cobras. I joined the 289 Register and received some really useful information from some of the members. They warned me about not just buying an engine off one of the auction sites because if you don’t know what you are looking for, it may end up as a pile of scrap.
I located an engine overhaul company in the U.S., made a couple of phone calls and sent a couple of emails. A couple of weeks later I received an email saying that they had a 1965 289 short engine, which they had overhauled and it had bores at .030 over (which was the maximum that I was advised to go for). I paid by credit card and a couple of weeks later, a large crate arrived.
I bought a book on rebuilding Ford smallblock engines and I set to work building it up. I had to buy quite a few tools, including an engine stand and all the bits to build it up. I followed the book to the letter and also made good use of friendly advice from the 289 Register members and videos on YouTube.
A few months later I took the engine over to Tim Adams Race Engines in Staffordshire and we set it up on his dyno and it fired up first time. I’d assembled an engine and it worked, producing 270bhp with a nice flat torque curve.
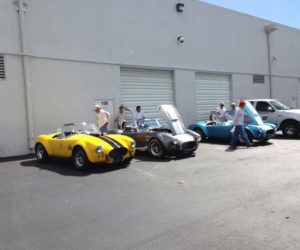
I was now ready to take the plunge on the next stage of the project and arranged to go and see Gerry. It was around midday on Saturday when I rolled up. He was very accommodating and gave me a good tour around and showed me the molding process for the body shells.
Martyn took me out for a spin in a Rover-powered FIA demonstrator which sealed the deal. I left a deposit and a couple of months later I drove down to collect the chassis and body shell, along with the bits I needed to start the build. I’d secured the use of a large stable/barn at a livery yard where my other half kept her horse.
In comparison to the initial trials and tribulations at the start, the build was very straightforward. Gerry Hawkridge and quite a few members of the 289 Register such as Roger King and Dave Woodward were most helpful.
The quality of the chassis and body shell was exceptional, with no need to drill out holes or rework threads as I’ve seen with other replicas. I learned a great deal and thoroughly enjoyed the two years it took me to build it, which was mainly on weekends and days off.
I serialized my build to hopefully encourage those considering a build to go for it! Were there difficult times? Not really. The wiring was initially a little daunting, but after studying the wiring diagram and reading a book on classic car wiring systems, it actually turned out to be quite straightforward.
The next stage was to pass the IVA test, which I found to be firm but fair. The drive over was fun, as it was minus eight degrees centigrade. Since I had an early test appointment in Birmingham, I left home at 5:30 a.m. just in case there was an issue on the way. The tester was a very knowledgeable chap and he was genuinely appreciative that I had all the paperwork with me, such as photos of areas difficult to access (seatbelt mounting frame), all certificates for oil and fuel hoses to demonstrate that they are fuel compatible, all receipts and my build diary. The more info you take with you, the better.
I saw the IVA test as a to-do list for the retest. Owing to the complexity of the test it is easy to slip up on a couple of minor issues. And I did. I failed on the washer bottle being too small (it needs to be at least one liter and mine wasn’t). I also had a small wiring issue in that I could switch on my rear fog light with my side lights, but it should only be possible to switch it on with the main and dipped beam.
The retest was free within seven days, and I was there for all of 20 minutes as they only checked the couple of things that failed previously. Over the next couple of months I got the car painted by PF Autos in Tunstall which did an excellent job. I had a couple of minor niggles such as a small grounding issue with the rear lights which caused them to flash with the indicators.
During the build I tried to keep things pretty authentic and this all came together post paint. Original parts that I had managed to source, such as a header tank from Canada, reproduction air cleaner and some bullet wing mirrors seemed to make the difference. There were a couple of safety things that I wouldn’t compromise on, such as three-point seat belts and side repeater indicators, which are obviously mandatory for the IVA test.
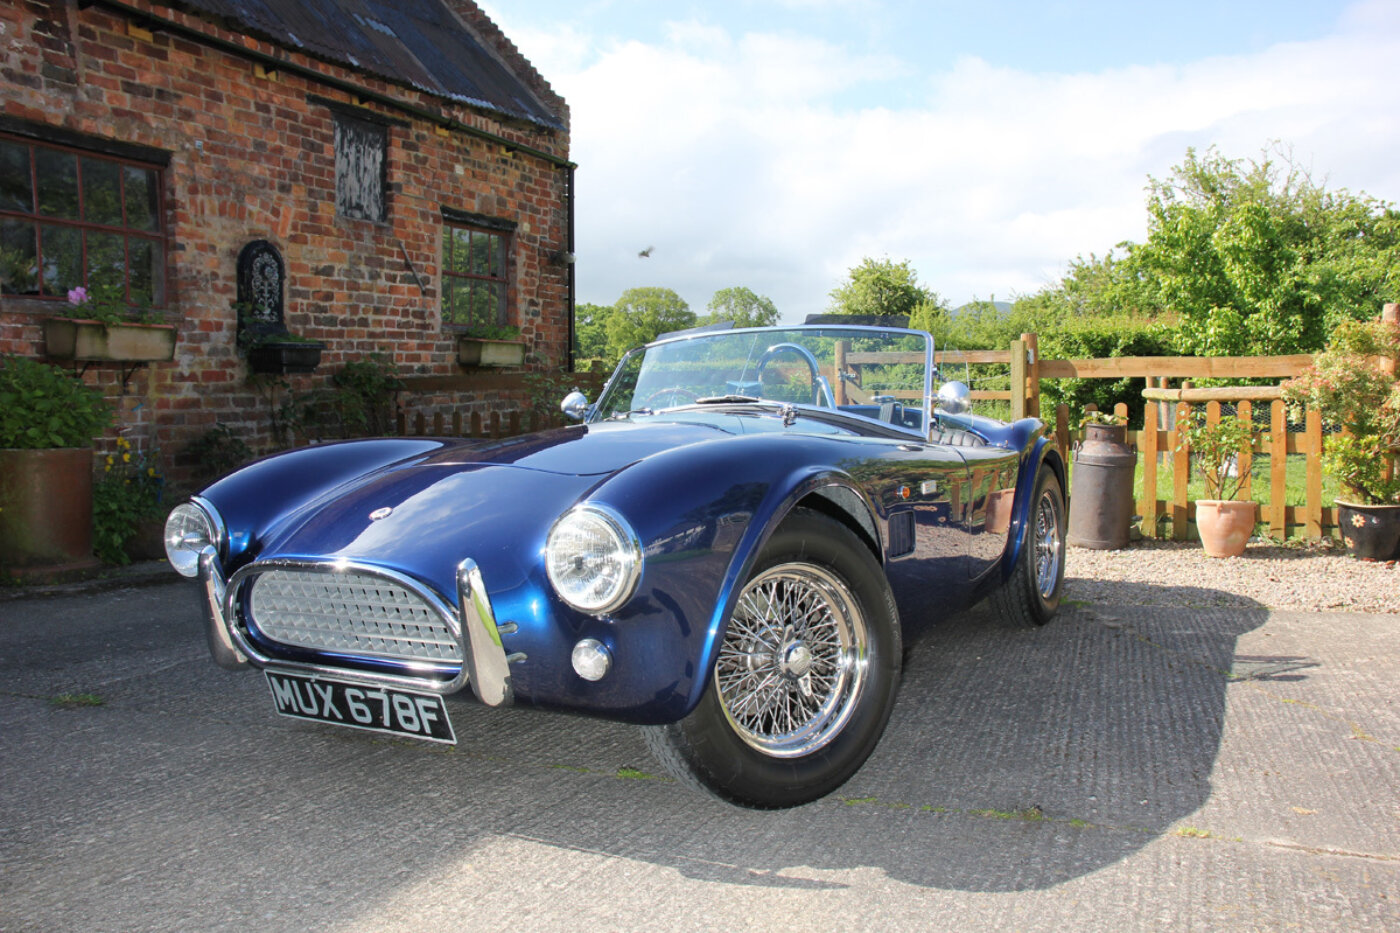
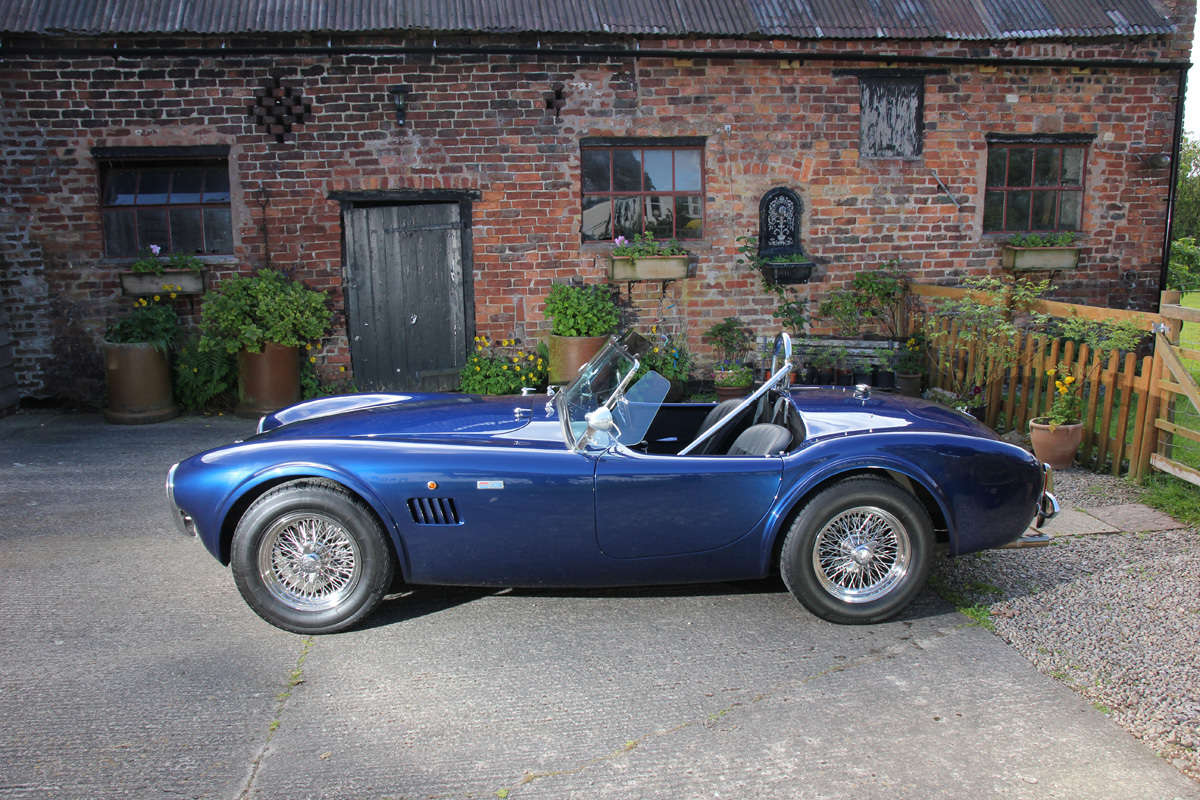
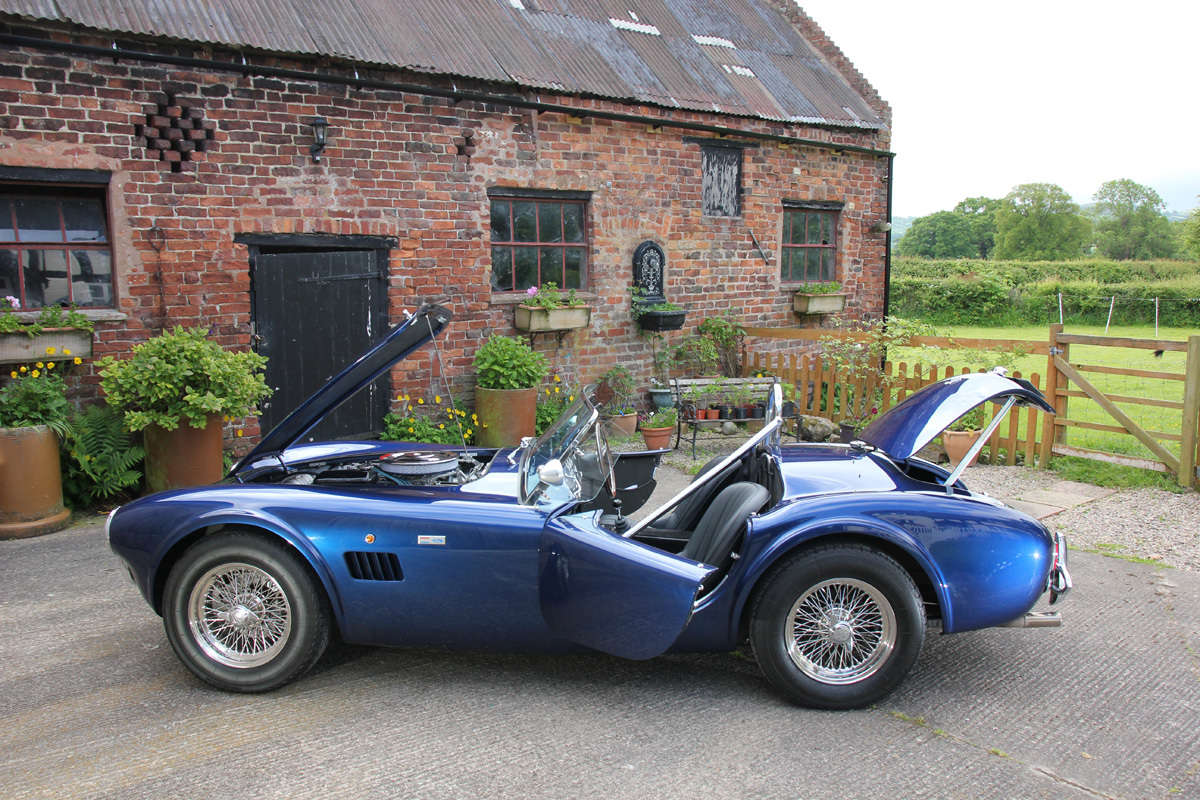
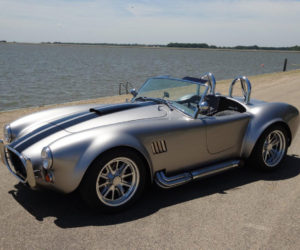
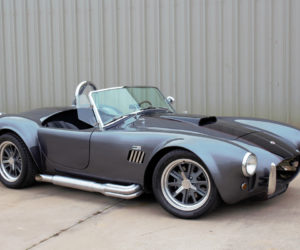
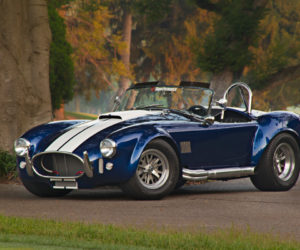
My Hawk 289 is a replica of an AC Cobra Mk2. Its 1965 Ford 289 4.7 liter V8 is fed by an Edelbrock 600cfm carburetor. It’s mated to a Tremec T5 five-speed manual gearbox with a 0.68 ratio Fifth gear. This drives a standard ratio MGB rear axle with a 3.9:1 final drive, which works quite well with blistering acceleration and the ability to cruise at 70mph at just under 2000 rpm. The axle is mounted on competition lowered leaf springs and is secured with anti-tramp bars and a Panhard rod to allow spirited driving without compromise.
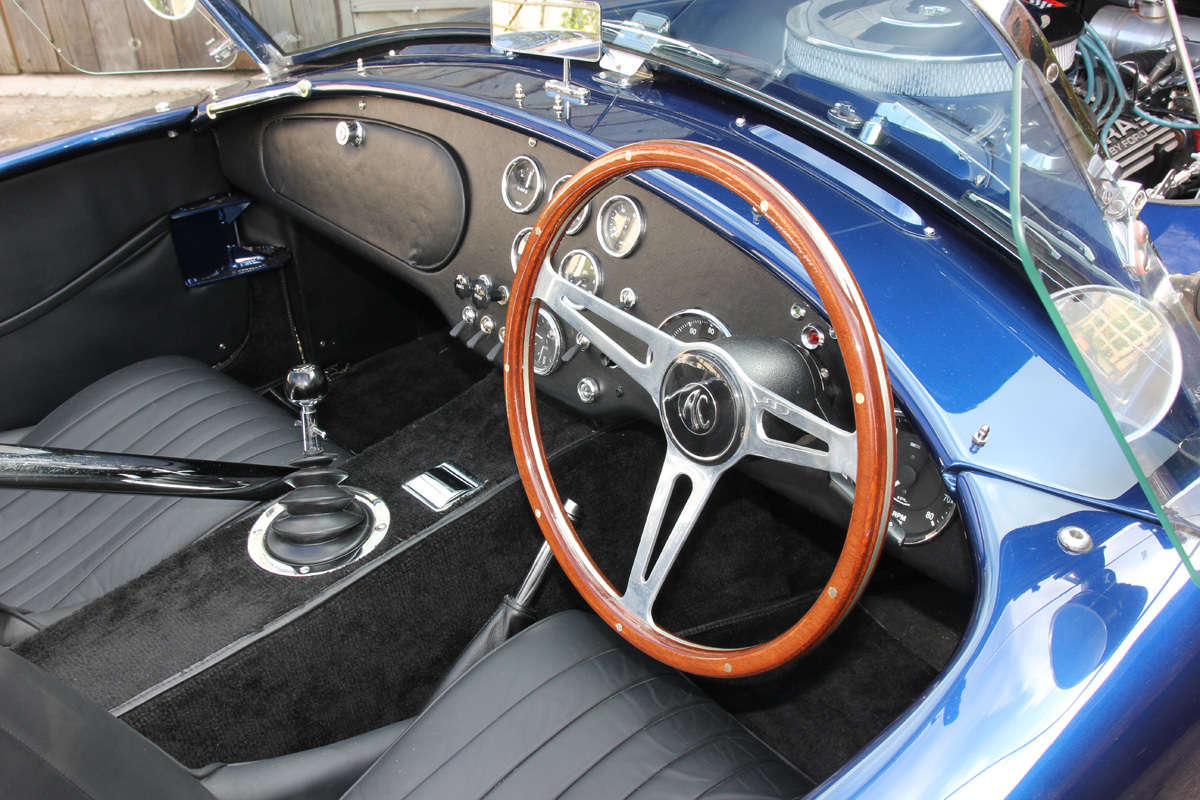
Up front it has a double tubular wishbone setup with coil-over shocks. In the cockpit, the gauges are all Smiths mechanical units. The dash is covered in original leather cloth as per the original AC. The seats are copies of the originals and the cockpit is finished with a Moto- Lita steering wheel.
The color is as close to Blue Metalline as possible, which turned out to be Rover Tahiti Blue. The wheels are 15- inch stainless steel wires, which are really easy to keep clean and these are fitted with Vredestein classic tires.
Front brakes are vented discs with Austin Princess four-pot calipers and the rear brakes are MGB drums. The car is also fitted with a stainless-steel exhaust system, which allows the 289 to roar as it should. The car is registered on an age-related plate owing to a minimum of two major components being used from the donor vehicle, from the same year as the donor.


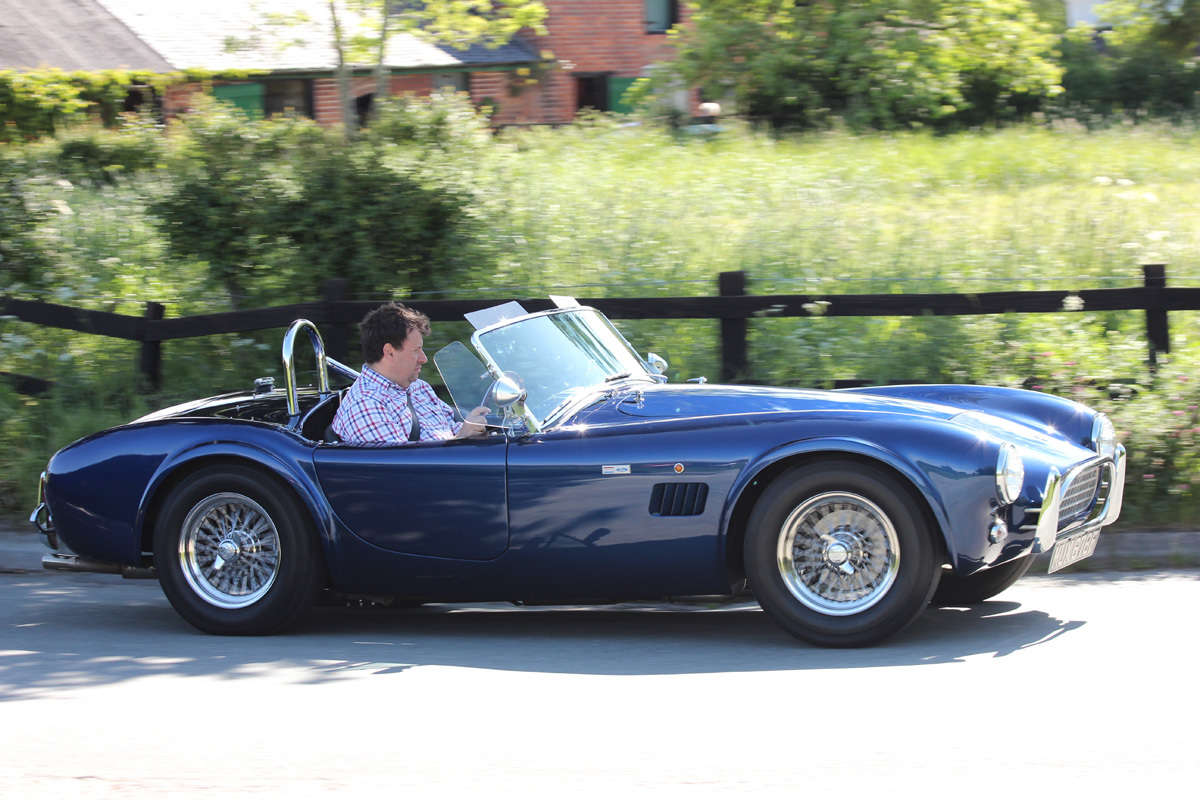
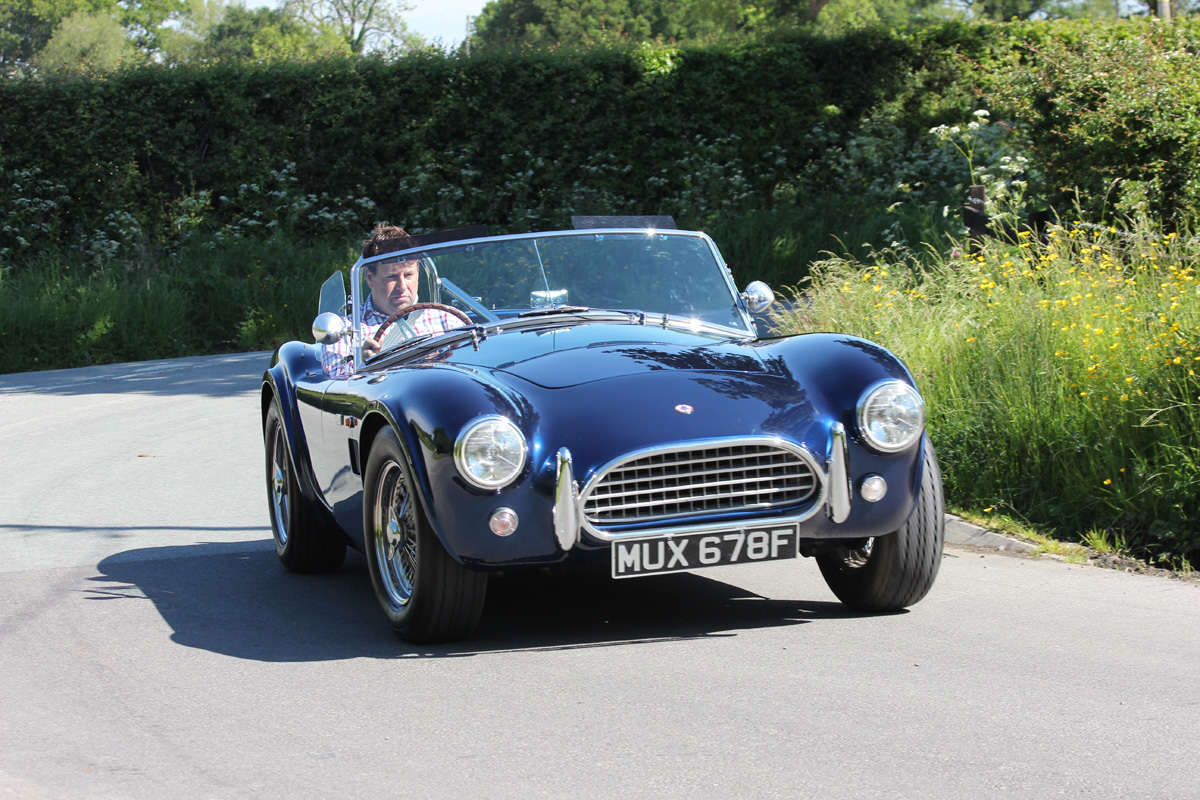
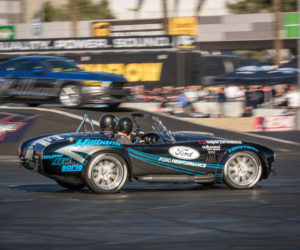
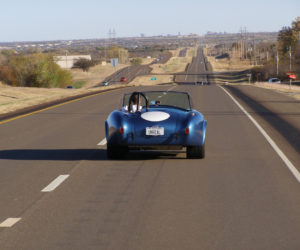
I really enjoy driving the Hawk and it always puts a smile on my face. It attracts a lot of attention and when I fill up at a petrol station and go to pay, it is quite common that I come back and people are taking photographs. I’ve been to track days with it and I’ve taken it to a few shows where people have always been very complimentary. I have to say that everyone I’ve met through the car have been very kind, especially all of the members I’ve met through the 289 Register and the UK Cobra replica club.
How much did it cost? All in £35,000 ($50K). Most of the expense went on the periodcorrect extras.
Would I do it again? Definitely! Would I recommend Hawk cars? Definitely! Gerry manufactures probably one of the most accurate fiberglass replicas of the original Cobras and also supplies FIA replicas as well as the street roadster or slab-sider that I built.
On the Hawk, the only thing I’d recommend is to fit the exhaust before the body gets fitted, especially if you don’t have a pit or a car lift.
I must also thank Sonia (my other half) for all her support and especially that she didn’t kill me for all of the engine parts that ended up on the lounge rug when they were delivered! Since the build we’ve moved house and I’m fortunate to have a large workshop with plenty of room.
If I was to offer any advice, it would be to do your homework and research a potential project as much as possible. With the internet, car forums and the offers for advice readily available, there is no reason to make any mistakes.
I would imagine that most replicas come with an extensive build manual as the Hawk did. This makes building such a car well within the capability of most people. Since completing the Hawk, I finished my degree and I managed to get a first-class honors which proves that if you put your mind to something, then anything is possible, including building a car that can be legally driven on the roads.


Comments for: The Fledgling
comments powered by Disqus